


Many Apple users just like myself own multiple Apple devices. This includes a combination of iPhone, iPad, Mac and the Apple Watch etc. While we have many Apple devices, most of us manage them with a single Apple ID. There are many benefits of having a single Apple ID such as have your data automatically synced across your devices, automatic downloads and more. For people who giveaway their iDevices, sell them when they upgrade or happen to lose a few it can be hard to keep track of which device is still on their Apple ID.
Removing an Apple device that is no longer in your possession or use is crucial as your sensitive data such as messages, photos, browser history and more can get into wrong hands without your knowledge. Luckily Apple’s iCloud website offers a neat little feature that not only lets you see which Apple devices have your Apple ID signed in, but also allow users to remove a certain device from the list and remove Apple ID from it remotely.
Checking which devices are using your Apple ID
- To check which Apple devices are currently using your Apple ID simply open iCloud.com and after signing in access the ‘Settings‘ web app. You can also view the same information on appleid.apple.com.
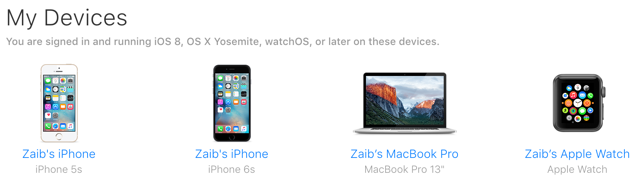
- Now scroll down to ‘My Devices’. There you will find all the devices with their names and models.
- In some cases your devices may not appear on the list, in that case click on ‘View Details‘ and answer your security questions.
You can also check useful information for your devices by clicking on them. This includes device model, IMEI number, current OS version and serial number.
Removing a lost, stolen or sold device
In case a device that you no longer use appears in your My Devices list, you can remove it following the steps below.
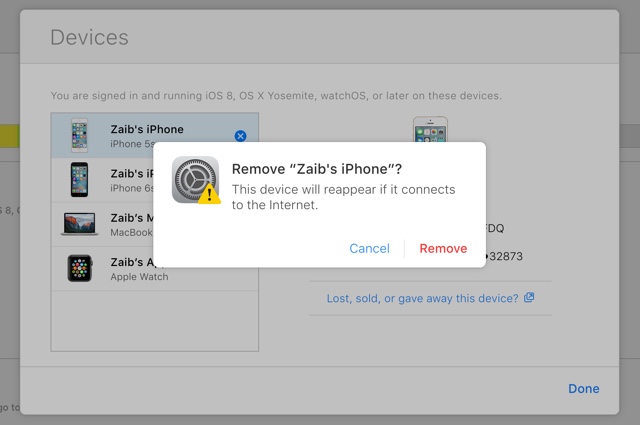
- To remove the device click on it. (If you are viewing the devices list on appleid.apple.com webpage you can click on the remove button from the popup)
- On iCloud.com when the device is selected, it will be highlighted on the list that appears on the left side.
- Finally click on the blue ‘x’ button and confirm by clicking on the ‘Remove’ button.
For Apple IDs that have two-factor authentication enabled, when you remove a device it will no longer be able to display verification codes and will not be able to access Apple services including iCloud, Find My iPhone etc until you sign in with two-factor authentication.


