


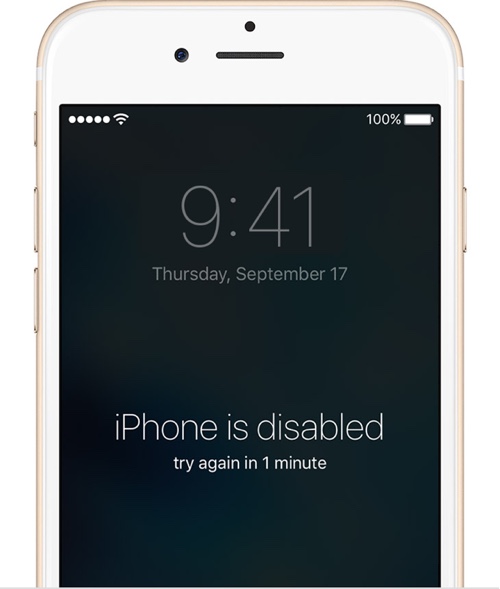
Majority of iOS users have passcodes enabled on their devices. Even if you use Touch ID for unlock you are still required to choose a passcode. Sometimes when someone tries to enter a wrong passcode repeatedly your device gets disabled, and you get the “iPhone is disabled. Connect to iTunes” message on your lockscreen. This happens after your device tells you to try again in 1, 5, 15 and 60 minutes. If you keep trying with a wrong passcode the number of minutes will go higher. At this point you can no longer unlock the device even with the right passcode and the only thing left to do is connect to iTunes.
This error could occur due to a number of reasons. A common reason this happens is when someone tries to get into your device such as a child who does not know your passcode. So what to do when your iPhone is showing the iPhone is Disabled error? Well you have to connect it to iTunes and restore it. If you had a backup of your iPhone on your computer, then you can restore that backup and get your data back. However if that’s not the case, then you will have to set up the iPhone as a new device.
The errors are not limited to iPhone is disabled messages, as you can also get iPad is Disabled or iPod is Disabled on other iOS devices. The same steps apply to them too.
Fixing iPhone is Disabled with iTunes
- Connect your iPhone to iTunes (preferably on a computer that you have synced with before).
- If iTunes is asking you to enter the passcode, then you have to put the device in recovery mode (see the next section).
- Now iTunes will sync your device and make a backup of your data.
- Once the data has been synced and backed up you can restore your device by clicking on the ‘Restore iPhone…’ button.
- After iOS has been restored on your device on the Set Up screen on the device tap on ‘Restore from iTunes backup’ and connect it to your computer.
- Select the device from iTunes and choose the most recent backup to restore it.
Erase your device in recovery mode using iTunes
For users who have never synced their iOS device with iTunes there’s recovery mode that could help in restoring the device. Remember if you follow the steps below all the data stored on your device will be erased.
- Connect your iPhone, iPad or iPod touch to iTunes. This can be any computer including the one that you have never synced with your device before.
- When the device is connected with the computer press and hold the sleep/wake and home buttons at the same time and keep them pressed. Soon you will see the Apple logo, however don’t let go at this point and keep holding until you see the recovery mode screen.
- Once your device has entered recovery mode iTunes will ask if you want to restore or update, choose Restore. iTunes will now download the latest iOS version for your device and restore it.
- Finally you will be able to set up your iPhone as a new device and use it again.
Removing iPhone is Disabled error with iCloud
You can also use iCloud to solve the iPhone is Disabled problem, however Find My iPhone needs to be enabled on your device and it should be connected to WiFi or cellular internet. If it is then follow the steps below.
- Open icloud.com/find on any web browser and log into your iCloud account.
- Now click ‘All Devices’ from the top of your browser and then choose the device you want to erase.
- Click on the Erase button. Doing so will delete all the data on your device and remove the passcode lock.
- Once the device is erased you can restore using a backup or set it up as a new device.


