


We showed you how you can hide individual files and folders on Mac and how you can unhide them whenever you need them. Hiding files through Terminal is easy and safe, and is perhaps the most effective way of hiding files on Apple’s computer. However the method we shared with you earlier required you to remember the path of the file where it is located, if you lose this information, then you cannot use the nohidden command to retrieve the file.
If you have forgotten the file or folder path or don’t know which files you have saved as hidden on your Mac, then we have got a simple Terminal command that will show all hidden files or folders on your computer. This command will display all ‘Hidden’ files and folders and even reduce their icon’s opacity so you can tell if a certain file is hidden. This command will not ‘Unhide’ the file but it will only reveal them. You can reverse this command and all the hidden files will go into hiding again.
How To Show Or Hide Files Or Folders With A Keyboard Shortcut
Show All Hidden files and folders on the Mac
1. Open Terminal on your Mac, which you can find in LaunchPad > Others > Terminal. You can also search for it through Spotlight.
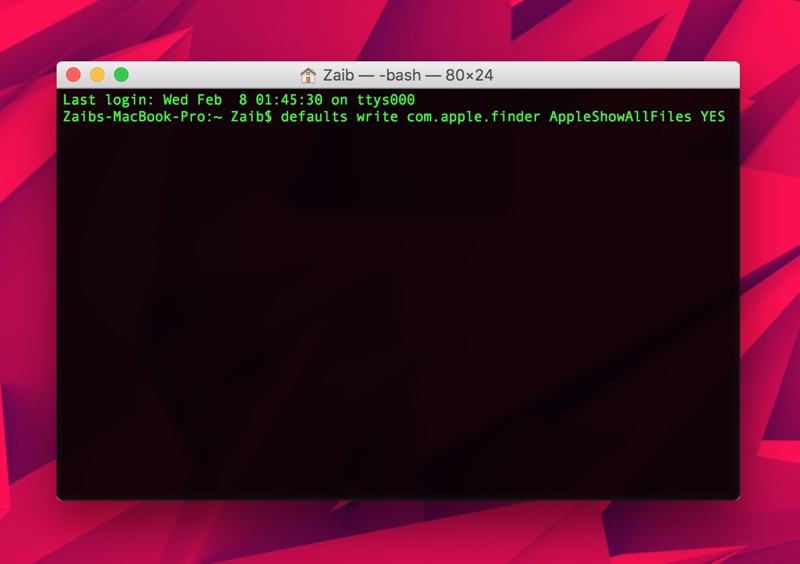
2. Once Terminal is loaded copy and paste the following command in it, and then hit the ‘Return‘ key.
defaults write com.apple.finder AppleShowAllFiles YES
3. Now you should see all the files and folders that are hidden on your computer. If you don’t then try holding the Option/Alt key from the keyboard and right clicking on the Finder icon from the dock. Then hit the ‘Relaunch‘ option. This should reveal the hidden files.
Re-hiding All Hidden files and folders
After you are done viewing the hidden files you can re-hide them all at once by simply entering the reverse Terminal command to the one you entered before.
1. On Terminal type the following command:
defaults write com.apple.finder AppleShowAllFiles NO
2. That’s it. All the files and folders should now disappear from the naked eye, but they are still there waiting to be unhidden when needed.


