


So you finally decided to update that aging Mac of yours. Whether you decided to sell it or give it away, there are a few things you should do with it first.
Things to do before selling your Mac
- Create a backup
- Log out of iCloud
- Sign Out Of iMessage,
- Deauthorize iTunes
- Remove Bluetooth Devices
- Remove Your Fingerprints from Touch ID
- Erase Your Mac’s Hard Drive and Re-install macOS
In this article you will learn what you should do before you sell your Mac. Here you will learn how you should create a backup of your data, log out of your iCloud account, sign out of various apps and a number of other essential tasks.
Create a Backup

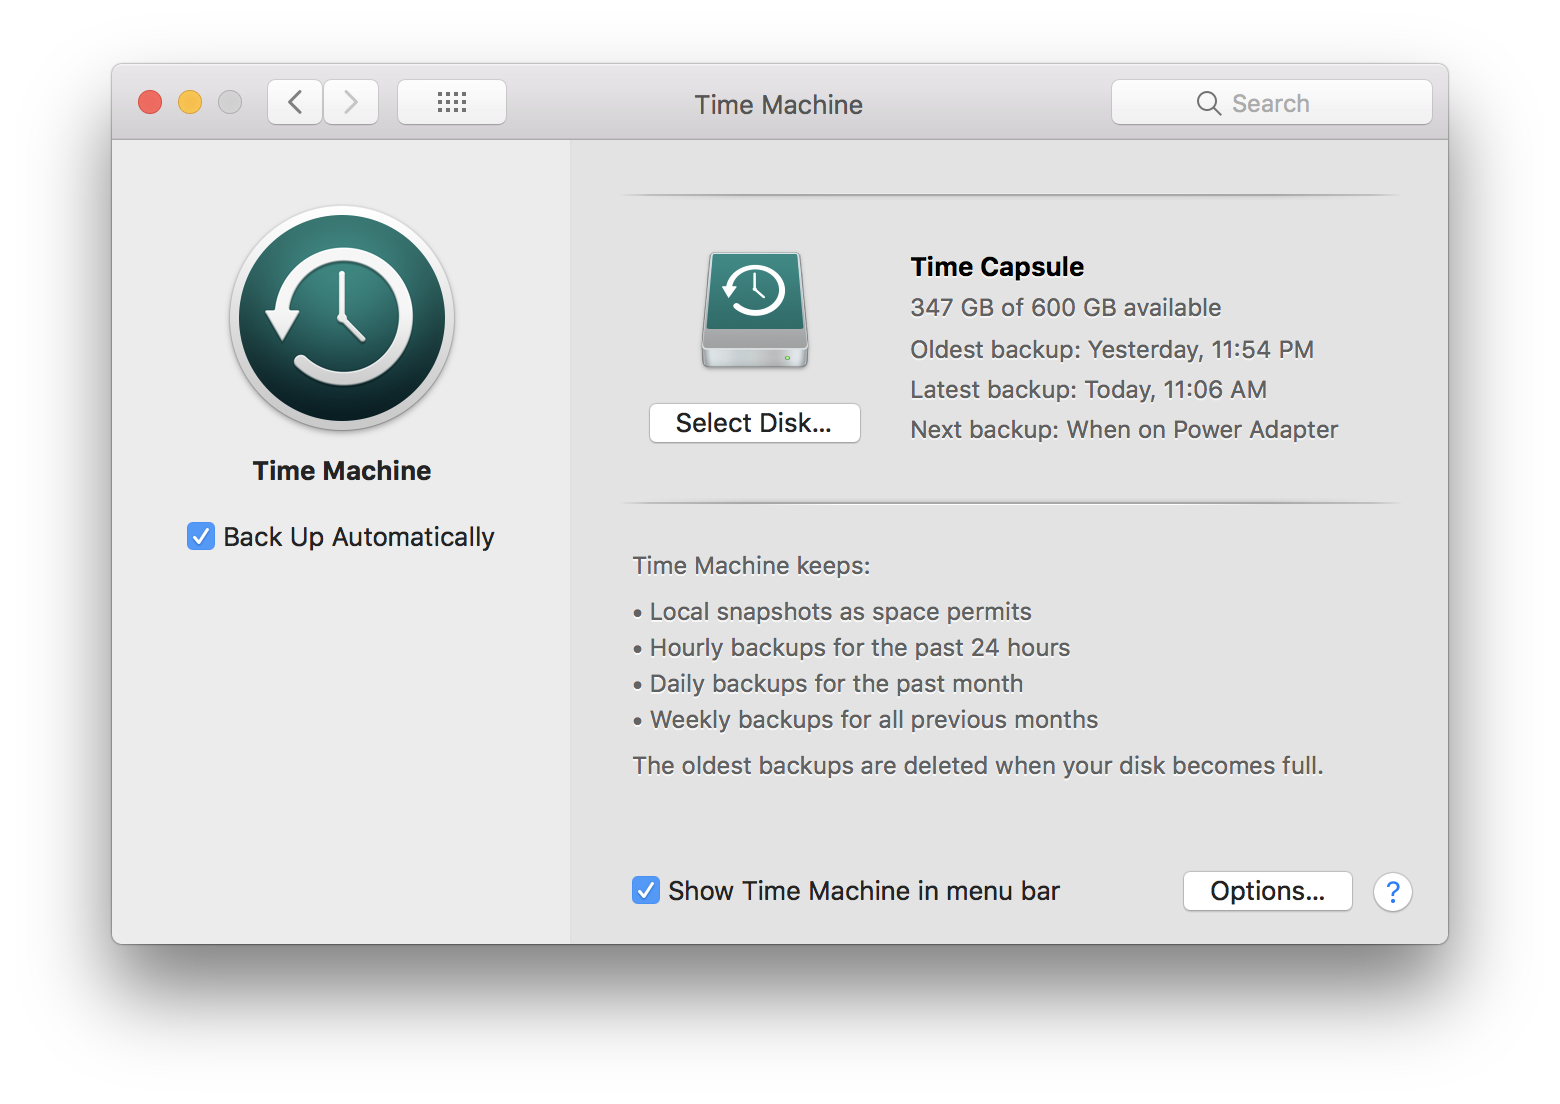
If you’re going to transfer your information from your old Mac to a new one, you’re going to want to create a backup. That way, it’ll be very easy to transfer your information to your new Mac. The easiest way to backup your Mac is by using Time Machine, which is bundled with macOS.
If you haven’t already set up Time Machine, it’s super easy to do so. Simply open up the System Preferences app, and there select Time Machine. You can then select a hard drive that you’d like to backup your Mac to.
If you want to backup your entire Mac but want to save just a few files, you can simply copy the files you want to keep to a hard drive or USB.
Log Out of iCloud
![]()
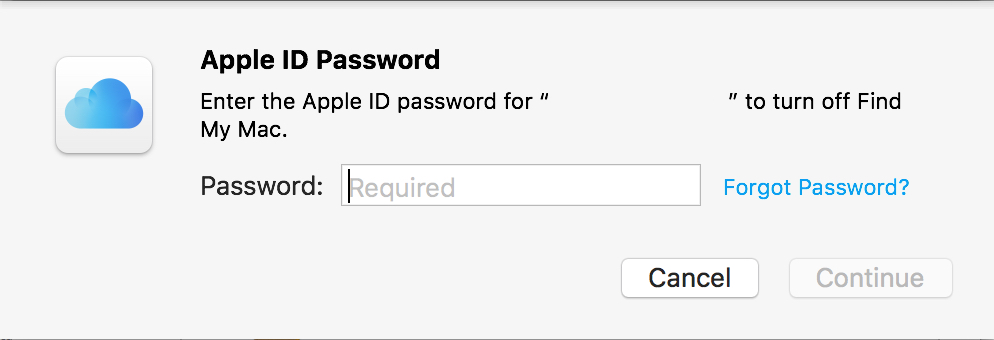
The next thing you’ll want to do is log out of iCloud, so the Mac is no longer associated with your Apple ID. To log out, open up the System Preferences app, and then select iCloud. On the left hand side you’ll see a Log Out button. Select it, and then type in your Apple ID password to log out and remove the Mac from Find My Mac.
Sign Out of iMessage
![]()
As with iCloud, you’ll want to log out of iMessage to remove the Mac from your account. To start, open up the Message app on your Mac. Then, select “Messages” in the menu bar, followed by Preferences. Click on Accounts, then select your iMessage account on the left side followed by “Sign Out.”


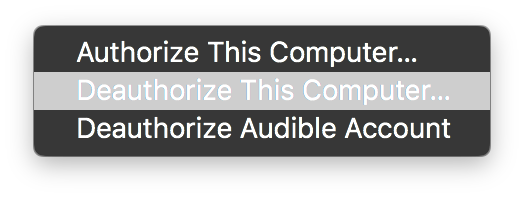
When you authorize your computer with iTunes, it allows you to have access to your iTunes purchases. Apple lets you have up to 5 computers authorized at a time. If you want to remove a computer that you don’t have access to anymore from iTunes, you’ll have to remove them all. So it’s best to deauthorize your computer before you get rid of it. To do that, open iTunes on your Mac, and then select Account from the menu bar. Hover over “Authorizations” and then select “Deauthorize This Computer…”
Remove Bluetooth Devices
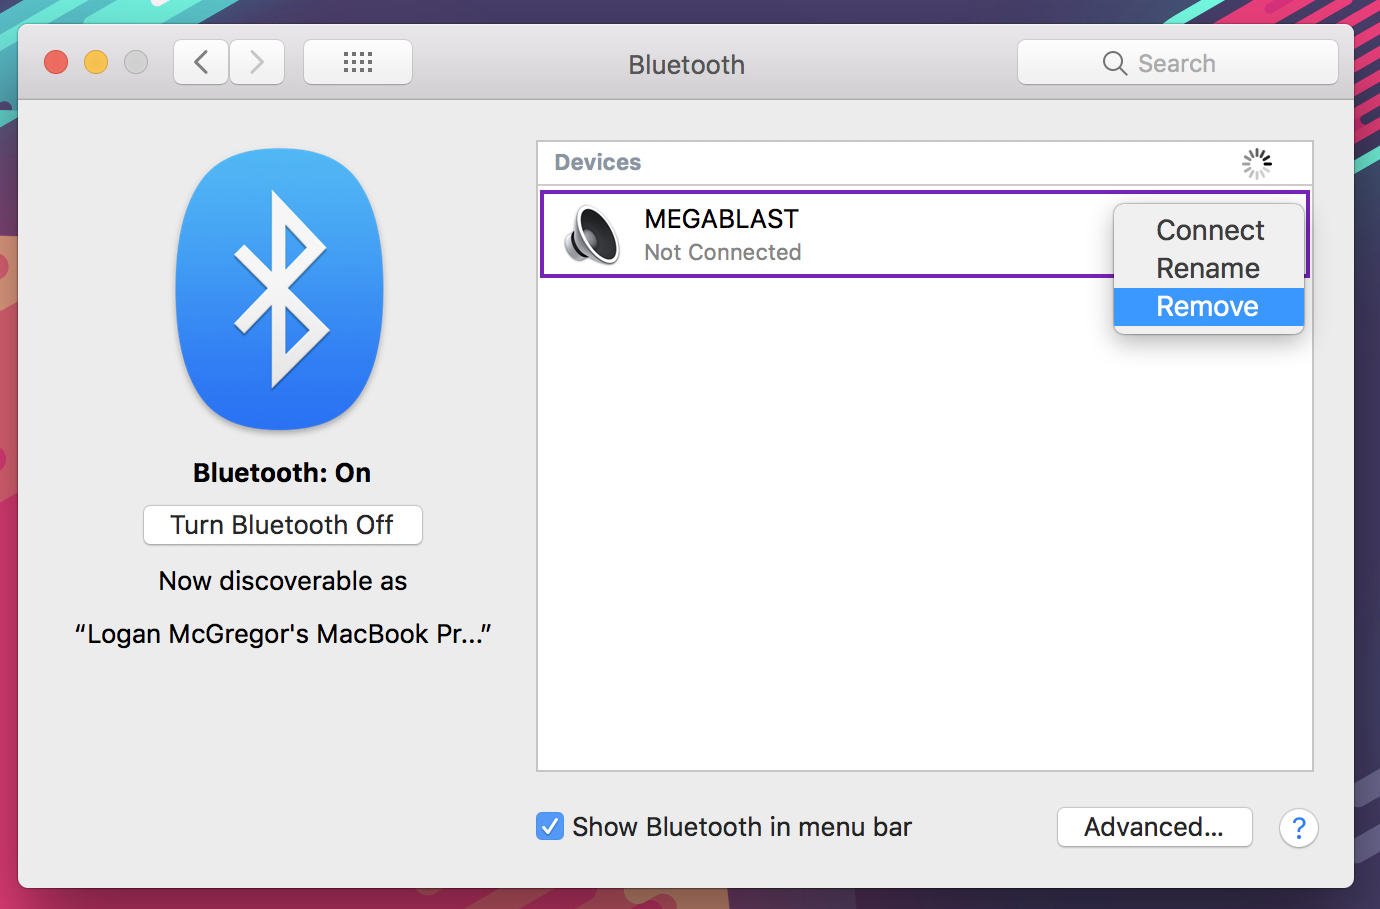
It’s also a good idea to remove any Bluetooth accessories that you’ve been connected to. Open up System Preferences, and then select Bluetooth. Right-click on the device you want to remove, and then select Remove.
Remove Your Fingerprints (Touch Bar MacBooks Only)

If you own a MacBook Pro with a Touch Bar, you’ll want to remove any data that the Touch Bar stores about your fingerprints. Even though they are encrypted and don’t store an actual image of your fingerprint, it’s still a good safety precaution. To remove the data store, shut down you Mac, and then turn in on again while holding down the Command and R keys (⌘+R). This will make your Mac enter recovery mode. On the top menu bar, select Utilities and then Terminal. Once a Terminal window is open, type in the following command:
xartutil –erase-all
Once you have that typed out, hit the return key. The data will now be removed.
Erase Your Hard Drive and Re-install macOS
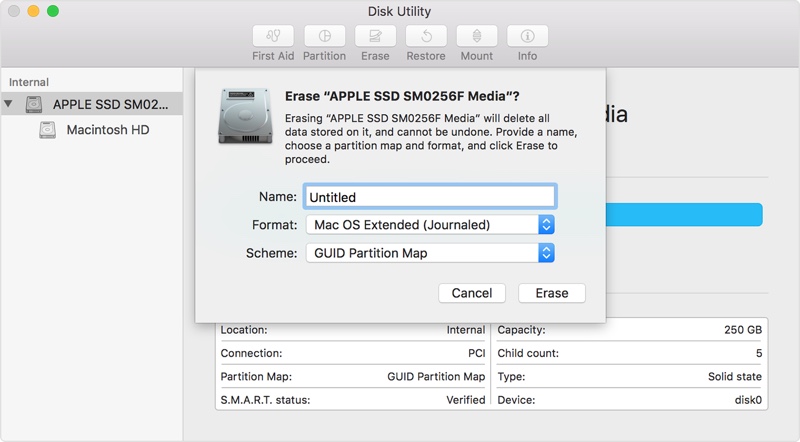
With all the other steps complete, the last step is to wipe your hard drive and re-install macOS. To start, turn of your Mac, and then turn in on again while holding down the Command and R keys (⌘+R). With you Mac now in Recovery mode, click on Utilities on the menu bar, and then Disk Utility. Select your hard drive on the left, and then select the erase button. If you have a Hard Disk Drive, you’ll see a Security Options in the bottom left corner. If you want to make sure that you’re data is gone, make sure you select the most secure option. If you have a SSD or flash storage, the security options will not be available.
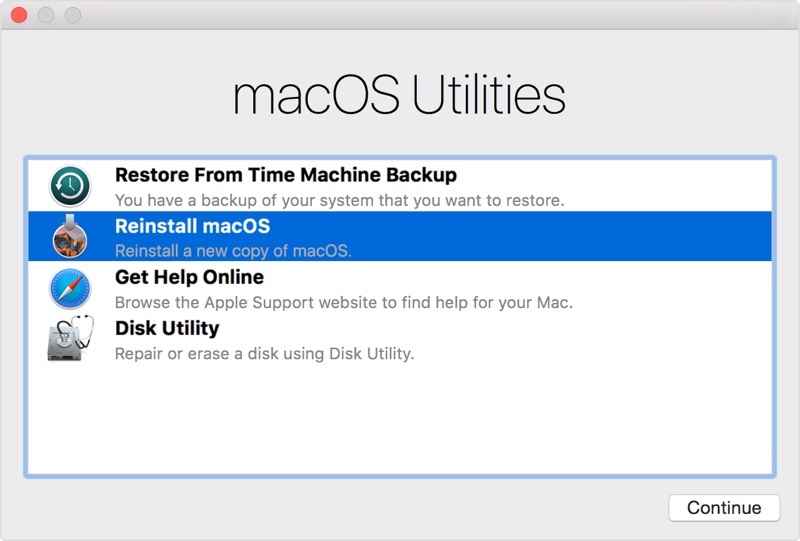
Once it’s erased, go back and select Reinstall macOS. Follow the steps to install a fresh copy of macOS on your newly erased hard drive. If you want some options for installing macOS, view this article.
What Mac are you upgrading to? Do you have any other tips for selling a Mac? Let us know down in the comments below!


