


Screenshots are wonderful. They allow you to take a picture of whats on your screen, and can be helpful for making tutorials, capturing glitches, and taking pictures of high scores. On iOS, it’s super easy: just press the home and power button at the same time, and your screen will be added to your camera roll. However, it’s not that easy to take a screenshot on tvOS. Don’t worry however: this tutorial will show you just how to do that!
First, you will need a USB-C to USB-A (or if you have the new MacBook, USB-C to USB-C) cord. You will also need an Mac with Xcode 7 or higher.
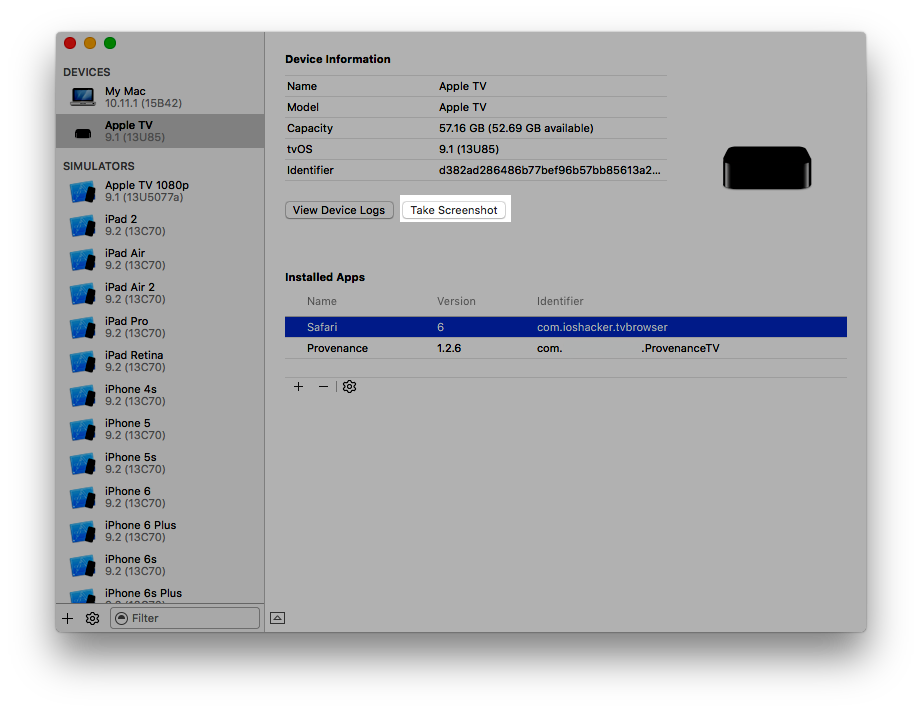
Once you have all of that, connect your Apple TV to you Mac, then open Xcode. Now, press “Command + Shift + 2” or go to “Window > Devices” in the menu bar. Select the Apple TV in the devices in the sidebar, then press “Take screenshot”. A screen shot of your Apple TV will now be on your desktop!
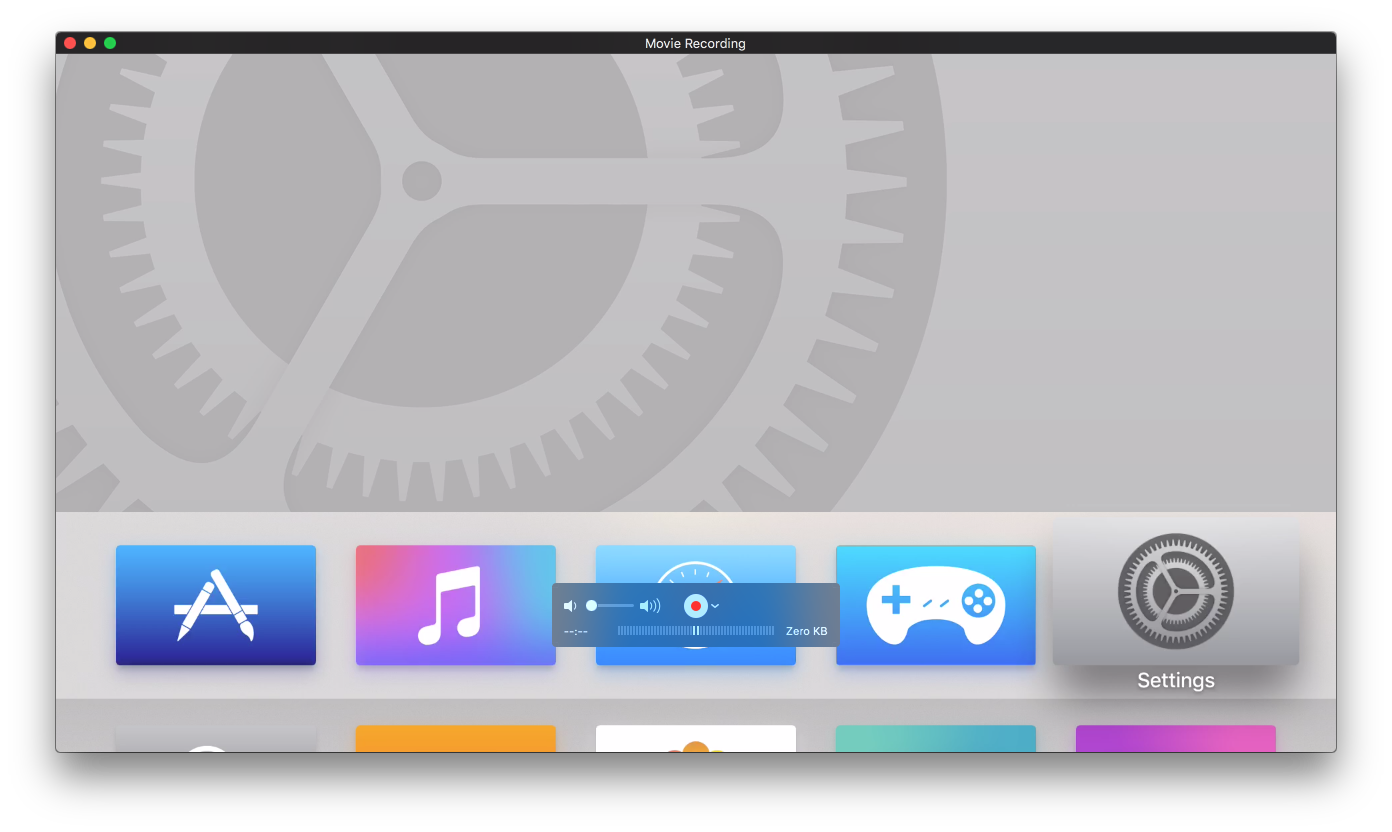
To record a video, plug your Apple TV into your Mac, and open QuickTime Player. Select “File > New Movie Recording”. Hold down on the record button, then select “Apple TV” from your list of sources. You will now be able to record your Apple TV.
And now for a few side points. If you don’t have Xcode, you could also quickly record your screen in QuickTime Player, and then take a screenshot of the video afterwards. One more thing: these methods will not capture DRM protected material.
Have fun! Let us know how this worked for you in the comments!


