


Windows 10 has been released and is available for the masses to download. If you have got your copy and want to install it on your Mac, then there are two options for you. You can either install it using virtualization program like Parallels or OS X’s built-in tool called Boot Camp. In case you’re unfamiliar, a virtualization program allows you to run Windows on top of OS X just like an app. Whereas BootCamp partitions your hard drive to dual boot OS X and Windows.
Now you might be thinking that which option is more suitable for you? For a virtual machine you will need to buy a virtualization program, Parallels is popular on Mac and it costs $80. If you go with virtualization, you will be able to easily copy/paste files between both the operating systems. However, it won’t be utilizing the full powers of your Mac because you’ll be running OS inside an OS.
Boot Camp Assistant on the other hand comes built-in with OS X. It partitions your’s Mac drive and lets you install Windows on a separate drive. No performance lags, but you won’t be able to share files between both the operating systems easily. You will need a flash drive or an online storage file system to share files.
Our guide will cover installation using Boot Camp, because it’s free and fast.
Things you need before you continue:
- An ISO file of Windows 10, or any Windows you want to install.
- Minimum 8GB flash drive.
How to install Windows 10 on your Mac
![]()
1. Open Boot Camp Assistant from your Applications. By default it is located in the Utilities folder.
2. A window will appear, click continue.
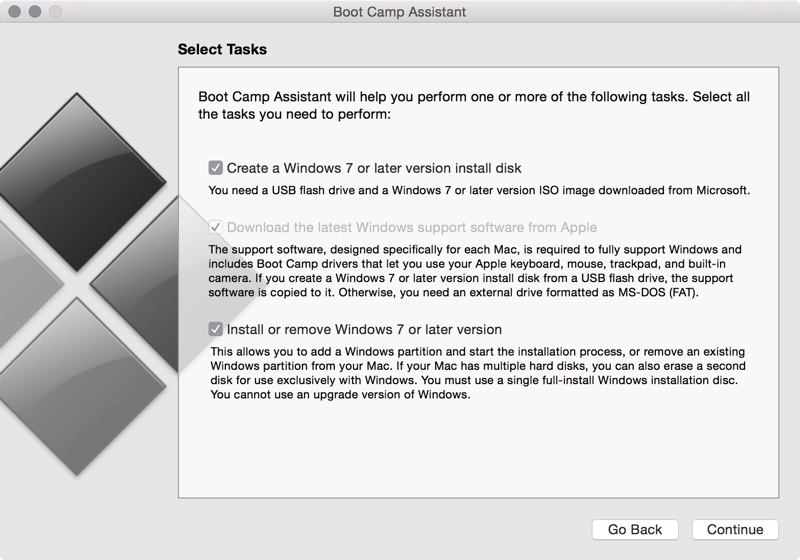
3. On next screen you’ll be asked to select the tasks. Make sure all the boxes are checked, as shown in screenshot above. Now click the “Continue” button.
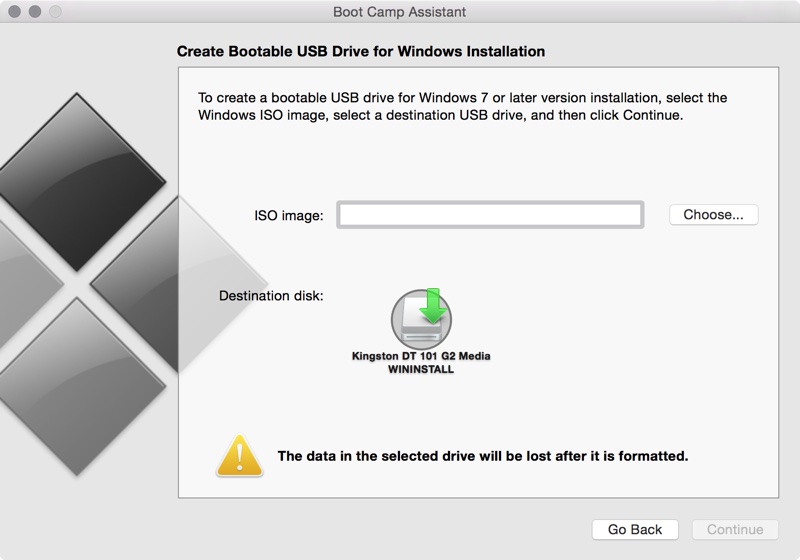
4. Now you will be asked to choose the Windows ISO file, and a destination disk (a flash drive in this case), which will be used to install Windows. Once ready click “Continue” button.
5. Boot Camp will copy installations files to flash drive, plus it will download drivers and other required files to run Windows on your Mac. Be patient as it will take 30-60 minutes depending on your machine and Internet speed.
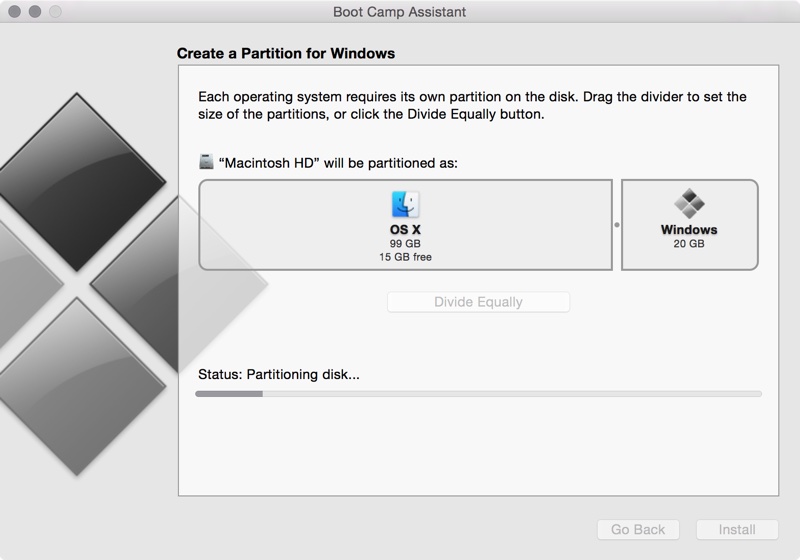
6. Once done, you will be asked to set a size for new Windows partition. Select it according to your needs. You can adjust the size by dragging the divider line between both the partitions. At least 25GB is recommended if you just want to try Windows. Otherwise allocate it about 50GB or more depending upon your usage.
Note: We have a MacBook with 128GB SSD and only had 20GB free at the time of this tutorial, it warned us during setup but installation went smooth.
7. Now your machine will restart and enter Windows setup. (You might see zoomed out UI of Windows setup.)
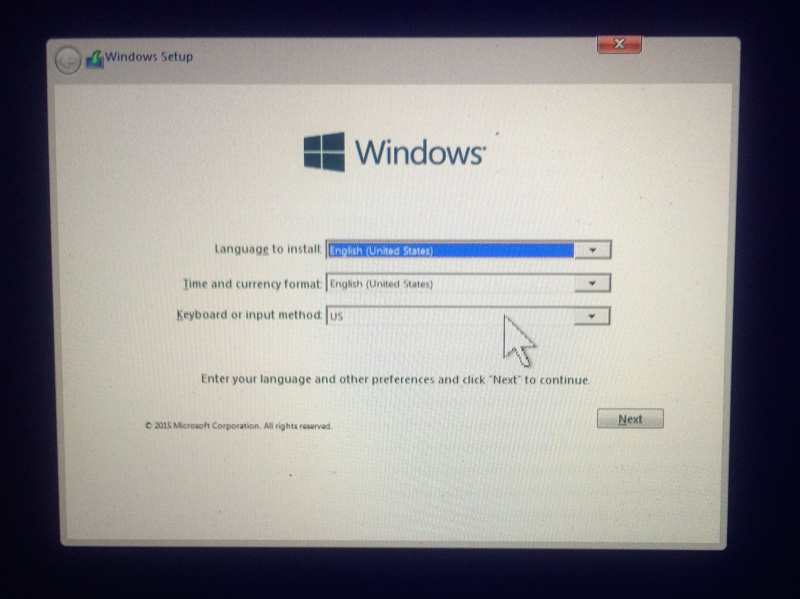
8. Select your language and keyboard and click the “Next” button.
9. Enter the Windows Product Activation key. You can also skip this step but will need a key to activate Windows later on. (Alas! they still need it in the 21st century)
10. Click next, accept the terms and conditions box and click “Next”.
11. Now you will be asked to select a partition. You must remember the size of the partition you allocated for Windows.
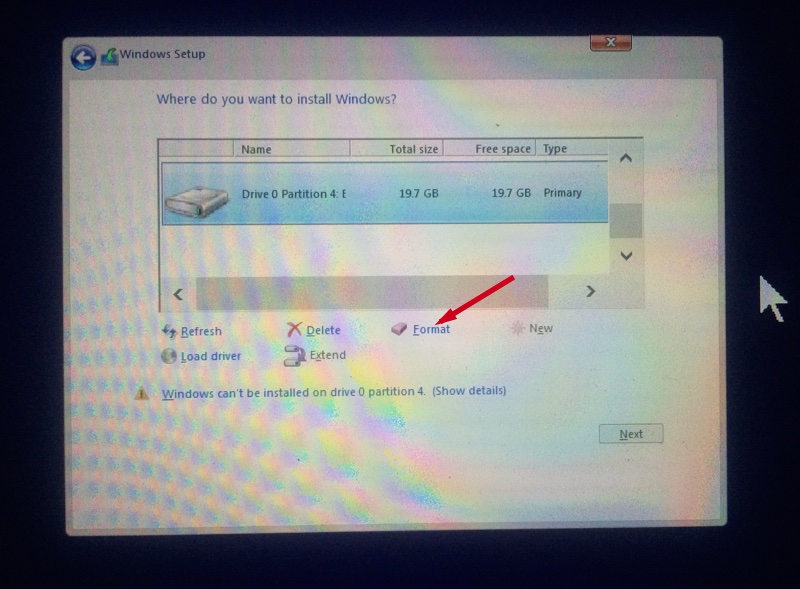
12. Select that partition and click the “Format” button. Once done click “Next”.
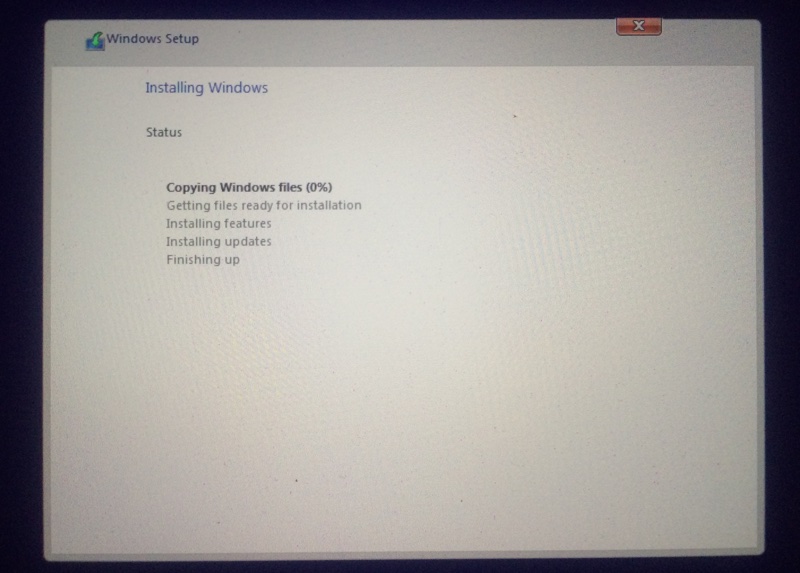
13. Sit back and relax. It will take about 20-30 minutes to install Windows on your Mac.
14. Once ready it will ask you about general Windows settings and username and password for your new user account, enter the details and continue.
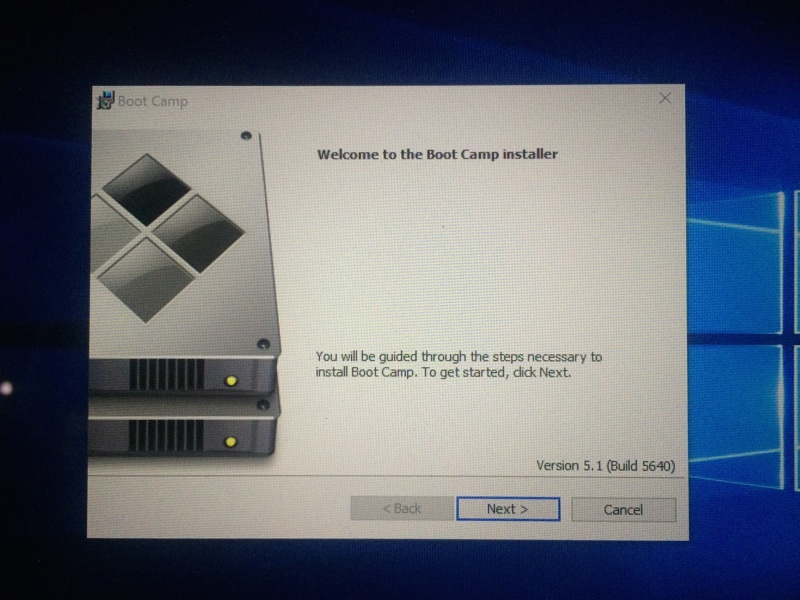
15. Once you’re in Windows, Boot Camp driver software will launch. Just click next and wait for drivers installation to complete.
16. Once it is completed, you’re done. Rejoice!
Later on if you plan to uninstall Windows, follow the complete uninstallation guide here.


thanks hadi. gonna try !