


iOS has a useful feature that allows users to resize any image on their iPhone or iPad. In addition to resizing the images, users can also reduce the size of the image reducing its file size from MBs to KBs.
This can be done using the Shortcuts app on iOS 17 and iOS 18. No third-party app or paid tool is involved in the whole process, and once you have created the shortcut you can use it any time you like without going through the whole process again.
Reduce Size and Resize Images
Step 1. Open the Shortcuts app and tap on the ‘+’ button from the top.
Step 2. Tap on the search bar and type ‘Select Photos’. Add the Select Photos action to your shortcut by tapping on it.
Step 3. Next search for ‘Resize Image’ and add the Resize Image action to your shortcut.
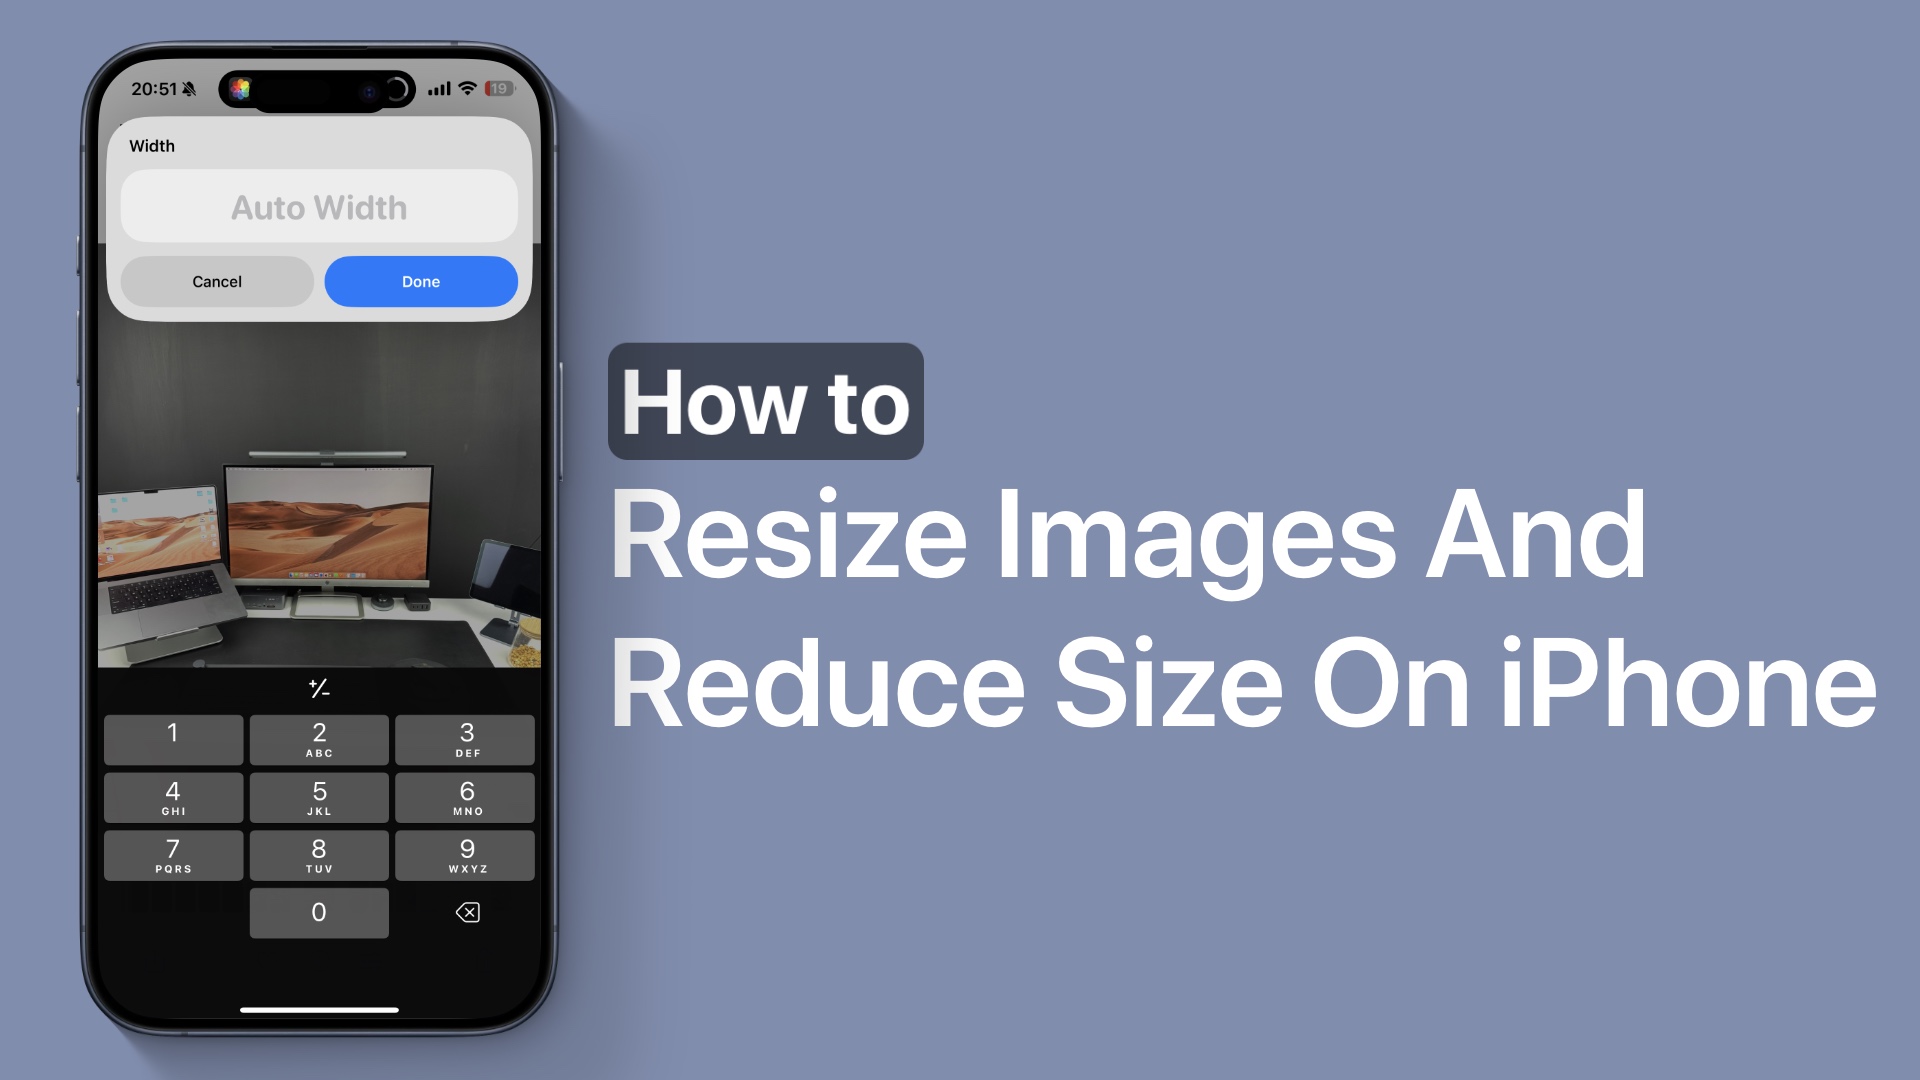
Step 4. After the Resize action has been added to your shortcut, tap on where it says ‘640’ and then choose the ‘Ask Each Time’ option.
Step 5. Tap on the search bar once again type ‘Save to Photo Album’ and add this action to your shortcut.

Step 6. Now tap on the ‘i’ button from the bottom bar and enable the toggle for ‘Show in Share Sheet’ followed by a tap on Done.

Step 7. Tap on the arrow next to the title and rename the shortcut so that you can find it later. You can rename it Image Resizer or something similar.
Step 8. Finally, tap on the ‘Done’ button in order to save your shortcut.
Download the Image Resizer shortcut
If you don’t want to go through the hassle of creating the shortcut yourself, then you can download the fully functional Image Resizer shortcut from this link: Download Image Resizer Shortcut
Running Image Resize shortcut

You can easily run the image resize shortcut from the Shortcuts app or by following the steps below.
Step 1. Launch the Photos app and open any image.
Step 2. Tap on the Share button from the bottom and scroll up on the Share Sheet. Find and tap on your newly created shortcut.

Step 3. Select the image you want to resize.
Step 4. When prompted enter your desired width for the image and tap on Done.
That’s it, now the image will be resized and saved as a new copy in the Recents folder of the Photos app.

