


iPhone taking blurry photos? In this blog, we’ll take you through some simple steps to help you get your iPhone camera back in focus and ready to capture those stunning shots.
We’ve all been there – you’re about to capture that perfect moment with your iPhone, but when you open the camera app, everything looks blurry.
Frustrating, right? Don’t worry; you’re not alone.
Blurry iPhone camera issues are more common than you might think, and the good news is that they can often be fixed without a trip to the Apple Store.
Why Is My iPhone Camera Blurry in Selfie Mode?
There are several potential reasons behind this common problem. Understanding these factors can help you address the issue and ensure that your selfie game remains strong.
Perhaps the culprit is your camera lens’s state, or it could be as simple as a lighting hiccup. However, sometimes the problem goes beyond these issues. Let’s take a look:
Fix iPhone taking blurry photos
Here are fixes that can help you in fixing iPhone taking blurry photos issue.
1. Put Both the Front and Rear Cameras to the Test

Sometimes, camera issues can be specific to one lens or sensor. Your iPhone has multiple cameras, including the front-facing selfie camera and the rear camera(s), which might have different lenses and capabilities. Here’s what you can do:
- Rear Camera Test: Start by capturing images in different lighting conditions and with various subjects. If all your rear camera shots turn out blurry, it’s likely a broader issue that might be solved using some of the tips given below.
- Front Camera Test: Flip the camera to the front-facing one and take some selfies. If the front camera pictures are consistently blurry while the rear camera isn’t, it could indicate a problem with the front camera or its lens.
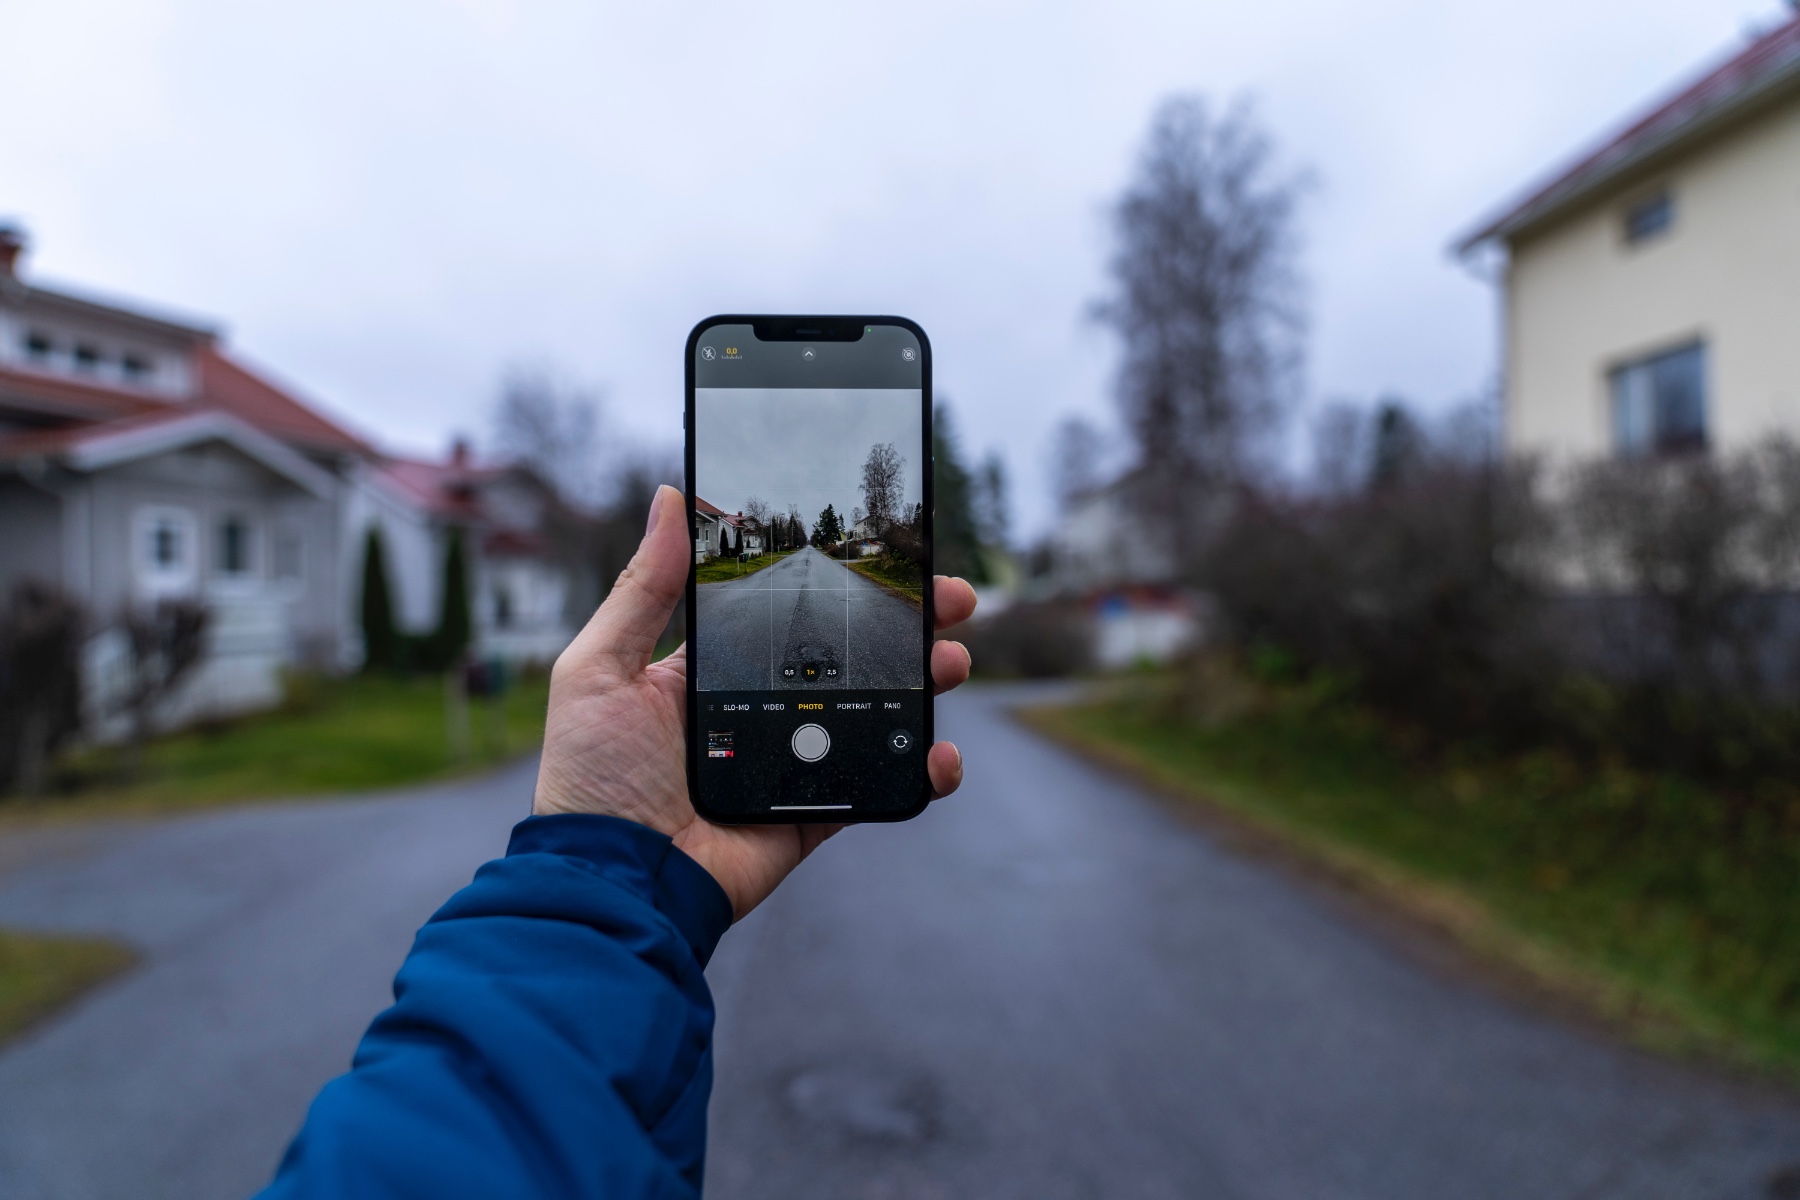
- Wide-Angle Mode Test: If your iPhone has a wide-angle mode on the rear camera, be sure to test that as well. It uses a different lens, so if the wide-angle photos are blurry while the standard 1x pictures are fine, this could help pinpoint the issue.
By conducting these tests, you’ll be able to identify whether the problem lies with a particular camera or lens. If you discover that only some of these pictures are blurry, you’ve narrowed down the issue, which can be incredibly helpful when seeking assistance from Apple support or a professional technician.
2. Clean Your Lens
If your iPhone is taking blurry photos, start with the basics. Sometimes, the reason your iPhone camera is blurry is simply because the lens is dirty. Over time, dust, fingerprints, and smudges can accumulate on the lens, affecting the clarity of your photos.
To fix your iPhone photos blurry problem, grab a microfiber cloth or a lens cleaning wipe (the kind you use for your glasses) and gently clean the lens. It’s amazing how much of a difference this can make.
3. Check Your Focus
iPhone taking blurry photos can be frustrating especially when the solution isn’t as simple as cleaning the lens. But fret not, this one’s quite a simple solution to the iPhone camera blurry problem as well.
Your iPhone camera has a nifty autofocus feature, but sometimes it can get a little confused. To regain control, tap on the subject you want to focus on. You’ll see a yellow box appear around it. This tells your iPhone where to focus, helping to sharpen your image.
Once you’ve got your focus and exposure just right, just lock it. In the camera app, tap and hold on the screen to activate the AE/AF Lock. This locks both the focus and exposure settings, preventing your camera from changing them as you move the phone. It’s great for tricky lighting situations. (source: Apple)
Alternatively, you can invest in a mini tripod or use objects around you to prop up your phone for a steady shot to avoid the front camera blurry on iPhone 14.
4. Take Off Your iPhone Case
Did you know your trusty case could be the culprit behind the iPhone taking blurry photos? Sometimes, they inadvertently obstruct the camera lens, leading to dark and blurry photos.
Try removing your case and see if the front camera blur on iPhone 13 issue persists or instantly improves your shots.
5. Check for Software Updates
Followed all these solutions yet the iPhone camera keeps blurring and deblurring?
Sometimes, a simple software update can fix camera issues like the iPhone taking blurry photos.
Apple often releases updates that include camera improvements. To check for updates, go to Settings > General > Software Update. If there’s an update available, go ahead and install it.
6. Restart Your iPhone
When all else fails, a good old-fashioned restart can work wonders on solving the iPhone taking blurry photos issue.
Sometimes, glitches or minor software hiccups can affect your camera’s performance resulting in iPhone photos blurry issue. Restarting your iPhone can clear these issues and give your camera a fresh start.
7. Close and Reopen the Camera App
When in doubt, reboot. The Camera app, like any other, can experience software crashes causing the iPhone camera to blur. If this happens, your camera might appear blurry or just show a black screen.
To fix your iPhone taking blurry photos, simply close and reopen the Camera app.
- Open App Switcher:
- On iPhone 8 and earlier models, double-click the Home button.
- On iPhone X and newer models, swipe up from the bottom to the center of the screen.
- Close Camera App & Reopen:
- In the App Switcher, find the Camera app.
- Swipe it off the top of the screen to close it.
- Go back to your home screen and Tap the Camera app to open it again.
8. Put Your iPhone in DFU Mode
If all else fails and your iPhone is taking blurry photos, it might be a software issue lurking deep within your iPhone. That’s when DFU (Device Firmware Update) mode comes to the rescue.
For iPhone 7 or Older:
- Connect your iPhone to your computer.
- Open iTunes or Finder. Your iPhone can be on or off; it doesn’t matter.
- Simultaneously press and hold the Sleep/Wake Button and Home Button (for iPhone 6s and below) or the volume down button (for iPhone 7) for 8 seconds.
- After 8 seconds, release the Sleep/Wake Button but keep holding the Home Button (for iPhone 6s and below) or the volume down button (for iPhone 7) until your iPhone appears in iTunes or Finder.
- Release the Home Button or volume down button. If your iPhone’s screen is entirely black, you’ve successfully entered DFU mode. If not, start over from the beginning.
For iPhone 8 or Newer:
- Your iPhone does not need to be turned off for this process.
- Quickly press and release the volume up button, then quickly press and release the volume down button.
- Press and hold the side button until the screen goes black.
- As soon as the screen turns black, keep holding the volume down button while still holding the side button.
- After 5 seconds, release the side button, but continue holding the volume down button until your iPhone shows up in iTunes or Finder.
- Once it appears, release the volume button. Your iPhone is now in DFU mode.
If Nothing Works…
iPhone taking blurry photos is a common problem, but it doesn’t have to ruin your photography adventures. Most of the time, a simple cleaning or adjustment can make a world of difference.
However, if none of the above solutions work, it’s worth examining your iPhone for physical damage. A cracked lens or damaged camera sensor can lead to blurry photos. If you suspect this is the issue, it’s best to take your iPhone to an Apple Store or an authorized repair center.
