


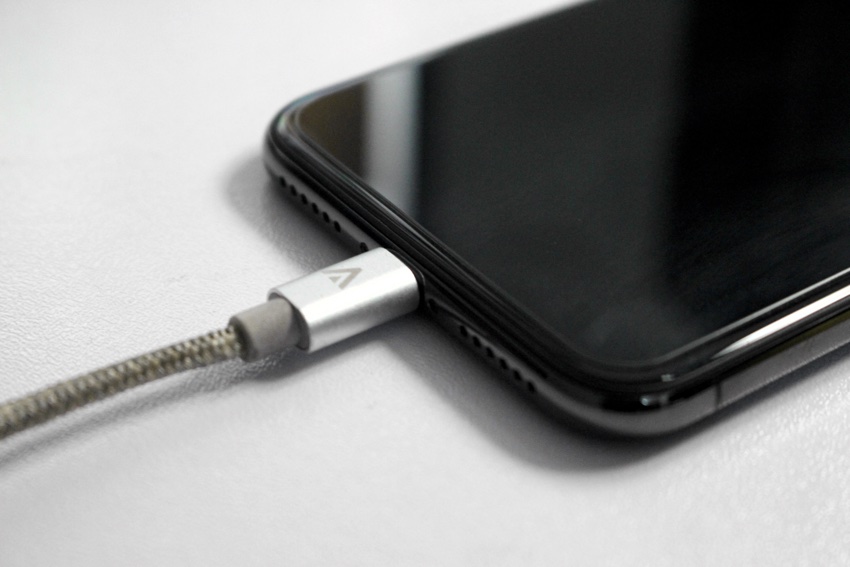
If you are having the issue of iPhone not charging and can’t figure out what the actual problem is, you have come to the right place. In this tutorial we will perform different diagnostics on your iPhone and figure out why it won’t recharge. Hopefully by the end of this article you will have a fully working iPhone.
Before we begin with the process of finding out why your iPhone won’t charge, you should know that there are limited number of reasons why an iPhone does not recharge. This includes a problem with the power source and/or the USB wall adapter, a problem with the Lightning cable, a problem the software of the device and finally the problem with the lightning port of the iPhone. We will look at solutions for fixing charging problem for each of them.
iPhone not charging? Issues with Power source

The first thing you should for solving iPhone not charing issue before moving on to the next steps is to see if the power source is working or not. First of all plug another electronic device into the power socket to make sure it is outputting power. Alternatively, you can try plugging your iPhone in another power socket. More often than not the problem is not with the iPhone but the power source.
If the problem is not with the power source, then your power adapter could be at fault. This happened to me once, when I had the iPhone not charging issue because the power adapter had stopped working. You can see if the problem is with your iPhone’s power adapter by plugging your iPhone’s lightning cable in another compatible power adapter or simply plugging the Lightning cable into a computer’s USB port. If the iPhone starts recharging, then that means the problem is with the power adapter and not the iPhone itself.
Issues with Lightning cable
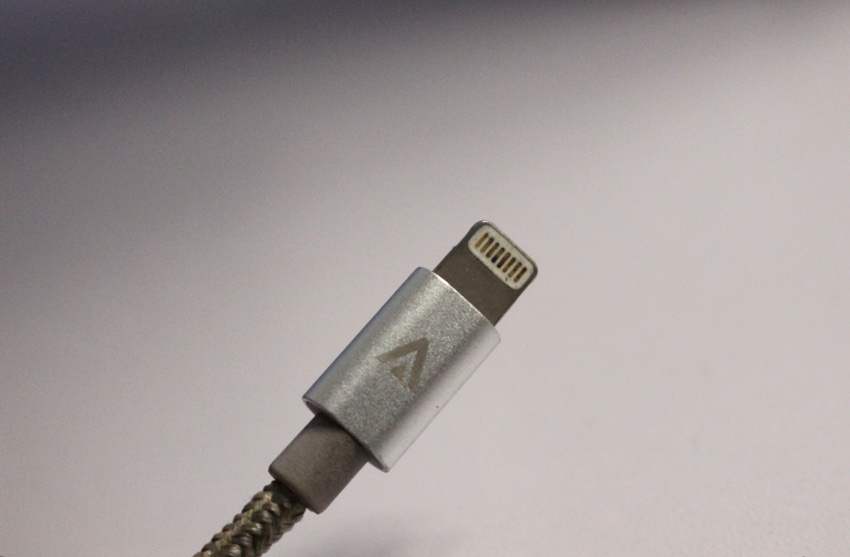
If plugging the iPhone’s lightning power cable into a computer’s USB port didn’t work, then the issue can be with the Lightning cable. Try replacing the Lightning cable, if you don’t have a spare one, then borrow one from a friend before purchasing a new one. This way you won’t end up with two working cables. If you have more than one iOS device in your household, then you can also try plugging the same lightning cable to another iPhone to see if it is working.
Bonus tip: If problem is indeed with the Lightning cable, you can have it replaced for free from Apple. Your iPhone’s one-year warranty covers all the accessories that come with it, so you can simply walk into an Apple Store and get the cable replaced.
Issues with Lightning Port
If both power source and lightning cables are functional (you can verify this by using them with another iOS device or using a wireless charger on new iPhone X or 8), then you should try cleaning up the Lightning port of your iPhone. It is common for debris or gunk to get inside the iPhone’s charging port and get stuck in there. Due to this the cable won’t be able to have a proper connection with the connectors and this will result in iPhone not charging. You can use a new toothbrush to clean up the lightning port of your iPhone.
Fixing iPhone not charing with Software Solutions
If none of the hardware solutions work and your iPhone not charging issue persists, then don’t lose hope as a lot of times the problem can be with the software of the device. Even though your iPhone has a working power connection it is the software that decides whether the device will start charging or not. So if the software is not responding positively to the incoming power, your iPhone won’t start recharging. You can solve this issue by following the simple steps below.
Hard reset your iPhone
A lot of annoying iPhone issues can be solved with a simple hard reset. Good news is it takes under a minute to hard reset the device. Follow the steps below.
Hard reset iPhone 6s or older: Press and hold the Power button and Home button button at the same time. Keep the buttons pressed until the Apple logo appears, let go once it does.
Hard reset iPhone 7 or later: Press and hold the Power button and Volume down (-) buttons at the same time. Keep the buttons pressed until the Apple logo appears, let go once it does.
Hard reset iPhone X or 8: Press and release the Volume Up button. Next press and release the Volume down button. Press and hold the side/power button until he Apple logo appears.
Restore Your iPhone
If hard resetting did not work, then restoring your iPhone’s software might work. Since your iPhone is not responding to power connecting it to iTunes directly won’t work. So you have to put it in DFU mode first. Do note that you are restoring the software on your iPhone and resetting it to Factory Settings, so all of your data that hasn’t been backed up on iTunes or iCloud will be lost.
To put your iPhone in DFU mode follow the steps below:
- Connect it to computer using a lightning cable.
- Press and hold your iPhone’s lock button and home button for 8 seconds. If you have iPhone 7 or later then hold power and volume down (-) buttons for 8 seconds.
- After 8 seconds release the power button, while continuing holding the home button for iPhone 6s or older and volume down for iPhone 7 or newer until you see a pop up on your computer’s screen that says “iTunes has detected an iPhone in recovery mode.”
- Press OK and then click on the Restore button.
DFU mode for iPhone X, iPhone 8 or iPhone 8 Plus
- Press and release the Volume up button.
- Press and release the Volume down button.
- Press and hold the side button until the screen turns black. Release the button.
- Press and hold the side button and volume down buttons at the same time for 5 seconds.
- Release the side button after 5 seconds. Keep the volume down button pressed.
- Release the volume down button as soon as you see the pop up on your computer’s screen that says “iTunes has detected an iPhone in recovery mode”.
- Press OK and then click on the Restore button.
We hope these solutions helped you solve the problem of iPhone not charging. If you have any questions, then use the comments section below.

