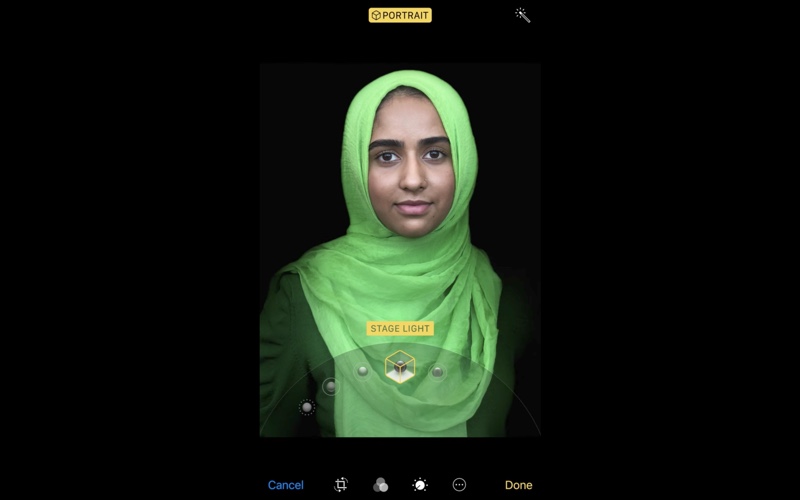
Portrait Lighting Effect feature on iPhone X and iPhone 8 Plus is great. It allows users to add professional studio like effects to their portrait photos with the help of Artificial Intelligence. While fun to use, the feature is still in its early stages and far from perfect. And if you have ever used this feature, you will know that sometimes results can be pretty bad.
Thankfully though you can completely remove the Portrait Lighting effect from a photo taken with the feature, and even change the effect at a later stage. Follow the steps below to learn how to change or remove portrait lighting effect from iPhone photos.
Change Or Remove Portrait Lighting Effect Afterwards
- Launch Photos app and open any Portrait photo that you took with ‘Portrait’ mode of the camera app.
- Tap on the ‘Edit’ button. Now to remove the Portrait effect completely simply tap on the yellow Portrait button from the top.
- If you want to change the effect, then you can select any other Portrait Effect of your choice. Simply slide your finger on the effect picker and stop on the effect you want to choose.
- Once you have removed or changed the portrait effect simply tap on the ‘Done’ button.
That is how you can remove or change the portrait lighting effect right on your iPhone even after you have taken the photo. If you have taken a good photo but don’t like the lighting effect on it, this tip can be very useful.


