


If you are selling your iPhone, giving it to someone else, or just need to fix software issues, then a factory reset is the right option for you.
In this tutorial, we have shared steps on how to factory reset iPhone 17 or iPhone 17 Pro and return it to its original factory settings.
You can also follow these steps on iPhone Air and iPhone 17 Pro Max.
Important: A factory reset will permanently erase all of your data. Before performing the steps below, make sure to back up your data to iCloud or create a fresh iPhone backup on your computer.
Factory Reset iPhone 17
- After backing up your iPhone, go to Settings.
- Here, tap on General and scroll down.
- Tap on Transfer or Reset iPhone.
- Next, tap on Erase All Content and Settings.
- Enter your passcode, and if asked, enter your Apple ID password to disable Activation Lock and Find My.

Your iPhone will now restart and begin wiping all your data. This may take a few minutes, depending on how much data you have on your device.
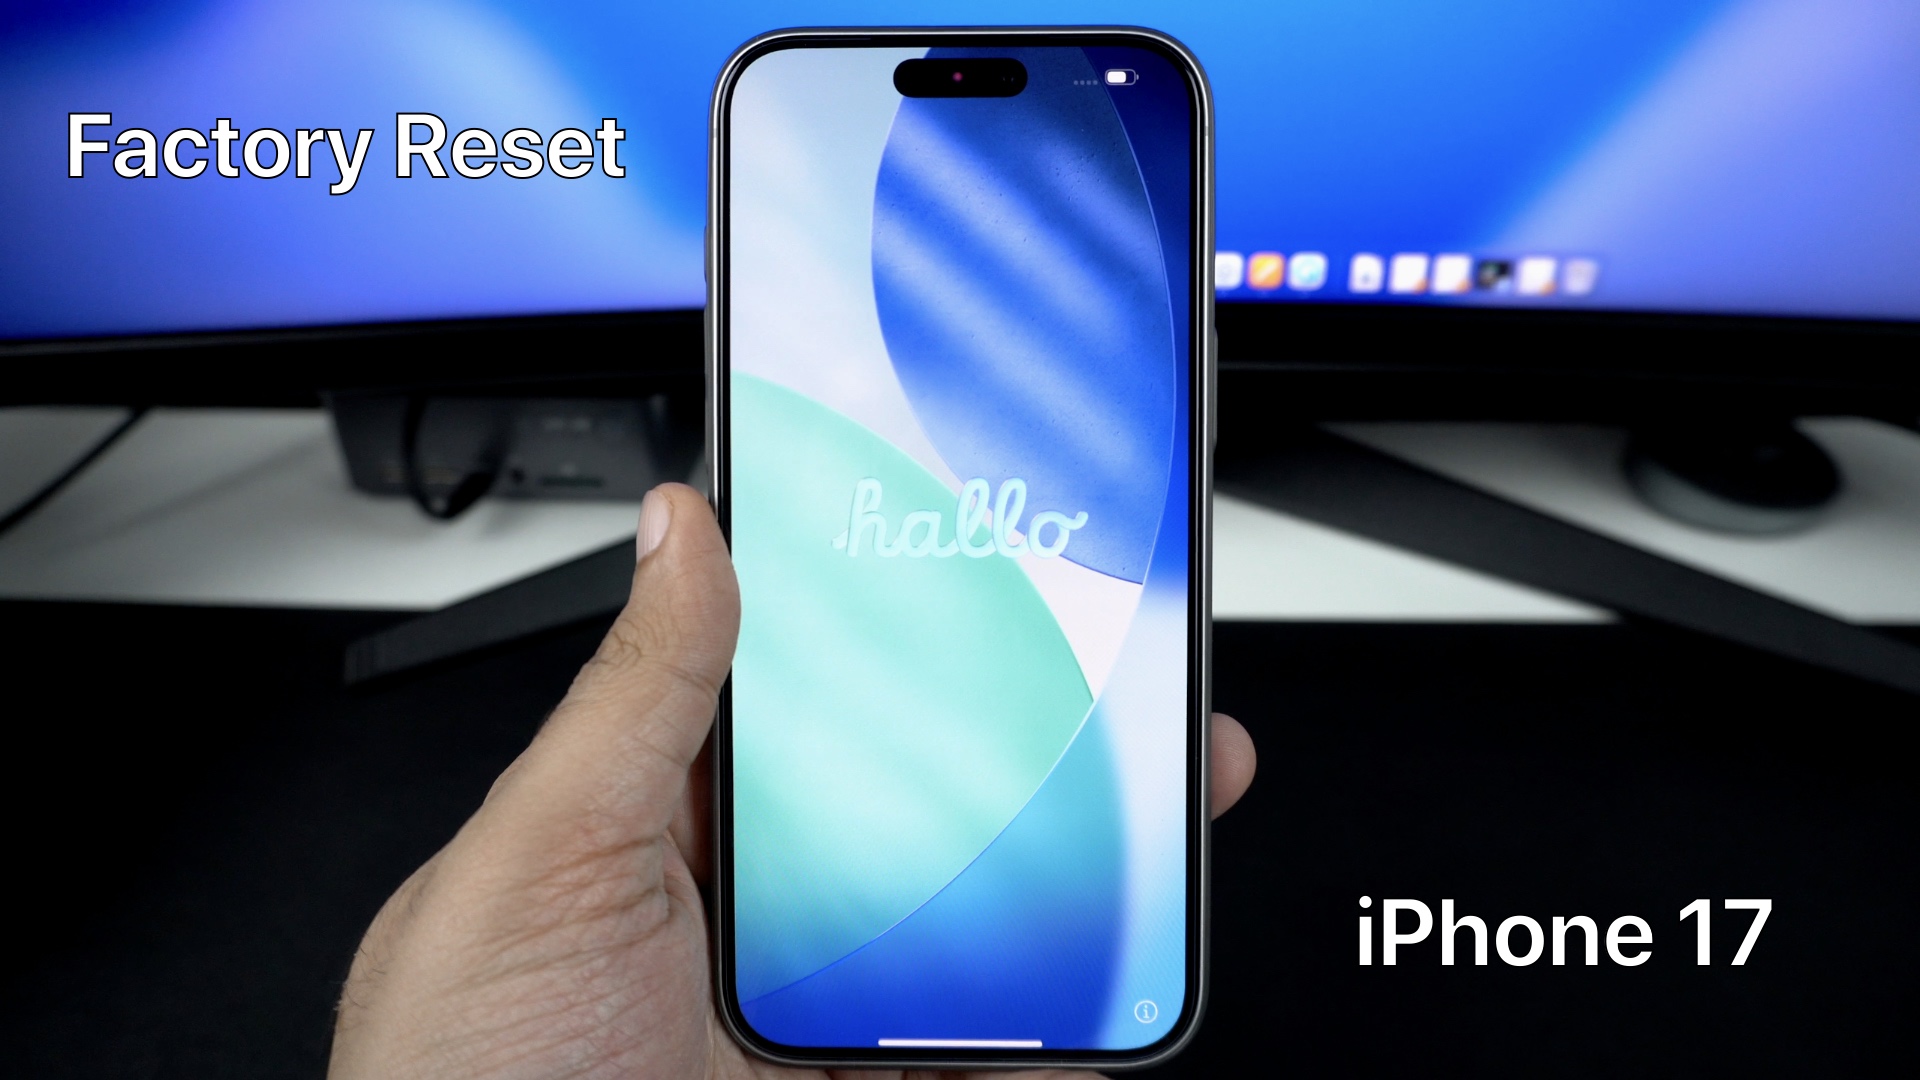
After your iPhone is done, you will see the Hello setup screen. You can now set this device up as a new iPhone or restore your backup on it.
Why you should Factory Reset an iPhone 17:
- A factory reset can fix persistent software issues with your device.
- It can improve the performance of your device.
- It frees up storage on your device and gives you a completely clean slate.
- It lets you securely erase your data and prepare the device for selling.
That’s it, this is how you can factory reset an iPhone 17. If you have questions related to this process, then let us know in the comments below.

