


When it’s time to upgrade to a new iPhone or pass your current one to someone else, it’s crucial to ensure all your personal data is securely wiped. This protects your privacy and ensures the new owner gets a fresh start with the device.
In this tutorial, we’ll walk you through how to factory reset your iPhone and erase all its data, making it ready for sale or transfer.
Why Factory Resetting Your iPhone is Important
Whether you upgrade your iPhone every year or every few years, securely wiping your data is essential when handing it over to someone else. Your photos, messages, contacts, accounts, and other personal information are too valuable to risk getting into the wrong hands. Fortunately, Apple makes the process of erasing your iPhone quick and simple.
Before we dive into the steps, ensure you’ve transferred your data to your new device or created a backup (either via iCloud or through a computer). This is critical, as the reset process is permanent and will result in the loss of all data on your iPhone.
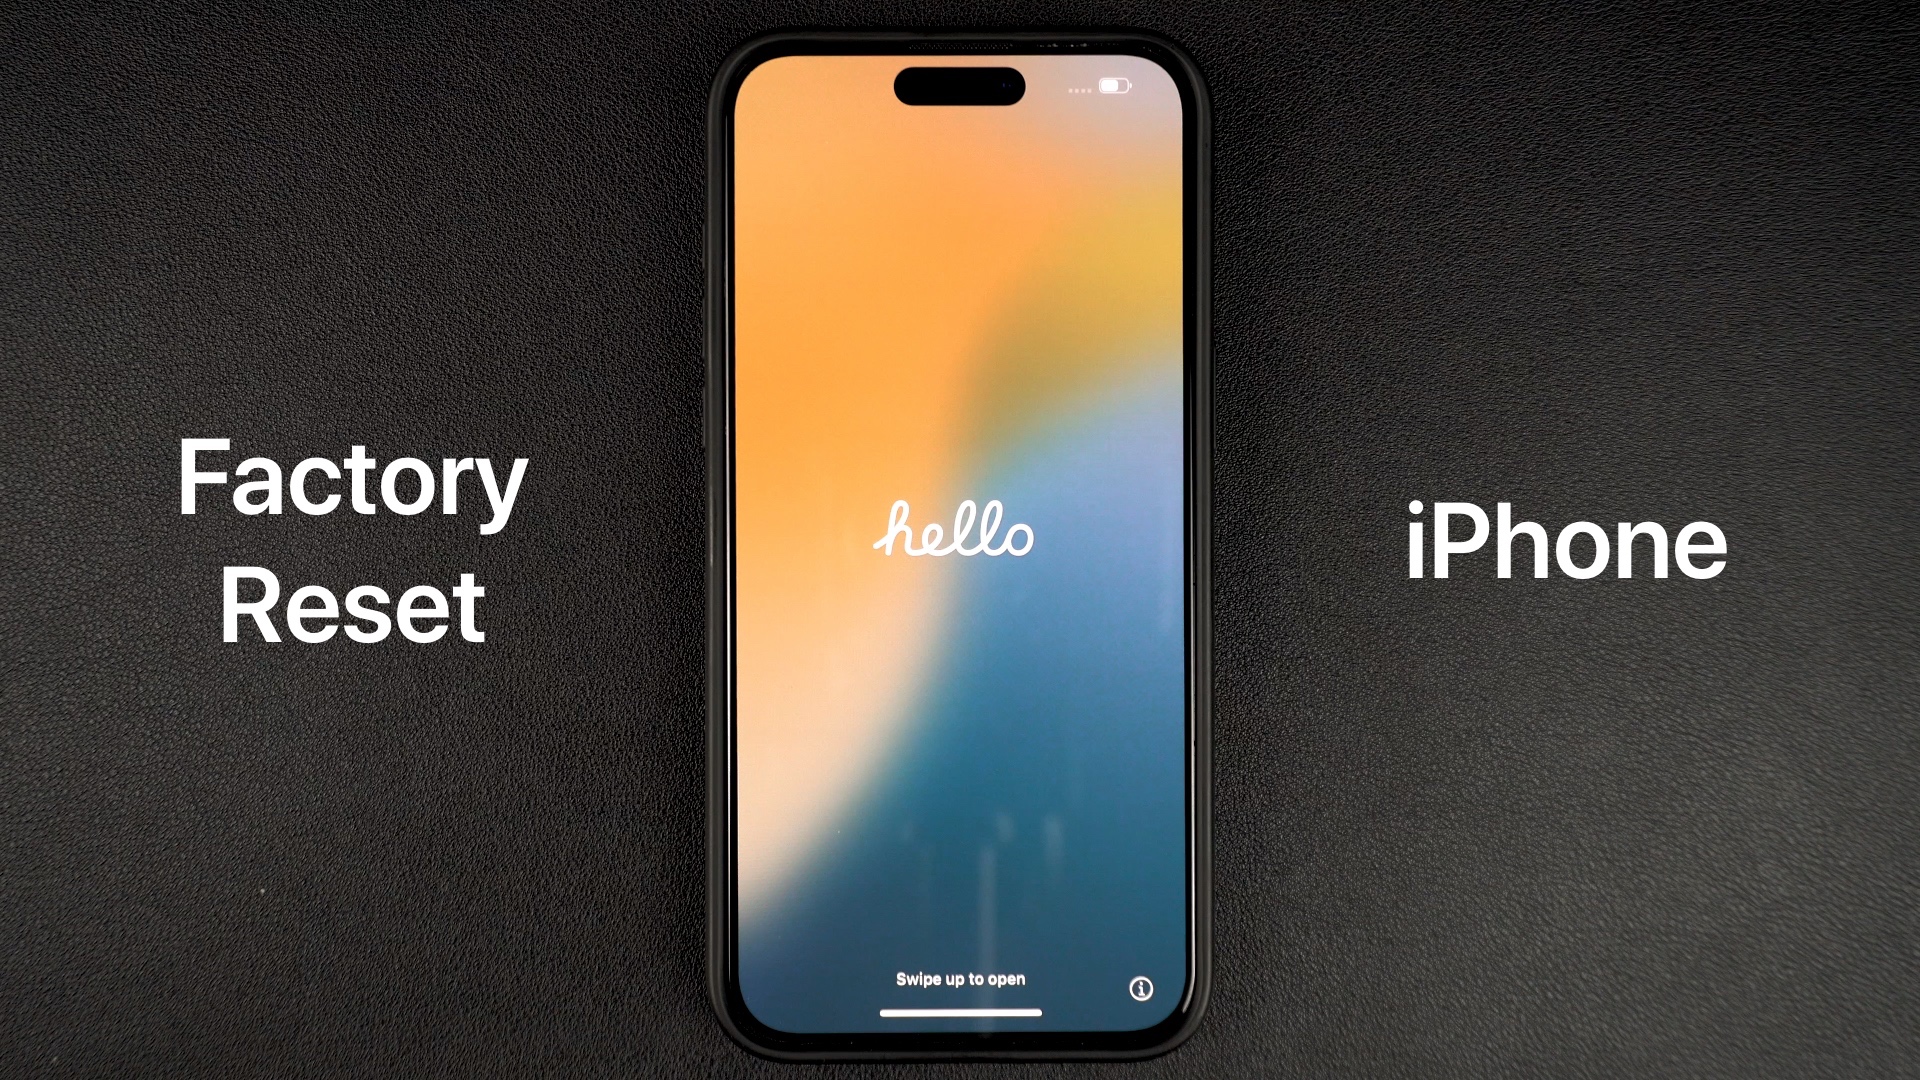
Steps to Factory Reset Your iPhone

- Launch the Settings app and go to General.
- From there scroll down and tap on Transfer or Reset iPhone option.
- On the next page tap on Erase All Content and Settings option.
- On the next page review the items that will be removed from your device and tap on the Continue button.
- When promoted enter your iPhone’s passcode and your Apple Account’s password.
Wait as your iPhone resets and your data is erased. Your iPhone might restart a few times and display the Apple logo along with a progress bar. After the factory reset process has been completed you will be able to set up your iPhone as a new device. At this point, you can hand it over to its new owner, who can then set it up.
Final Thoughts
Factory resetting your iPhone before selling or giving it away is essential to protect your privacy and ensure the device is ready for its new owner. By following these simple steps, you can securely erase your iPhone in just a few minutes.
That’s it! Your iPhone is now reset and ready to be handed over safely.

