


Are you looking to access your Mac’s System Report on macOS Ventura or later? Then you will find this guide to be helpful.
A major change included in macOS Ventura is the revamping of System Preferences into System Settings, which may come as a surprise. In addition, the Mac System Report has been moved.
There is a significant visual change in Ventura with the renaming of System Preferences – now called System Settings – to a sidebar list rather than a tiled UI with icons, which has become very familiar over the past many years.
Another major change that you will find in macOS Ventura is that the macOS System Report has been moved two levels deeper in System Settings from the top-left corner.
Where’s Mac System Report in macOS Ventura
You can view your Mac’s System Report screen with two different methods. For your ease we have detailed steps for both methods below.
Option 1
Step 1. Click on Apple logo from the menu bar and then go to > About This Mac.
Step 2. Click on More Info.
Step 3. Scroll down to the very bottom of the System Settings window that appeared, click System Report
Option 2 to see your Mac System Report
Step 1. Go to System Settings on your Mac.
Step 2. Select General from the left sidebar, and then click About.
Step3. Scroll down to the very bottom and choose System Report.
Note: On macOS Mojave or older you can view System Report by clicking on Apple logo from the top menu bar and then clicking on About This Mac. Finally click on System Report… button in order to view System Report.
In a Nutshell
It will take some time to get used to the updated interface in Apple’s macOS Ventura update, which replaced System Preferences with System Settings. Besides, you shouldn’t have any problems using System Settings if you have an iPhone or iPad, because the interface is similar.
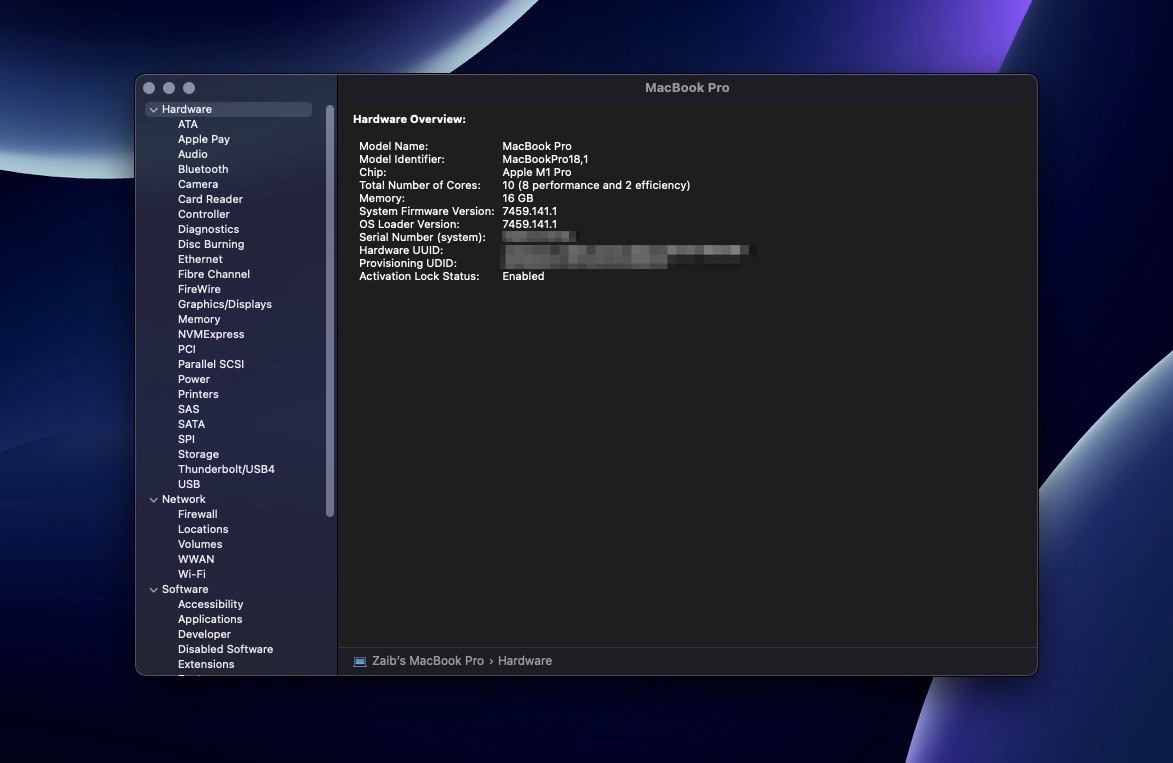
In System Settings, you can find the System Report, which contains all the relevant hardware and software information about your Mac, making troubleshooting easier. Although you may not need it every day, knowing how to access it can be handy.
Was this guide helpful? Let us know in the comments section.

