


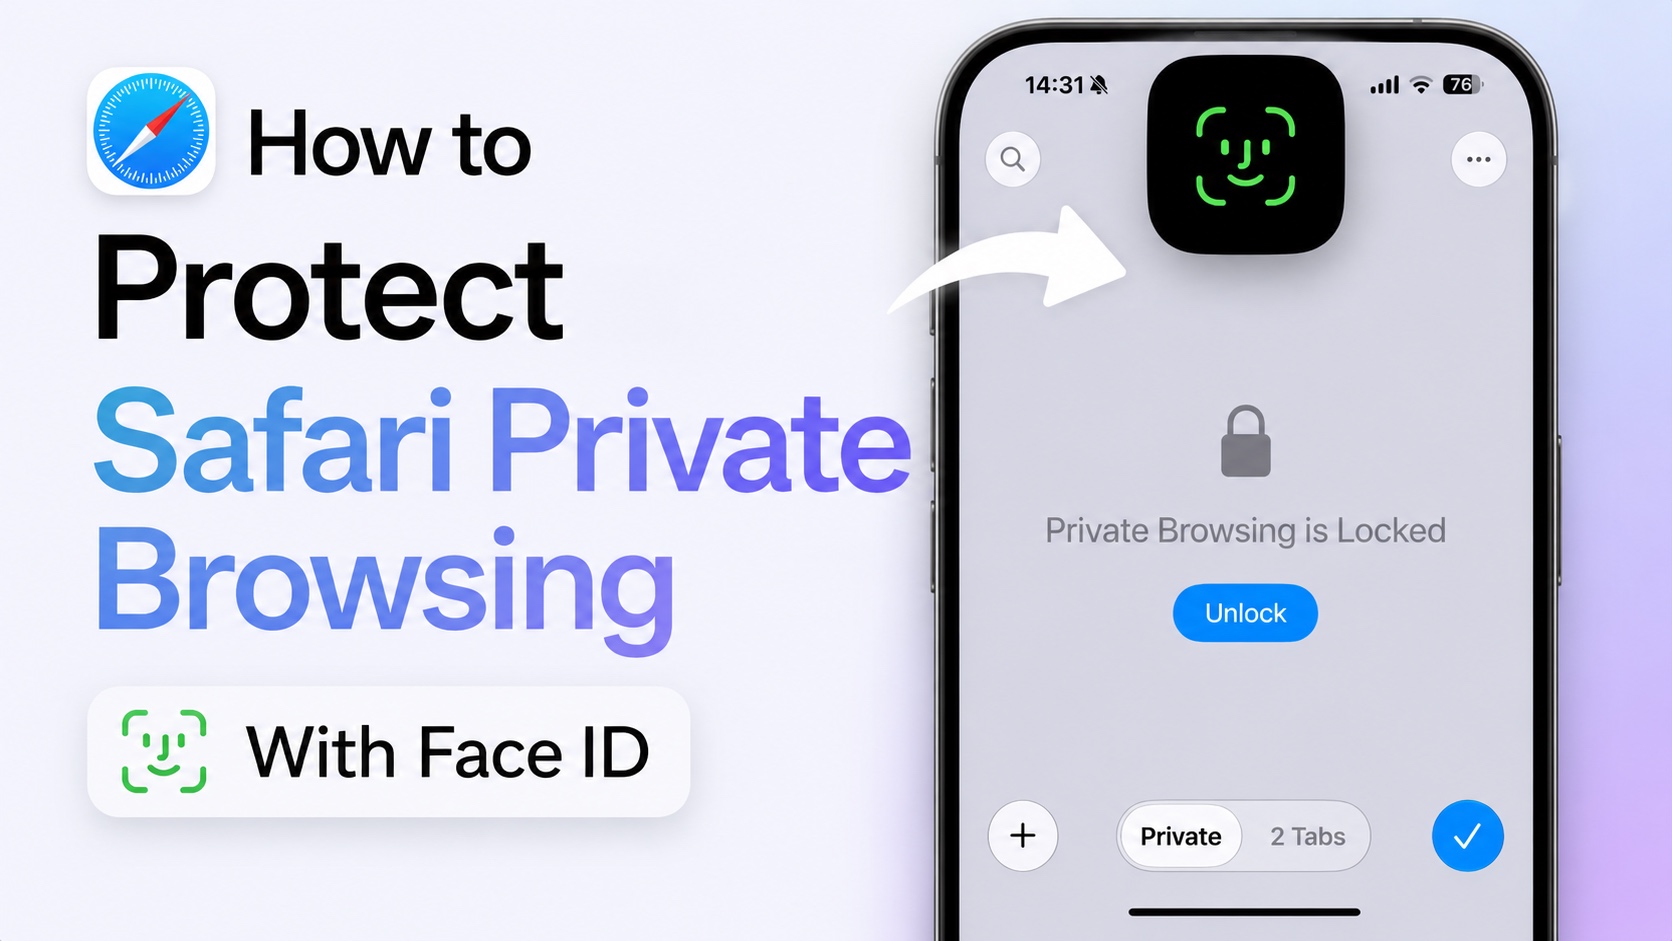
If you use Safari’s private browsing feature to visit websites that contain sensitive and personal information and want to prevent others from accessing this section of Safari, then keep watching.
Safari has a hidden feature that lets you protect private browsing section with Face ID. When this feature is enabled, Safari will require Face ID or Touch ID to unlock Private Browsing.
You can easily enable this feature by following a few simple steps.
- Start by launching the Settings app.
- Tap on Apps.
- On the next page, find and tap on the Safari option.
- Under Safari settings scroll down and find the Privacy & Security section.
- Look for the Require Face ID to Unlock Private Browsing toggle and turn it on.

Now go to back to Safari and access the Private Browsing section.
As you can see Safari now asks the user to perform a Face ID scan, and only grants access to the Private Browsing section after successful authorisation.
This a super useful feature that boosts your privacy and makes Safari and your web browsing experience more secure.
This is how you can protect Safari’s Private Browsing Section with Face ID. If you found this tutorial helpful, then be sure to hit the like button and subscribe to iOSHacker for more iPhone tips. Thanks for watching.


