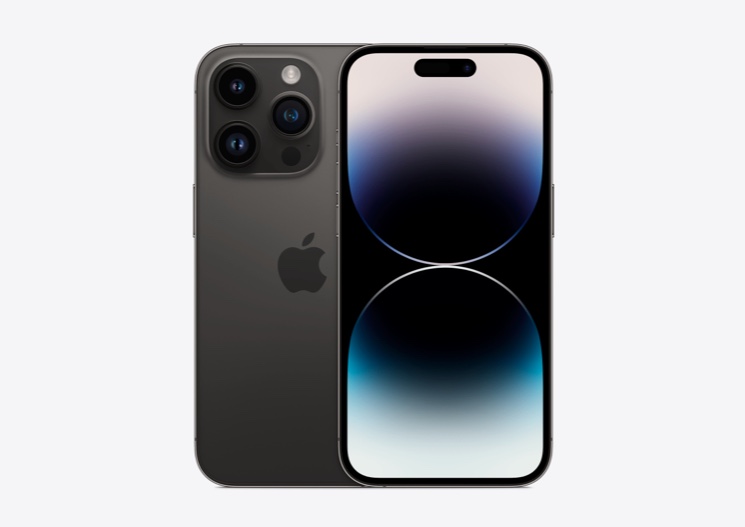
If you’re experiencing issues with an iPhone 14 or iPhone 14 Pro device, then putting it in Recovery Mode or DFU Mode might help.
In this step by step tutorial we will show you how to put iPhone 14 or iPhone 14 Pro in Recovery Mode and DFU Mode. By taking advantage of these special modes you can potentially solve many issues with your device and even reinstall a fresh copy of iOS on it.
This guide can be used to put iPhone 14, iPhone 14 Plus, iPhone 14 Pro and iPhone 14 Pro Max in Recovery Mode and DFU Mode. Steps for each of these mode are given below separately.
What’s the difference between Recovery Mode and DFU Mode in iPhone 14?
Recovery Mode: In iPhone 14 devices Recovery Mode is a failsafe in iBoot, which enables users to install a new version of iOS on their device. You can use Recovery mode when iTunes does not recognize your device or you are experiencing an issue where iPhone 14’s screen is stuck at Apple logo.
DFU Mode: iPhone 14’s DFU Mode or Device Firmware Update Mode is an advanced mode that is usually used to perform a clean install of iOS on an iPhone. When you place your device in DFU mode your iPhone interfaces with iTunes without loading the boot loader. This mode is particularly useful when iPhone is seemingly broken and is showing black screen. After putting iPhone 14 in DFU mode users can connect it to the computer with a USB cable and perform a clean install of iOS on it.
How to put iPhone 14 or iPhone 14 Pro in Recovery Mode
You can follow the instructions below to put iPhone 14, iPhone 14 Plus, iPhone 14 Pro or iPhone 14 Pro Max in Recovery Mode.

Step 1. Connect iPhone 14 to computer using a USB Lightning cable.
Step 2. Press Volume Up button and quickly release. Then press Volume Down button and quickly release. Now press and hold Side button as your iPhone reboots.
Step 3. Keep the Side button pressed even when your iPhone 14 shows Apple boot logo.
Step 4. Now as you see Connect to Computer message on your iPhone let go of the Side button and open Finder or iTunes on your computer.
Step 5. Next you will be able to restore your iPhone 14 or update to the latest available version of iOS while it is in Recovery Mode.
How to Exit Recovery Mode on iPhone 14
You can quickly and easily exit Recovery Mode on your iPhone 14 without restoring your device.
You can exit Recovery mode by pressing the Side button until your iPhone reboots. Let go of the button as you see the Apple logo. When you do this your iPhone 14 will boot into iOS.
How to put iPhone 14 or iPhone 14 Pro in DFU Mode
You can follow the steps below in order to put your iPhone 14 or iPhone 14 Pro in DFU mode.

Step 1. Connect iPhone 14 to computer with a USB Lightning cable.
Step 2. Press Volume Up button and quickly release. Press Volume Down button and quickly release. Now press the Side button for 10 seconds. At this point your iPhone’s screen will go black.
Step 3. Keep the Side button pressed and then press the Volume down button for 5 seconds.
Step 4. Now let go of the Side button but keep pressing the Volume Down button for 10 more seconds. iPhone display will remain black during this time.
Step 5. Now connect your iPhone 14 to computer and launch iTunes or Finder. You should see a message saying “iTunes has detected an iPhone in recovery mode. You must restore this iPhone before it can be used with iTunes.”.
Now you will be able to restore iOS on your iPhone 14.
How to exit DFU Mode on iPhone 14
You can easily exit DFU mode by performing a force restart on your iPhone 14.
You can do so by pressing and releasing Volume Up button and then pressing and releasing Volume Down button. Finally press and hold Side button until iPhone’s screen turns off and you see the Apple logo.
Knowing how to enter or exit Recovery Mode and DFU Mode can be very beneficial in fixing many software related issues with your iPhone.
If you found this guide to be helpful, then don’t forget to share it with others. If you any questions related to this guide, then you can let us know in the comments below.


