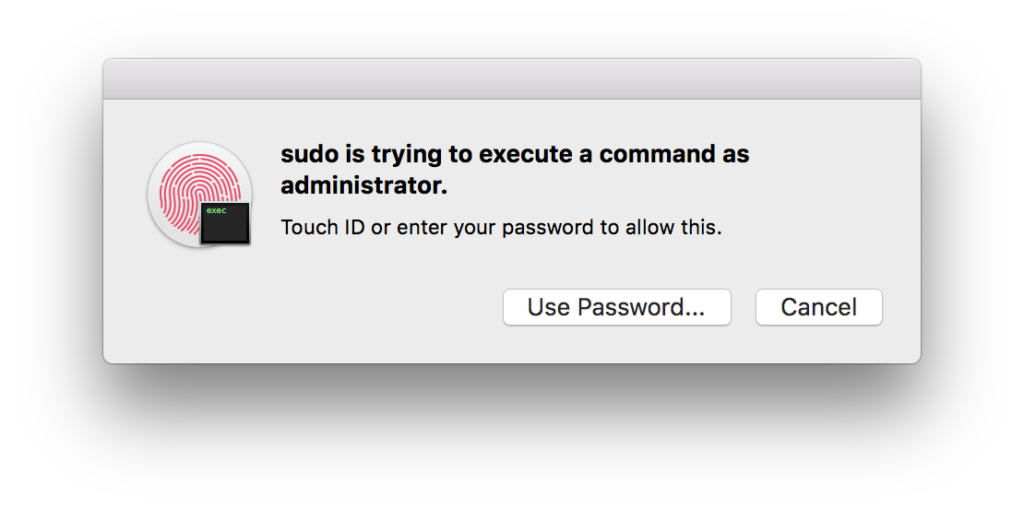
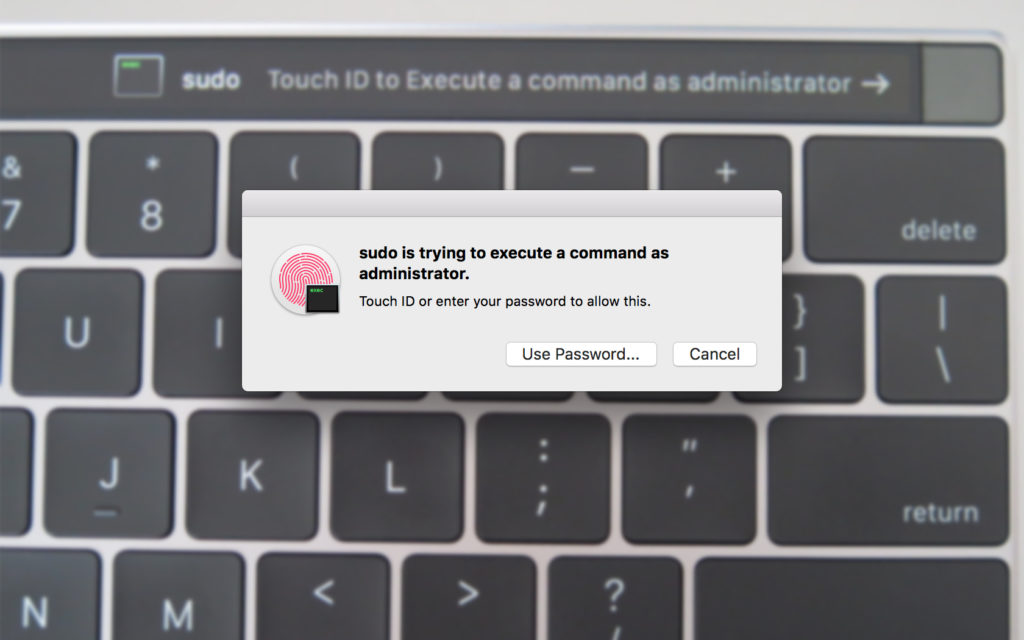
Touch ID made its way to the MacBook Pro with the 2016 model. It’s great for quickly unlocking your Mac and making changes that normally require you to type out your password. If you use Terminal a lot, however, you may have noticed that you cannot use Touch ID when entering a sudo command.
While is not possible by default, there is a way to make it happen. While there isn’t a simple box that you check off to enable the feature, there is a little trick you can do to enable Touch ID to be used with sudo command. It requires you to edit a text file.
If you own a Mac with Touch ID built-in, follow the instructions below if you want to enable Touch ID in Terminal!
Use Touch ID For Sudo In Terminal
For starters, open up the Terminal application on you Mac. Once open, type in the following command:
sudo nano /etc/pam.d/sudo
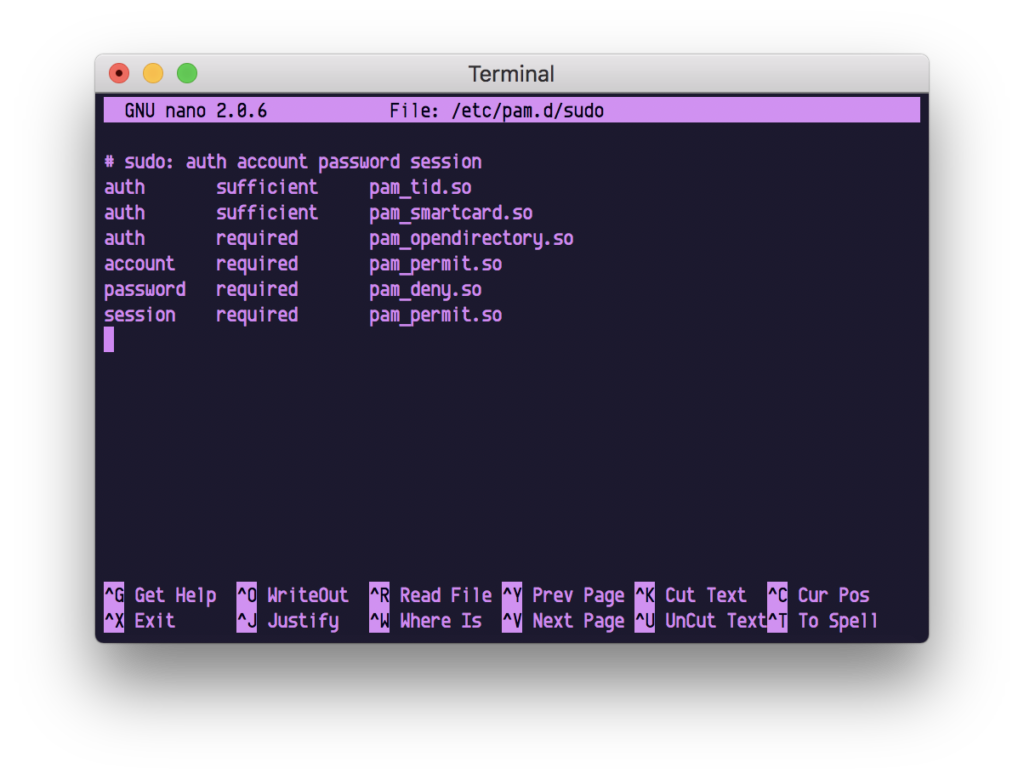
Once typed out, hit return, followed by your password. You should now see a screen like this:
Nano is a text editor inside of Terminal. What we want to do is add a line under the “# sudo: auth account password session” line that will allow us to enable Touch ID in Terminal. So create a new line, then enter:
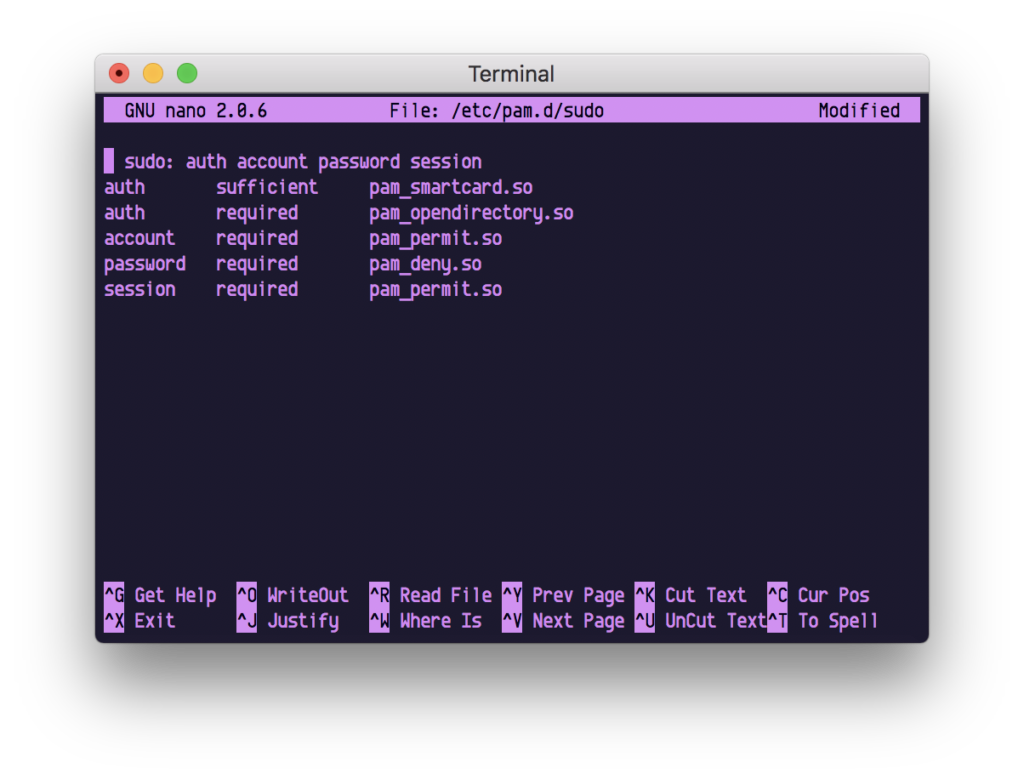
auth sufficient pam_tid.so
The file should now look like this:


Do you use Terminal a lot? Do you find Touch ID to be a great addition to the Mac? Let us know in the comments down below!


This is great except you have to re-do these steps after each macOS Update!