Are you looking to signup for Apple Music family plan and sharing your Apple Music subscription with your loved ones? Then you are in the right place. In this article we will share all the details related to Apple Music family plan including how to set up Family Sharing, how to sign up for Apple Music, Apple Music Family Plan cost and more.
You may remember the previous Family Sharing feature in iOS and Mac in which all family members had to use one Apple ID for every purchase, which was a real brain teaser for Apple users.
Since then Apple has improved the Family Sharing feature, which now allows up to 6 Apple accounts to use the music streaming service among other things. This means now you don’t have to bear the hassle of using one account for, say, 6 people! The process is made quite easy and simple. In this article we will share how you can set up your Family Sharing and share one Apple Music account among 6 members of your family.
If you want to cancel Apple Music subscription, then follow our guide.
Having said that if you are still unsure about how to use Apple Music Family Plan, continue reading:
How to Set up for Family Sharing
Before you can start your Apple Music Family Plan you need to do this first. As Family Sharing is used for Apple Music Family Plan, you have to set up for Family Sharing.
If you are the family organizer, you have to set up the initial Family Sharing. Being the initiator you will receive requests for any purchase your family makes. So here is how to go with the signing up procedure for your iPhone or Mac:
- Go to the Settings app
- Go to Apple ID Banner
- Tap Set Up Family Sharing
- Now, go to Get Started
- Tap on Continue (add a photo if you want to)
- Then, continue to share purchases
- Now Confirm the payment method that you can change later in the settings
- Share Your Location with Family or hit Not Now
- Add Family Member
- Type Name you want to add as a Family Member
- Enter the Credit Card Security Code when asked and verify that you are the Family organizer
Now you are good to go with your Apple Music Family Plan. You can add up to 6 members. Your Family members will receive the notification via email or push notification on their devices. They just have to accept your invite. The Family organizer will be charged for the purchases other family members do.
Sign Up for Apple Music Family Plan
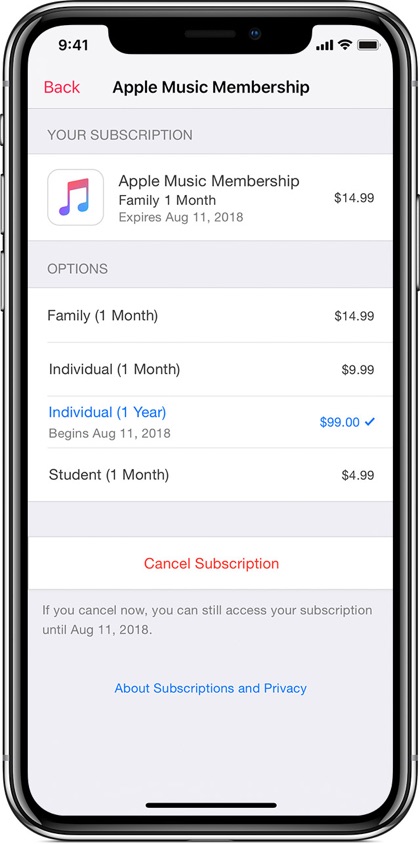
Now that Family Sharing feature is all set up on your Apple account, its now time to sign up for Apple Music’s Family plan. The Apple Music Family plan costs $14.99 for family subscription.
Remember, if your family members have already signed up for an Apple Music Free trial, then this step will not work for them. In order to get them signed up on the Family plan, you will have to wait for the free trial period to finish.
Procedure for Signing up for Apple Music Plan:
- Go to the Music app. A welcome screen will pop up
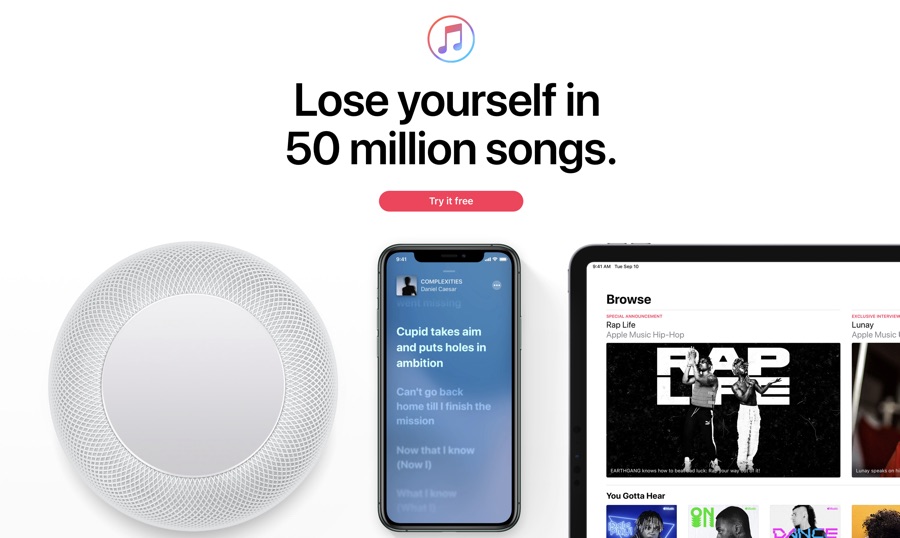
- Tap Try it free and get started with the registration process
- If you chose to Go to My Music, when the first screen appears, return to sign up by tapping the Account icon on the top left corner of the app and also go to Join Apple Music
- Now you can choose the Family membership plan
- Go to Start Trial (it’s free for 3 months)
- Log in to iTunes Store with your Apple ID details. You may also have to agree with the terms and conditions of iTunes.
- Confirm your sign up
Now all the 6 family members can access Apple Music Family Plan.
Logging in to Apple Music:
In order to access Apple Music, your family members will need an ID to sign in. So ensure assign them the same ID that you use while setting up Family Sharing.
- Go to Music App
- Tap ‘For You’
- Go to Account icon which looks like a person
- Enter Apple ID and Sign In
Here is what you all needed to get started with your Apple Music Family Plan. If there is something you want to ask, hit the comments sections below.
Stay tuned for more useful articles for your iPhone and Mac!


