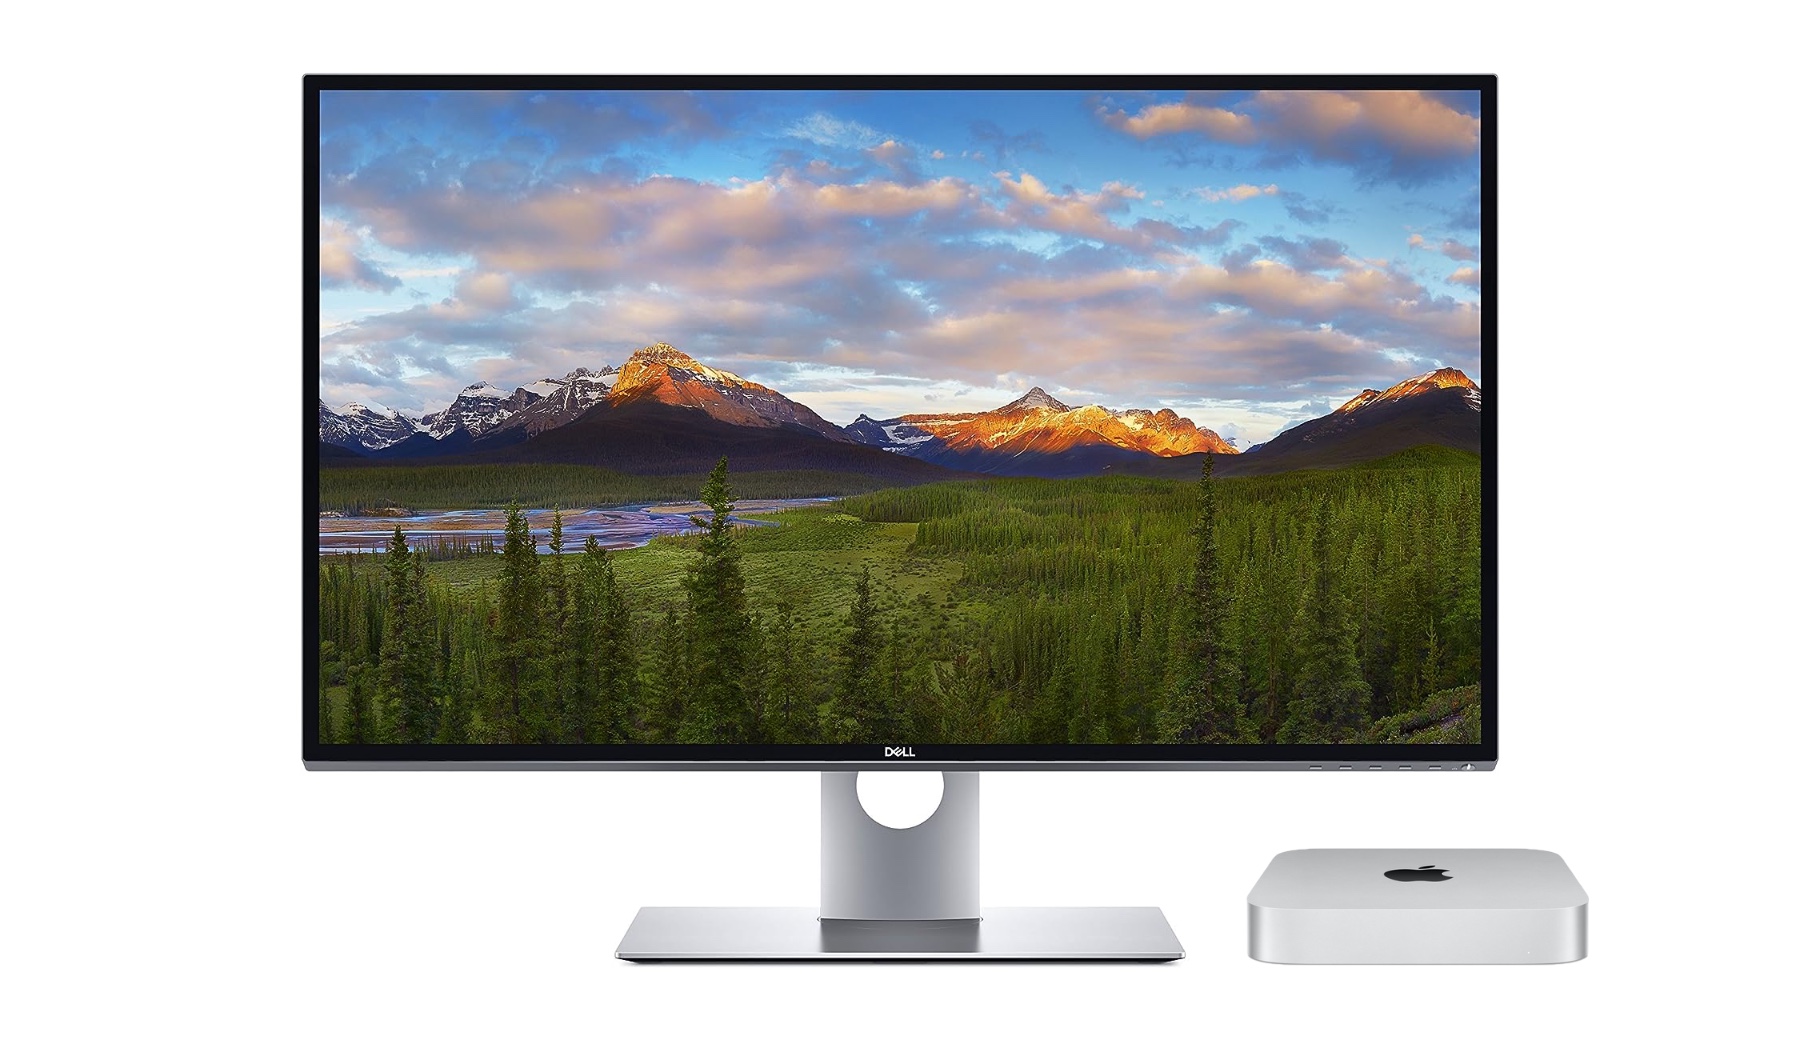
In this article, we’re gonna hold your hand (figuratively, of course) and walk you through all the necessary steps to connect an 8K display to Mac.
Are you tired of squinting at your screen, straining your eyes to decipher those tiny details? Well, we’ve got some exciting news that’s about to make your visual dreams come true!
Macs that support 8K display offer mind-blowing clarity and resolution so ridiculously sharp that you’ll see every tiny detail. That’s the magic of 8K, my friends – a whole new level of visual wizardry that’ll make your eyes pop and your jaw drop.
So, the only question that remains is how can you connect an 8K Display to a Mac. Follow this mini tutorial and crank up the visual extravaganza on your Mac.
Enhance Your Experience: Connect 8K Display to Mac in 5 Easy Steps
Now, we know what you might be thinking – “Is this gonna be one of those super technical, mind-numbing, snooze-inducing tutorials?” Nope, not today! We’ll keep the steps to connect the 8K display to Mac short, simple, and to the point.
So, here’s the step-by-step guide to connecting the 8K display to Mac in a snap.
1. Check your Mac’s Compatibility
In the first step of our 8K display connection guide, we’ll identify the 8K display compatible Macs, ensuring you have the perfect match for an awe-inspiring visual experience.
Apple has blessed a select group of Mac models with the power to handle 8K magic like true champs. Here are the shining stars of the 8K revolution:
- MacBook Pro with M2 Pro chips (2023)
- Mac Pro (2023)
- Mac mini with M2 Pro chip (2023)
- Mac Studio (2023)
So, before we jump into the technical nitty-gritty, double-check that your Mac is one of these superstars. With these models in your arsenal, you’re all set to connect an 8K display to Mac and embark on a visual journey like no other.
Now that we’ve got our 8K-ready Mac by our side, let’s move on to the next steps.
2. Verify the Display’s Compatibility
Not all 8K displays are created equal. Before we dive into the magical world of ultra-high-definition visuals, we need to make sure that our Mac and the 8K display are a match made in tech heaven.
We’ve confirmed the compatibility of our Mac in the first step. Now, let’s make sure that the 8K monitor you intend to purchase is compatible with your Mac and uses a connection interface that your Mac supports.
Most 8K displays use the HDMI or the DisplayPort 1.4 interface. It’s like the key to unlock the treasure trove of 8K resolution. So, double-check that your chosen display has this magic port, and you’re all set to continue to the next step to connect the 8K display to Mac.
Oh, and don’t forget that the monitor should support the correct resolution and refresh rate for your Mac as well.
3. Choose the Right Cable
The next big step to connect 8K display to Mac is finding the things you need to connect an 8K Display to Mac.
With 8K resolution, you know we’re dealing with some serious visual firepower. So, we need a cable that can handle the heat and deliver those mind-boggling 7680 x 4320 pixels without breaking a sweat.
Say hello to the star of the show – the Ultra High Speed 48 Gbps HDMI cable. It’s like giving your 8K display a superhighway to your Mac, ensuring a smooth ride for all those beautiful pixels.
Now, if you’re thinking of using an HDMI adapter to hook up your 8K display, proceed with caution. That could end up putting a cap on your resolution and refresh rates, and we don’t want any of that, do we? For the crème de la crème of results, stick to a high-quality HDMI-to-HDMI cable, and your visual extravaganza will be off the charts.
You can choose from a variety of 8K ultra high speed cables from Amazon.
4. Connect the 8K Display to Your Mac
Once you have verified compatibility and obtained the appropriate cable, follow these steps to connect 8K display to Mac:
Step 1: Power off both your Mac and the 8K display.
Step 2: Connect one end of the HDMI cable to the Mac’s Thunderbolt 3 (USB-C) port.
Step 3: Connect the other end of the cable to the 8K display’s HDMI input.
Step 4: Power on the 8K display and set it to the correct input source (DisplayPort).
Step 5: Power on your Mac.
5. Adjust Display Settings
After successfully connecting the 8K display to Mac, you may need to adjust some display settings to optimize the viewing experience. Here’s how:
Step 1: Click on the Apple menu in the top-left corner of your Mac’s screen.
Step 2: Select “System Preferences.”
Step 3: Choose “Displays.”
Step 4: In the Display settings, you can arrange the displays to match your physical setup.
Step 5: Adjust the resolution and refresh rate of the 8K display to the optimal settings.
6. Test the Display
Now comes the most exciting part – testing it out. After you connect 8K display to Mac, play some 8K videos, view high-resolution images, or open applications that let you bask in the pixel perfection.
With everything set up and the correct settings applied, test the 8K display to ensure it’s functioning as expected.


