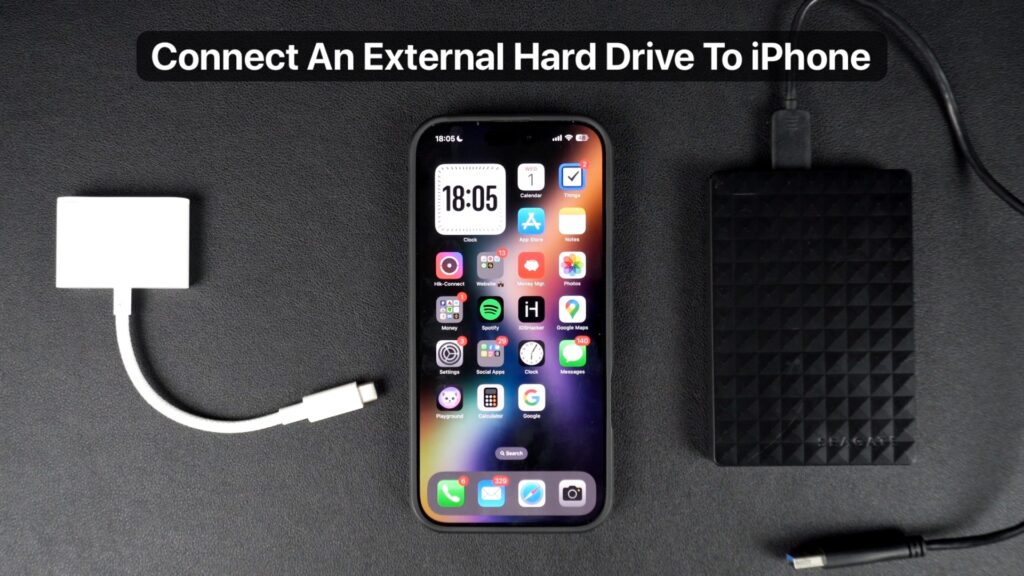
In this tutorial, you will learn how you can connect an external USB hard drive to your iPhone and transfer photos, videos, documents, and other files between the two devices.
What You’ll Need
Connecting an external hard drive to your iPhone is quite simple. However, you might need an adapter in case your hard drive or SSD does not come with a USB-C connector.
Here’s what you’ll need:
A USB-C Hard Drive: iPhones now feature USB-C ports, so a USB-C-equipped hard drive will connect directly.
A USB-A to USB-C Adapter (Optional): If your hard drive has a USB-A connector, you can use a USB-C to USB-A adapter. These are widely available, and we’ll link some recommendations for your convenience.
Recommended USB-C to USB-A Adapters
- JSAUX USB-C to USB A
- Anker USB-C to USB A
- Lightning to USB-A and USB-C adapter (For Lightning iPhones)
Steps for connecting a hard drive to iPhone
- Plug your hard drive directly into your iPhone’s USB-C port.
- If using a USB-A hard drive, connect the adapter to your iPhone first, then plug the hard drive into the adapter.
- Once connected, you may notice the hard drive’s power light turning on—this indicates that a connection has been established.
- Launch the Files app on your iPhone.
- Navigate to the Browse tab at the bottom of the screen.
- On the main Browse page, you’ll see the name of your connected hard drive listed under Locations. Tap on the hard drive’s name.
- On the next screen, you will get access to all the files, documents, and folders that are stored on your device. You can tap on a file to preview it.
If your hard drive has multiple partitions, each will appear as a separate entry under Locations in the Files app.
That’s it! Connecting an external hard drive to your iPhone is that easy. Now you can access, preview, and manage your files on the go.


