


In this article, we will guide you on how to delete history on iPhone, cache, and other clutter files to make your iPhone or iPad fast and private. Let’s cut the clutter!
You may end up having clutter on your iPhone and iPad as time passes, such as browsing histories, search histories, caches, and more.
This can lead to the device overheating, running slow, and having low storage space issues. Furthermore, if you share a device with others, you might want to clear your activity to maintain privacy.
How to Clear Safari History on iPhone and iPad
Safari allows you to clear the cache in a flash although third-party apps require a different approach. So, allow us to walk you through how to clear history of Safari on iPhone and how to clear history on iPad Safari and then third-party apps.
How to Delete Browsing History on Safari
Step 1. On your iPhone or iPad open Settings app.
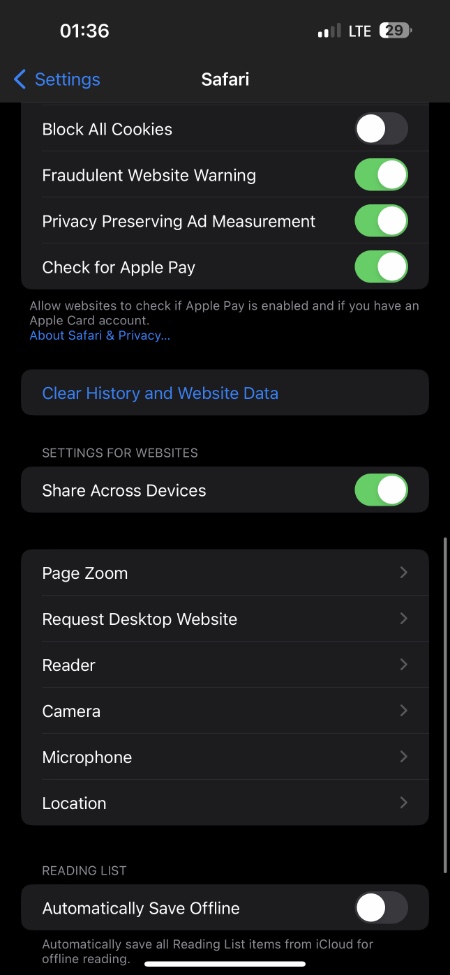
Step 2. Scroll down and tap on Safari option.
Step 3. Then scroll down again and tap Clear History and Website Data.
Step 4. Next tap on Clear History and Data to confirm.
Don’t want to clear out your entire browsing history just because of one website?
You can also delete individual items of data from individual websites without deleting the entire Safari cache by choosing Advanced > Website Data > Edit (or by swiping right to left).
When you delete website data from an iPhone or iPad, it will be erased from any other Apple devices installed with Safari that are connected to the same iCloud account.
How to Clear Cache on iPhone for Third-party Apps
The process for clearing the cache of third-party apps varies from developer to developer. The app preferences in iOS Settings offer an option for some apps allow users to clear cache while others don’t.
To find out what options you have, check the settings of your apps (Settings app > app name).
You can also delete and reinstall an app if it doesn’t offer a clear cache button.
If you are unsure which third-party apps you need to prioritize, you can always go to Settings > General > iPhone Storage.
Final Words
In this article, we discussed removing history, cache, and other clutter from your iPhone or iPad. By following the above guide, you can make your iPhone or iPad more private, improve its performance, and eliminate unwanted clutter. We will continue to bring you more tips, tricks, and how-to guides so stay tuned.
Was this guide helpful? Let us know in the comments below.

