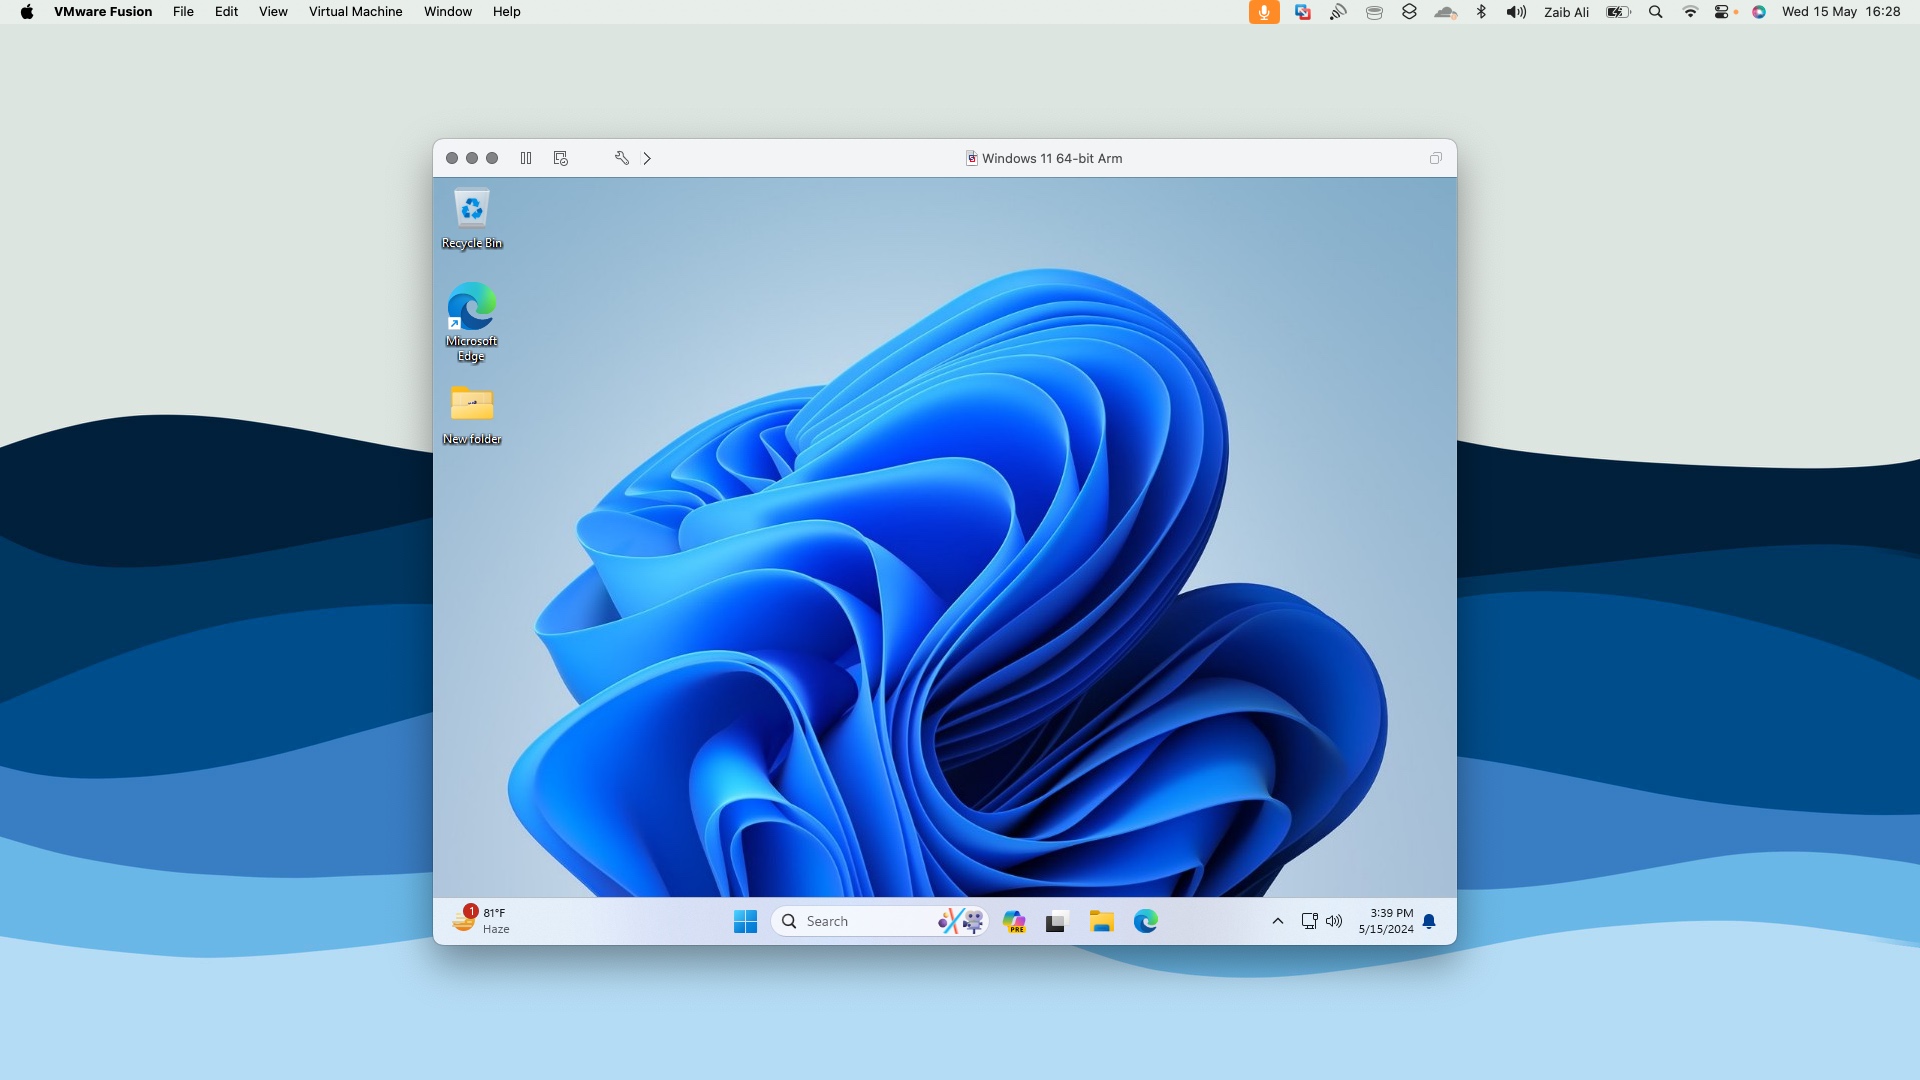
VMware Fusion 13 Pro virtualization software that allows users to install Windows 11 on Apple Silicon Macs with Fusion 13 has recently become free to use for personal use.
This is good news for Mac users who want to run Windows 11 on their Macs for free.
Install Windows 11 on Mac with VMware Fusion 13 Pro
In this guide, we will show you how you can install Windows 11 on Mac with VMware Fusion 13 Pro and use this virtualization tool to run Windows on your Mac computer.
Step 1. Go to Broadcom’s Support webpage and register for a free account.
Step 2. After creating your account open this link here and download Fusion 13 Pro.
Step 3. Make sure you select VMware Fusion 13 Pro for Personal Use and download the latest release.
Step 4. After the download has been completed run the VMware Fusion DMG file and then double-click on VMware Fusion.
Step 5. When prompted to enter the license key select ‘I want to license VMware Fusion 13 Pro for Personal Use’ and hit Continue.
Step 6. Select the Windows 11 edition you want to install and again click on the Continue button.
Note: You can also point the software to the Windows 11 ISO file on a USB flash drive.
Step 7. Let VMware Fusion download Windows 11 on your computer after that follow the on-screen instructions to choose firmware, configuration, and to choose Virtual Disk.
Step 8. Finally press the Finish button after which Setup to Windows will begin. Install Windows 11 by following the on-screen instructions.
Our take
The VMware Fusion 13 Pro provide an easy and free way for Mac users to virtually run Windows 11 on their computer. We have tested the software on our M1 Pro-powered MacBook Pro and the virtualization software works flawlessly, allowing users to do normal Windows 11 tasks without any issues.
If you need to run Windows 11 on your Mac regularly, then install VMware Fusion 13 Pro for Personal Use is a great and free way of doing it.


