Apple’s products, in general, are very secure. In fact, their products are some of the best available if you have security in mind. Even though a lot of work goes into making their products secure, the user can also do a lot to make their device even more secure.
There are some obvious ways, such as not having a basic password to name one. There are some other ways however that might not be as obvious, but can be just as easy to set up.
Also read: 10 Ways To Keep Data And Computer Secure (Work From Home Tips)
How To Make Mac More Secure
Listed below are steps to three different and simple ways that you can make your Mac secure and keep your data safe! Note that these methods require passwords, so if you easily forget your passwords, it might be wise to skip on these tips.
1. Encrypt Your Disk With FileVault
One of the first things you can do is encrypt your Mac drive. If you pop an unencrypted hard drive out of your Mac and plug in into another Mac externally, you can easily access all of your files.
To make it so a password is required before you can access the files, you can encrypt your disk. Apple makes it very easy to do so with FileVault.
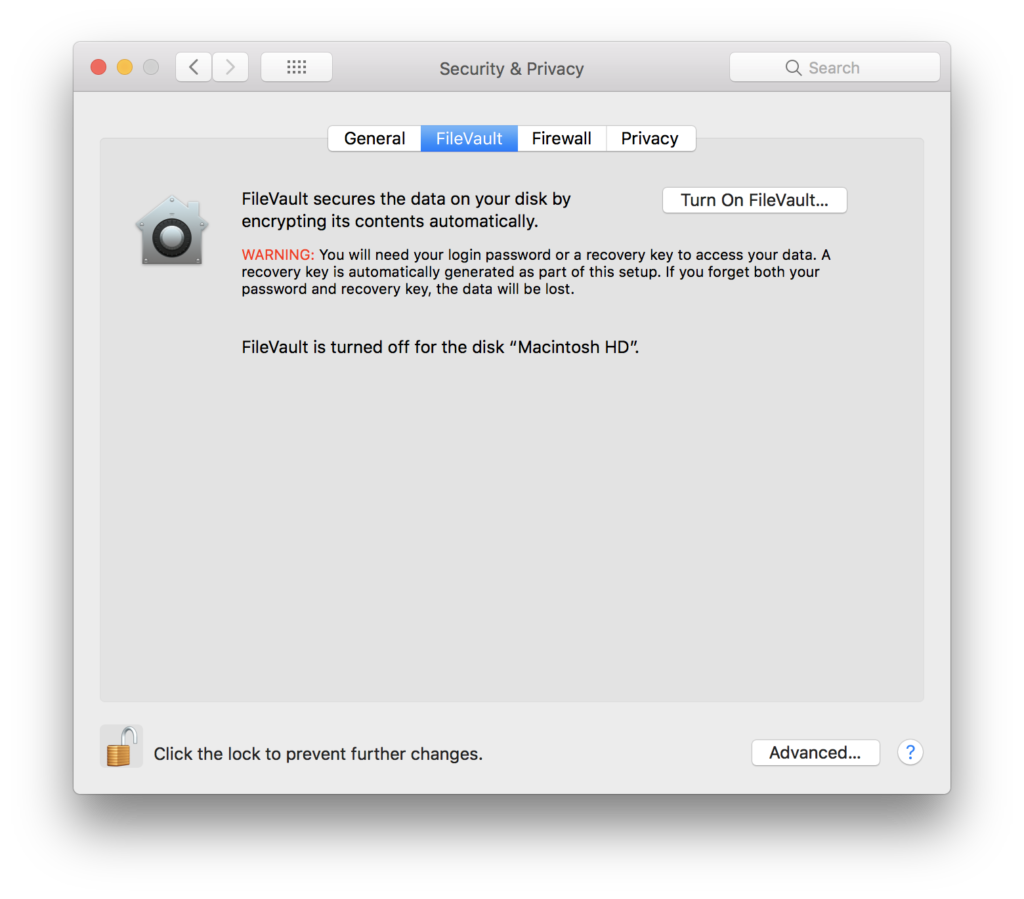
To start, open up System Preferences and then select “Security & Privacy.”
Once there, click on the lock in the bottom left corner and type in your password to make changes, then select the FileVault tab and then “Turn On FileVault…”
You have a selection of two options for your recovery key. You can either have one generated for you, or you can use your Apple ID password. The former is more secure, but if you forget your password and recovery key, you can’t access your data, so using your iCloud password is a bit more convenient.
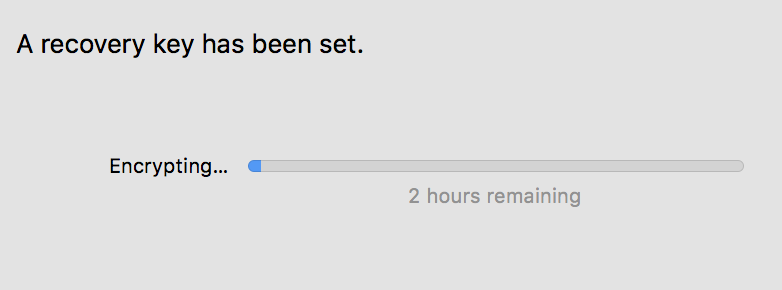
Select the option you want and your Mac will automatically start encrypting your data in the background. If you ever want to turn off FileVault, simply select the “Turn Off FileVault…” option.
2. Encrypt Your Time Machine Backup
Now that you have encrypted your internal storage, it’s important that we encrypt the data on your external backup. One important thing to note is that if you already use a disk for your backups, you’ll need to erase the disk and back it up again with encryption on.
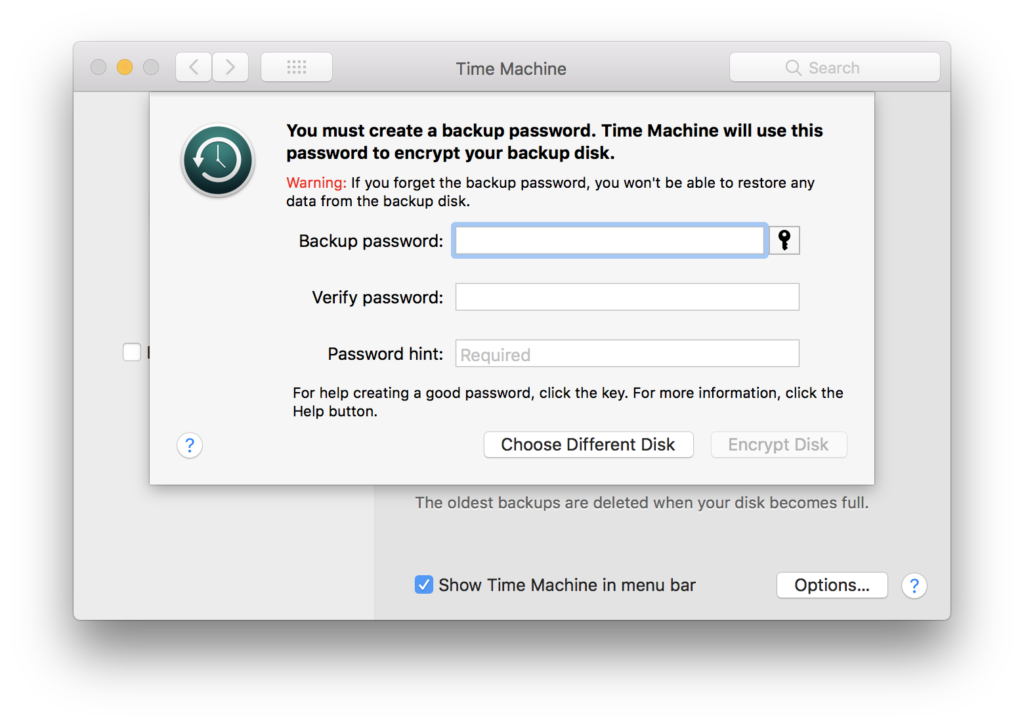
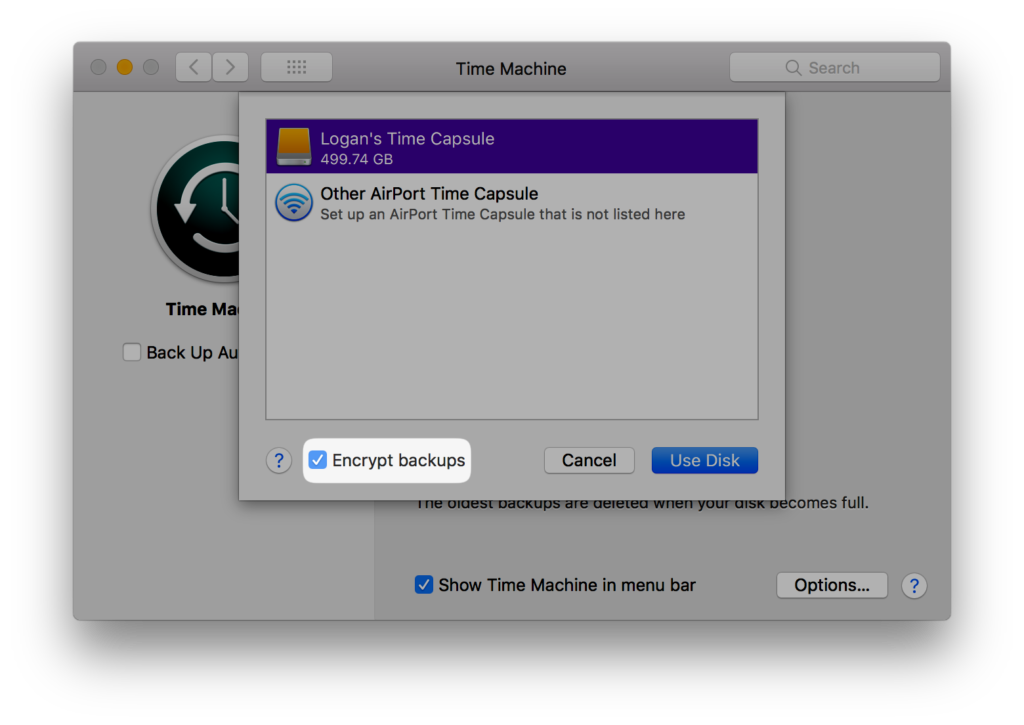
You cannot encrypt a previous backup that was made without encryption. With that being said, open up System Preferences on your Mac and select Time Machine. Click on “Select Disk…” and then select the disk you would like to use to back up your Mac.
Before you hit “Use Disk” however, make sure that the “Encrypt backups” checkbox is selected. You will then be asked to create a password and a password hint. With that entered and your first backup complete, your backups will now be encrypted and can only be viewed if you have the password that you entered. And that is how you can significantly improve Mac security and make it safer.
3. Set A Firmware Password
Next step in our guide to improve security of a Mac include changing Mac’s firmware password. Did you know that you can easily change the password of a Mac, even if you don’t have the original password? It’s true! Simply boot a Mac while holding down the Command (⌘) + R keys, select Utilities > Terminal from the menu bar, and then type in “resetpassword”, followed by the return key.
That’s it! Pretty great for if you forget your password, but not so great if you want to keep your information private. Someone can also wipe your hard drive and have themselves a fresh new Mac through this Recovery Mode.
To prevent someone from doing that, you’ll want to set a firmware password, which will require you to enter a password before you can enter Recovery Mode.
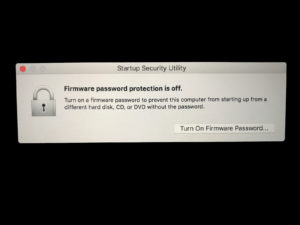
To start, shut down your Mac, and then start it up while holding down the Command (⌘) + R keys. This will make your Mac enter Recovery Mode. After selecting your desired language, go the menu bar and select Utilities > Startup Security Utility. Next, select “Turn On Firmware Password…”, followed by the password you would like to use.
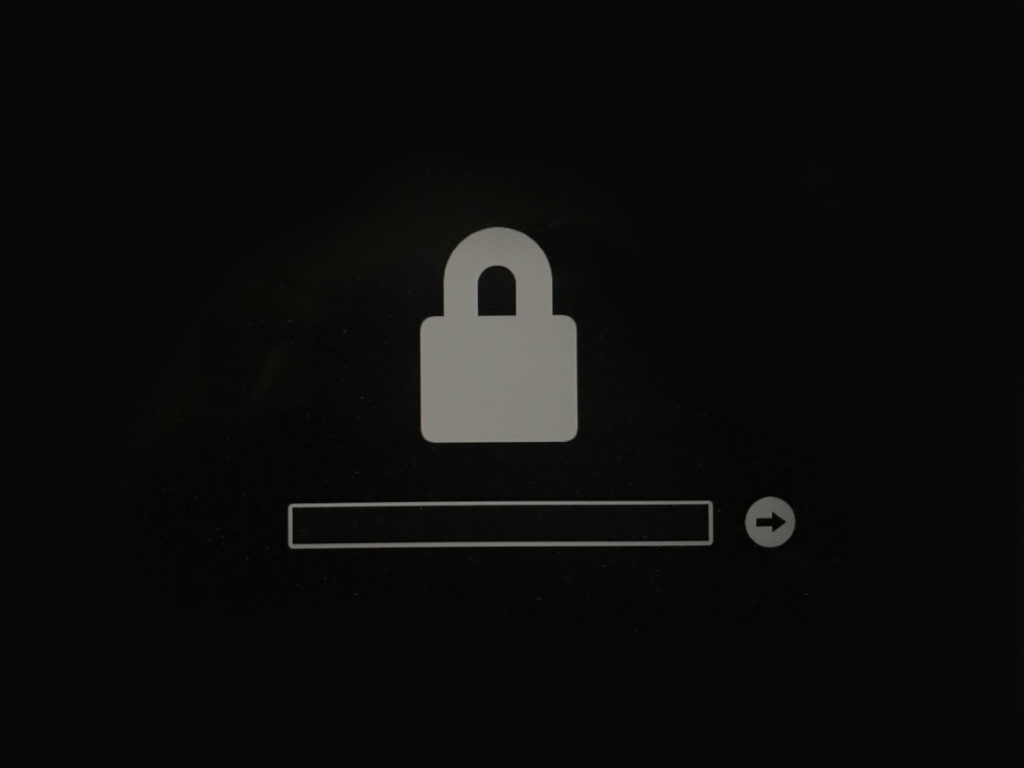
Once that’s completed, if you try to enter recovery mode again, you will be presented with a lock and a password field. You may only enter recovery mode if you enter in the correct password.
Using the three tips listed above, you can be assured that your data will be safe, even if your device falls into the wrong hands.
Do you have any other ways of keeping your Mac safe? Let us know in the comments down below!


