Folks it is the time of the year when we have to kiss the jailbreak goodbye and prepare our devices for the release of the biggest iOS release of the year. Updating to iOS 13 essentially means that you have to restore your iPhone to stock iOS and lose its jailbroken state. However for those interested in trying out the new software this trade-off is always worth it, as they get to try out the newest features iOS has to offer and improve their iOS experience.
In this article we will focus on jailbroken iPhone or iPad and show you how you can prepare your device for the iOS 13 beta. This post covers both iOS 13 developer beta and the iOS 13 public beta, as the steps remain the same for both.
Important: Before you begin do keep in mind that by doing this you will permanently lose the chance of jailbreaking your device again. Currently all jailbreak tools that support iOS 12 only work for iOS 12.1.2 or earlier. Since Apple is no longer signing iOS 12.1.2 anymore you can no longer downgrade back to this iOS version and jailbreak again. However you can still return to stable iOS 12 in case you want to downgrade for iOS 13 beta. We will post a tutorial on how to do this soon.
Prepare for iOS 13 beta on jailbroken iPhone or iPad
1. First of all create a fresh backup of your device through iTunes or iCloud, which ever service you prefer.
2. Now open Settings and click on your Apple ID. Then go to iCloud > Find My iPhone and turn off the toggle for Find My iPhone.
3. Then head over to this page and download the iOS IPSW for the latest available iOS 12 version for your device.
4. Once the IPSW file has finished downloading connect your iOS device to the computer using a USB cable and launch iTunes.
5. Head over to the Summary page by clicking on the iPhone button from the top left side.
6. Next hold down the Option key and click on the ‘Restore iPhone…’ button.
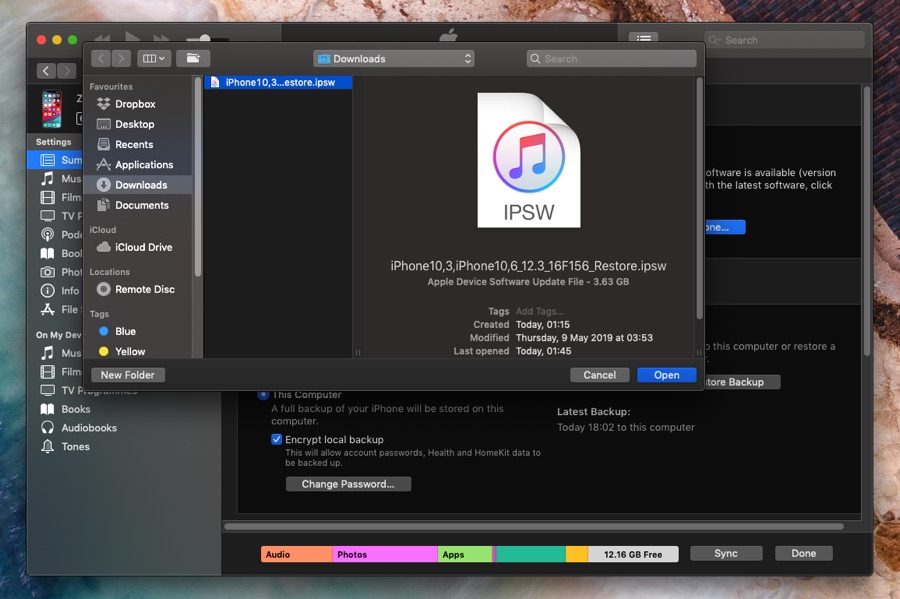
7. From the window access the folder you downloaded the iOS IPSW in step 3 and select it. Confirm by clicking on the ‘Restore’ button.
8. Now iTunes will begin restoring your iPhone to the latest version. Sit back and relax as your iPhone or iPad restores.
Once the iPhone or iPad has restored successfully iTunes will notify you. In case you use iTunes to backup your iOS device you will then be able to restore it to the most recent backup.
After performing the steps shared above, follow our detailed iOS 13 guide preparation guide here.


