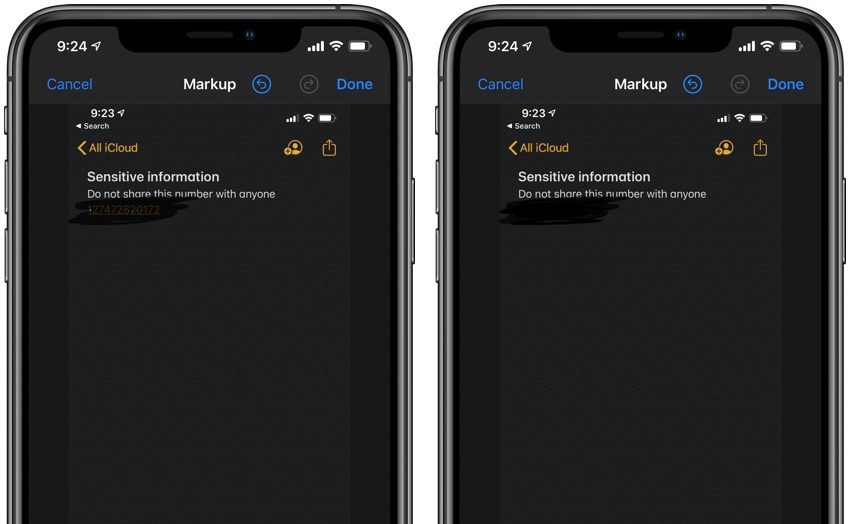
There are many instances in which we have to take a screenshot and share it with other people. In many of these instances, the screenshot might contain sensitive information such as passwords, phone numbers, or names that we don’t want to expose to other people. What many users end up doing is redacting sensitive parts of a screenshot with the built-in markup tools of iOS.
However using the built-in markup tools to redact screenshot text or other sensitive information from an image can potentially be a dangerous idea, because if not done properly others might be able to extract the seemingly hidden and redacted information by using basic tools like Photoshop. Knowing how to properly redact sensitive information from a screenshot can go a long way to ensure your privacy.
Perhaps the most foolproof way of redacting sensitive parts of a screenshot is by using the built-in crop tool, which can be used to remove the part of the screenshot or image that contains sensitive information.
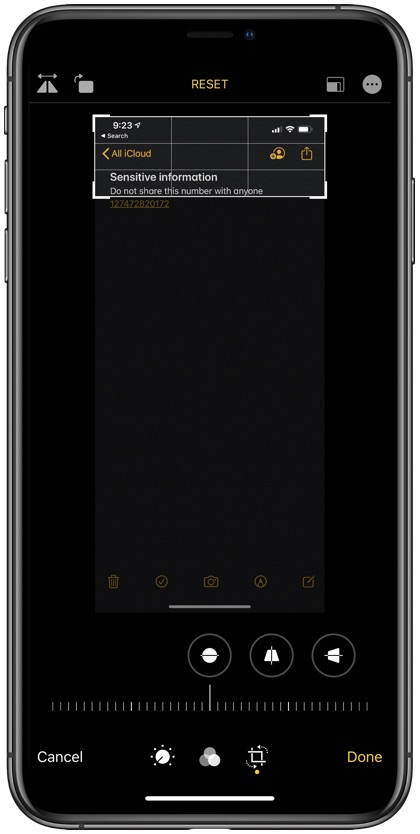
While this is a legitimate way of removing sensitive information, it is not always practical in situations where information that needs to be hidden is located in the middle of the image. In these situations we recommend doing the following.
Use iOS’s markup tool to redact information the right way
The first instinct when redacting information on a screenshot or image is using the pencil tool to repeatedly draw on the part of the text that needs to be hidden. While this solution appears to work, the truth is it is not actually a working solution.
By default markup feature’s pencil tool draws a translucent image over the text, which can easily be removed using Photoshop or any other image editor. In fact, a professional image editor is not even required to read information hidden with the Pencil tool, as you can look under the drawing by increasing or decreasing the brightness of an iPhone.
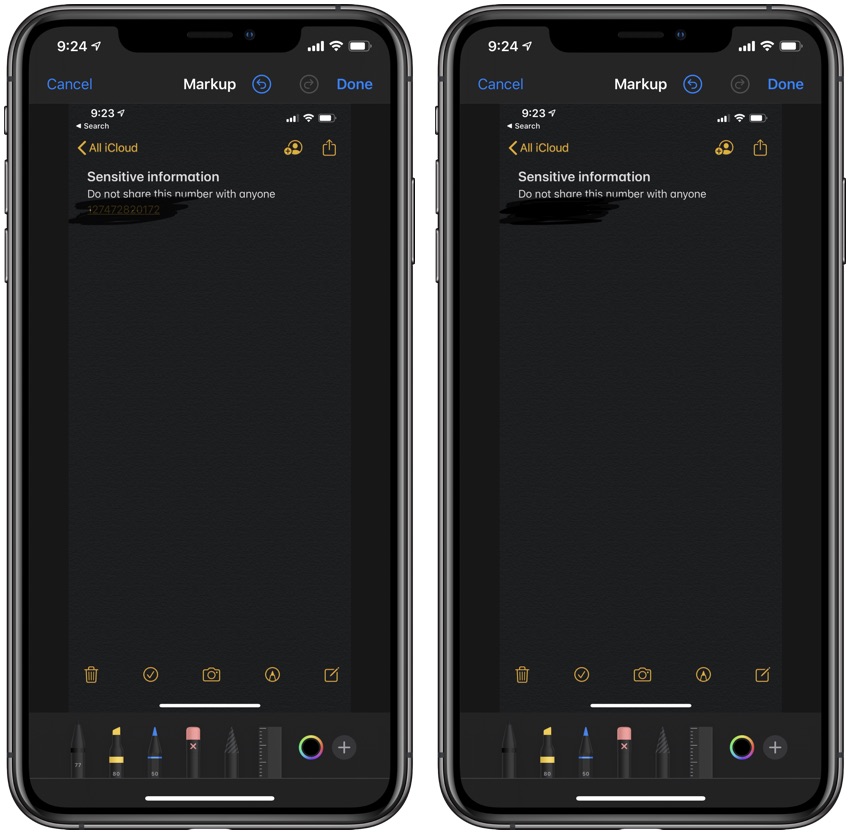
You can solve the translucency issue with the Pencil tool by changing the density of the tool. You can do so by tapping on the pencil tool from the markup toolbar and then sliding the thickness slider all the way up to the right side.
Doing so will properly hide the sensitive text on a screenshot, allowing you to redact text right on iPhone.
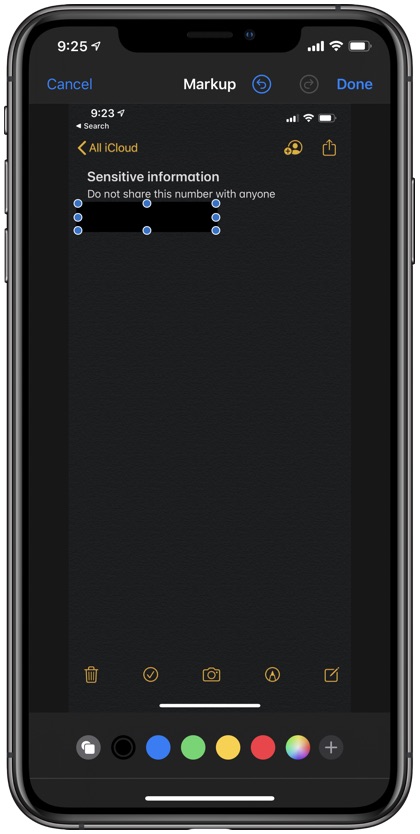
An even better way of hiding sensitive text or image on iPhone through the markup tool is by drawing a solid shape over the part that needs to be hidden.
The benefit of drawing a shape over the sensitive part of a screenshot or image is that you can choose any color for the shape and change its dimensions to fit the part you want to hide, while keeping rest of the screenshot visible. When using a square or circle shape, it is important that you switch to filled shape so that image is covered properly.
Using third-party apps
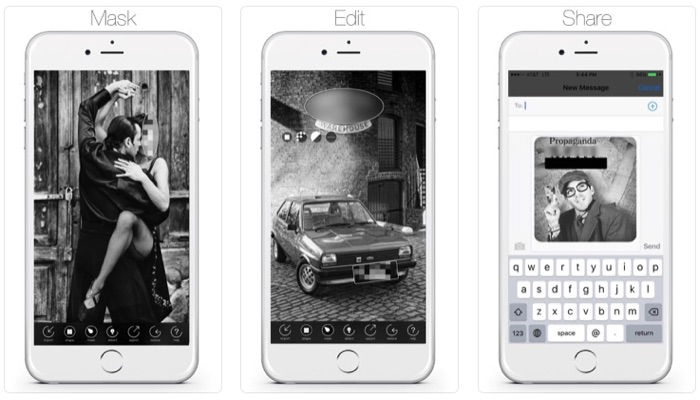
You can also use third-party redaction apps for iOS that enable users to properly redact any screenshot or image. I personally use the free Skitch app, which has a very good Pixelate tool, which will pixelate the part of the image that you want to hide.
This app hasn’t been updated to support iPhone X’s or later’s resolution but works fine on iOS 13. We also recommend using the free Privee app that enables users to safely censor their images.
So there you go folks, this is how you can properly redact sensitive information from a screenshot or image right on your iPhone. A proper redaction is essential for keeping your private information safe and secure. If you have any questions regarding this guide, then let us know in the comments section below.


