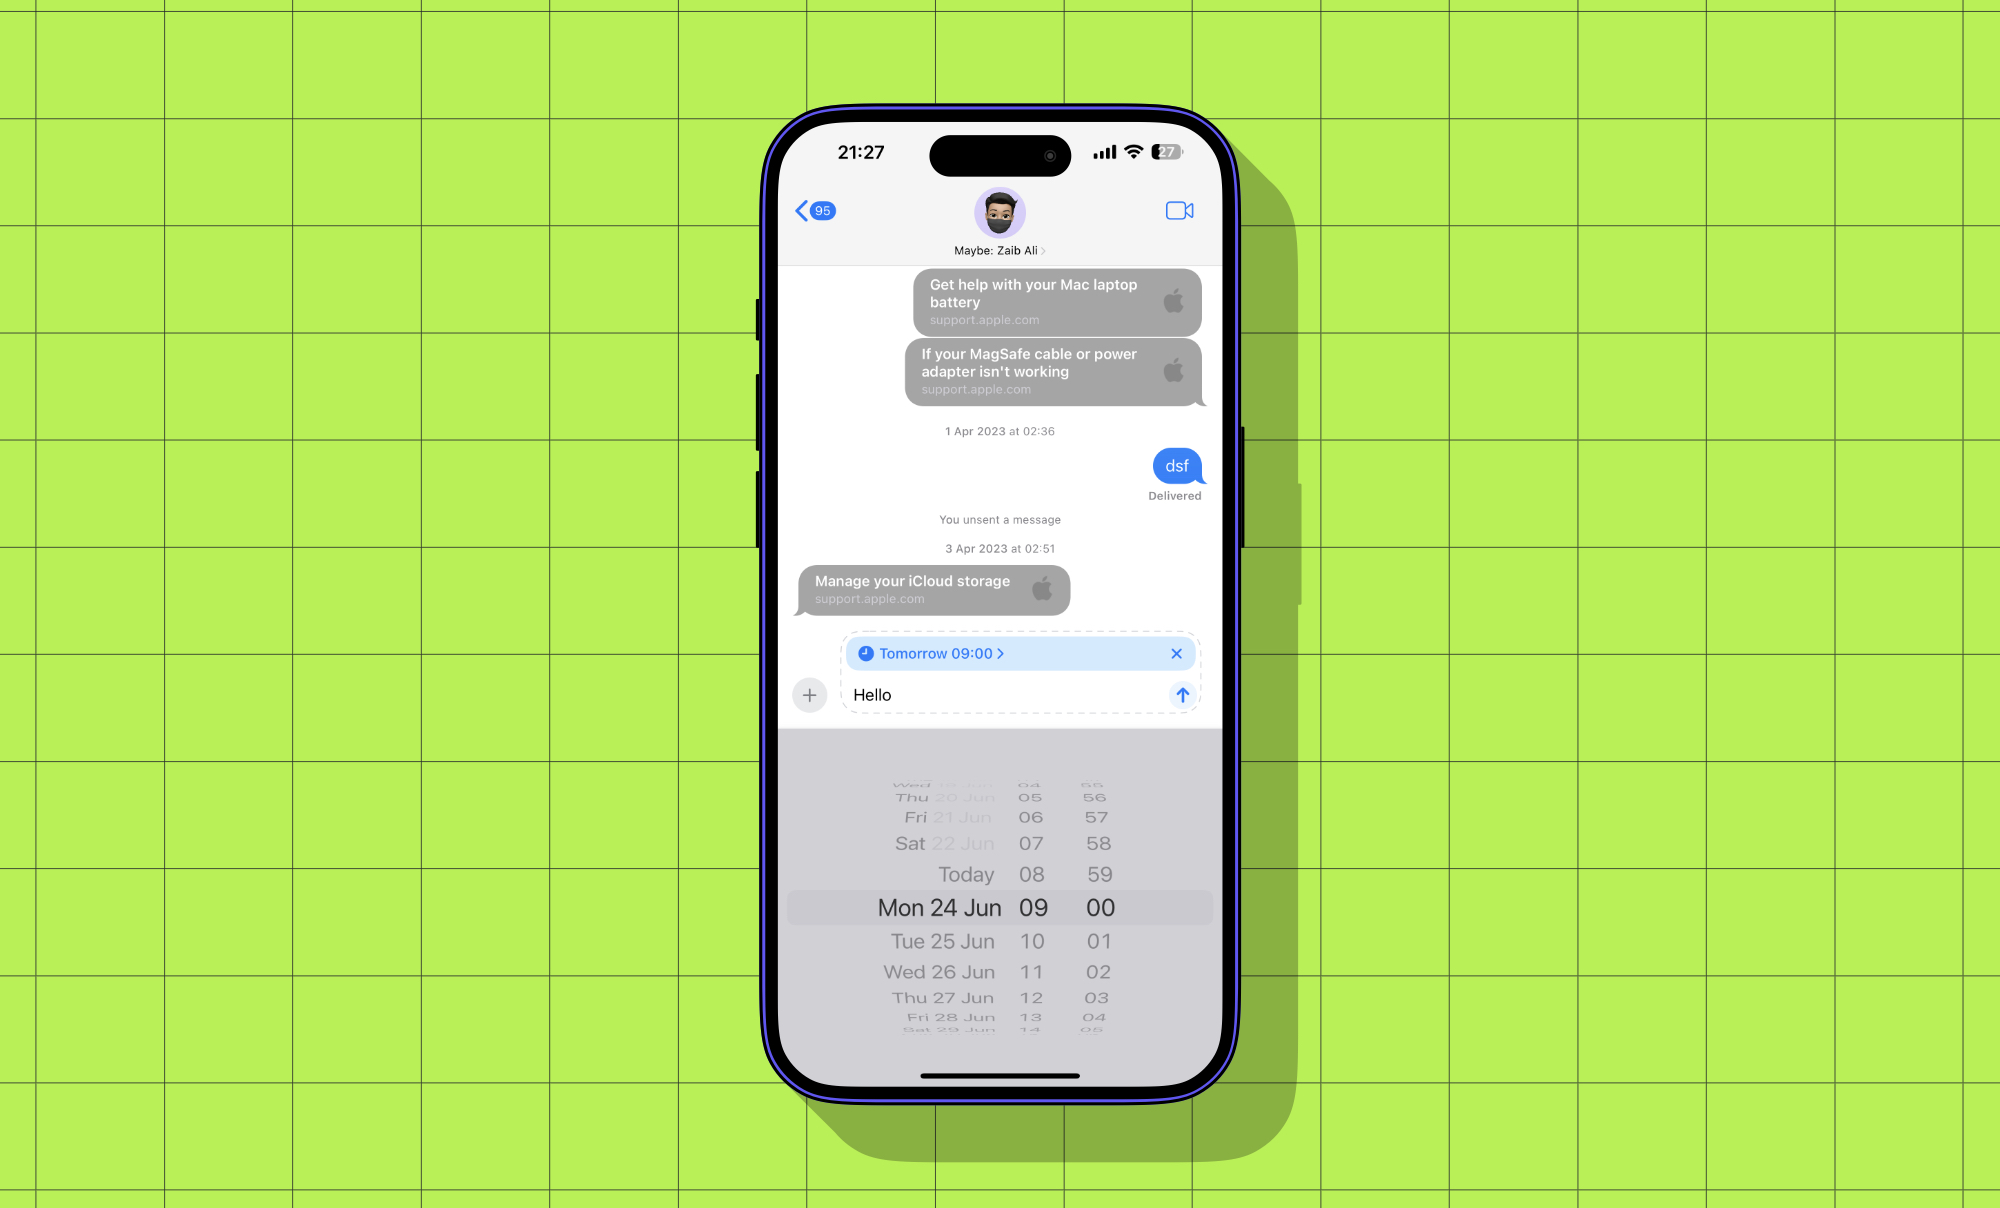
One of the most useful features of iOS 18 makes it possible for iPhone and iPad users to schedule messages in the Messages app. The feature is called Send Later.
Now users can schedule a message at a specific time and date. When the time arrives your message will be delivered to your friend automatically.
The Send Later message makes users’ lives convenient as now you can schedule a message for the morning when it’s too late to send a message at night. You can also schedule a Happy Birthday message to make sure you don’t forget to wish someone their birthday on time.
Here you will find instructions on how you can schedule messages on iPhone or iPad, delete a scheduled iMessage, or edit it.
Schedule Messages on iPhone or iPad
Here’s how you can easily schedule a message in the Messages app with the Send Later feature.
Step 1. Open a conversation and type your message.
Step 2. Before sending tap on the ‘+’ button.
If you don’t see the Send Later option right away, then tap on ‘More’.
Step 3. Tap on the Send Later option.
Step 4. Choose the time and date for when you want to schedule the message.
Step 5. Once you are done tap on the ‘Send’ button.
The scheduled messages are displayed on the conversations screen with a dotted outline.
Delete or edit a scheduled message
You can also edit or delete a scheduled message. Here’s how you can do it.
- Open the conversation that contains your scheduled message.
- From the conversation find the schedule message. Its bubble should have a dotted outline.
- Long press on the bubble and tap on the ‘Edit’ button to modify the message. Or tap on ‘Delete’ to get rid of it.


