


Do you need to screen record on a Mac? Whether you want to record your Mac’s screen for a tutorial, presentation, gameplay, or to show someone how to fix a problem this tutorial is for you.
macOS offers a built-in screen recording tool that lets you record your entire screen, a portion of the screen, capture microphone audio, and save recordings wherever you like.
Read on to learn how to screen record on a Mac, and how to properly use the screen record tool in macOS.
Screen Record on Mac
To access the built-in screen record tool in macOS, follow these steps.
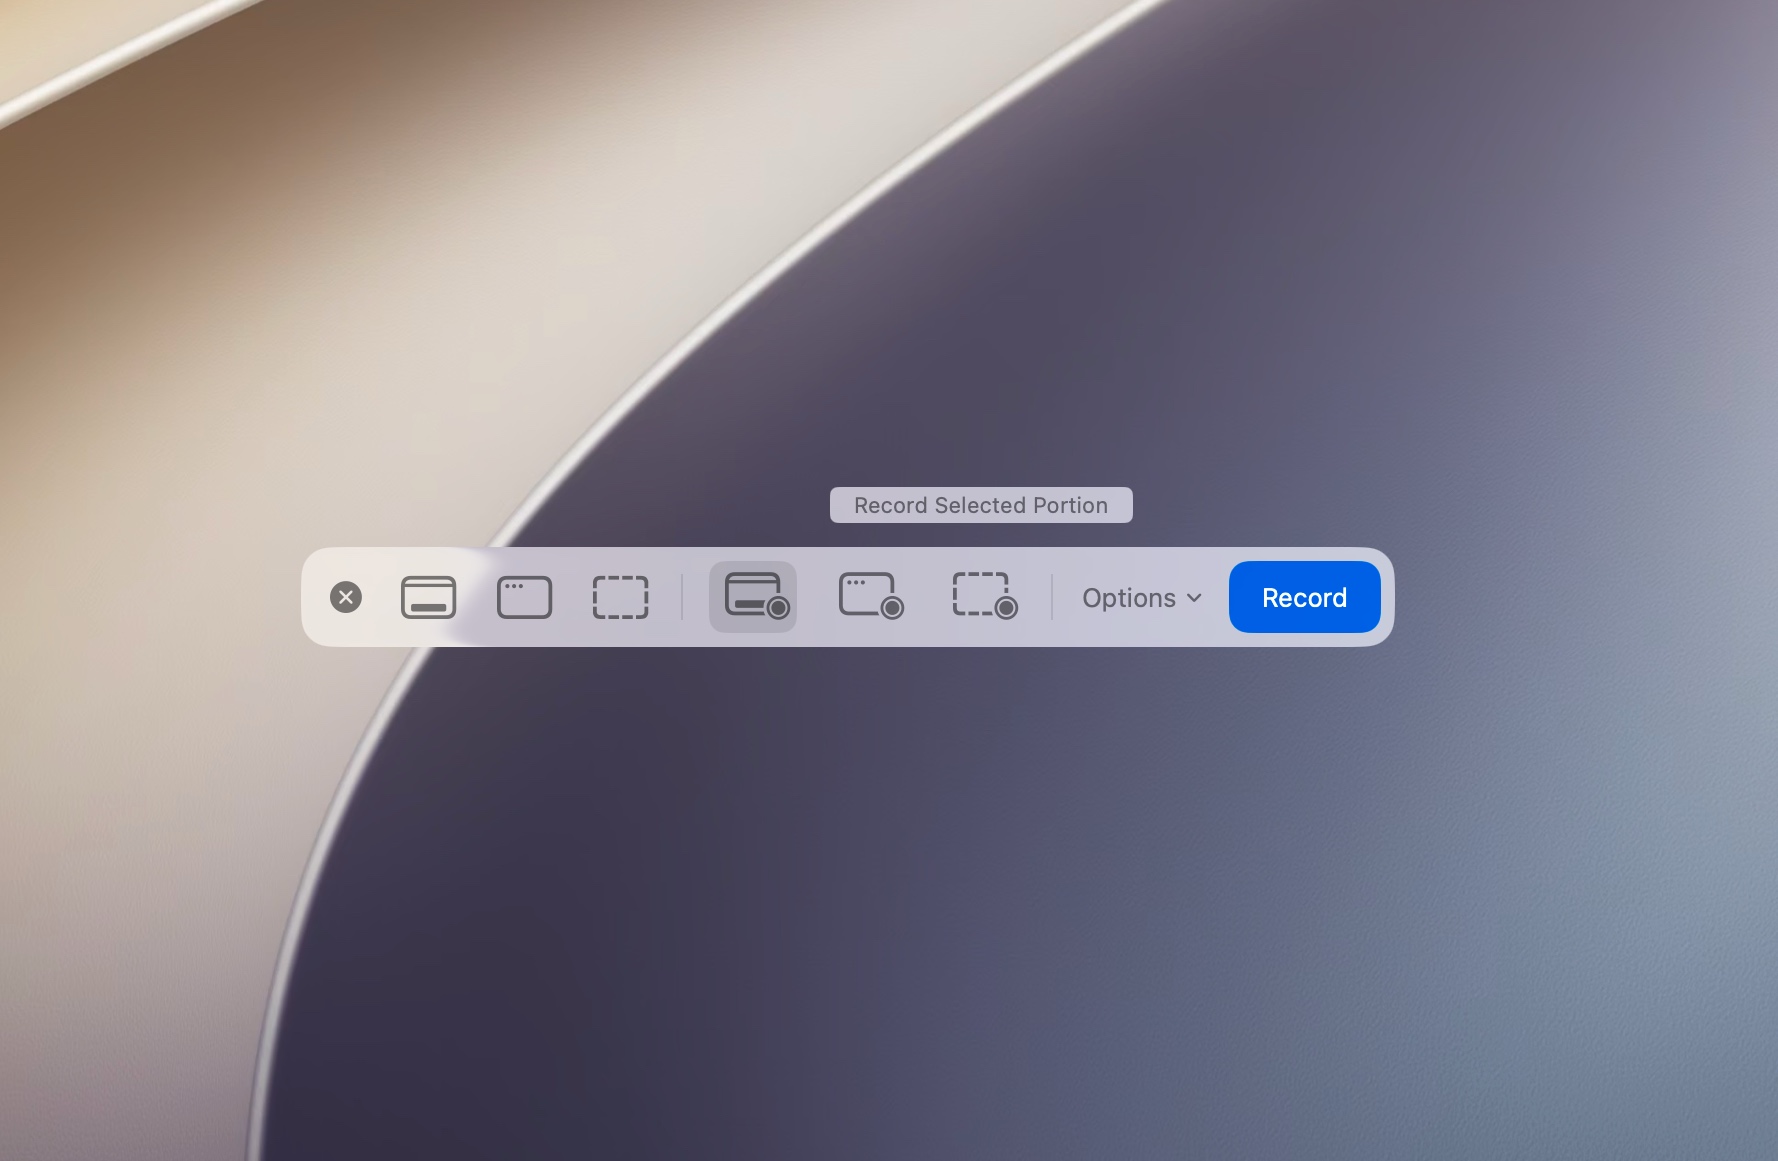
- Press the Command + Shift + 5 keys from the keyboard.
- Now click on either Record Entire Screen or Record Selected Portion buttons depending on your need.
- Next click on the Record button to start recording.
- After you are done recording, simply click on the Stop Recording button located in the top menu bar.
You can also click on the Options button to choose whether you want the screen recording to have microphone audio and choose your desired audio source, and even specify where you want to save your screen recordings.
You can also turn on the Show Mouse Clicks option from the Options menu. This adds a useful visual indicator that highlights the area where you click the mouse.
By default screen recordings are saved to the Desktop right after you click on the Stop Recording button.
One limitation of the built-in screen recorder is that it cannot record your Mac’s internal system audio by itself. If you need to record audio from apps, games, or websites, you’ll need a third-party application or a virtual audio driver.
That’s it, this is how you can screen record on the Mac. We showed you how to record the whole screen, part of the screen, record with audio, and configure other options.

