If you ever get annoyed with the default “Funk” alert sound on macOS, Apple includes a handful of different built-in sounds for you to choose from if you want to change it. While Apple has a nice little variety for you to select, a great way to make your Mac more personal is by having your own custom alert sound. In this tutorial, we’re going to show you how you can import your own custom sound to be used as the alert sound in macOS. It’s super easy and only takes just a couple minutes, so let’s get started!
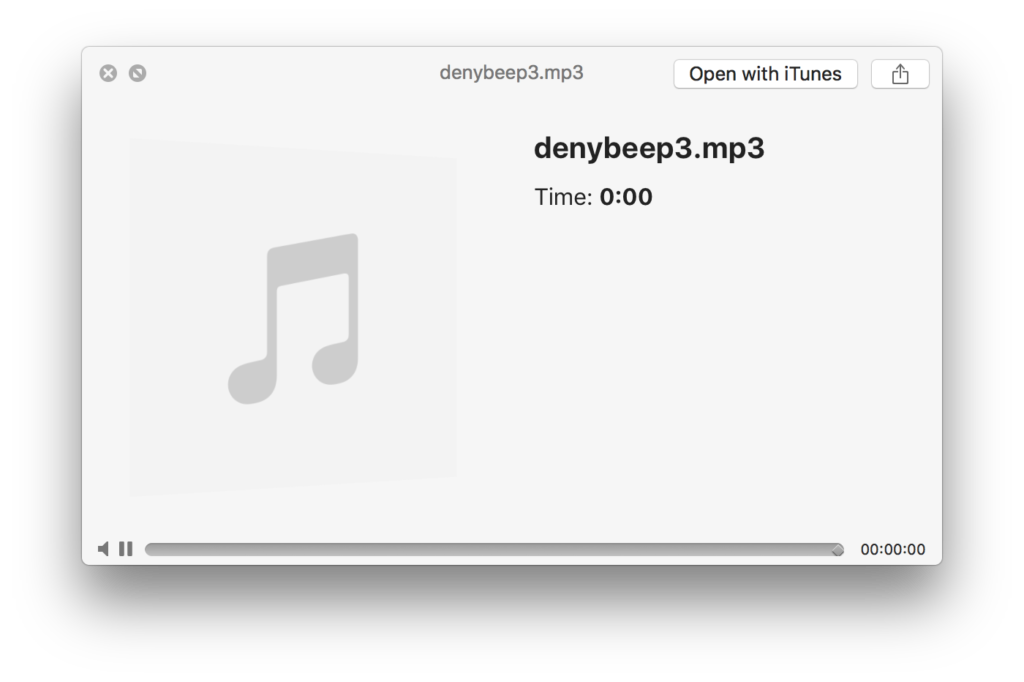
Step 1. Find the sound you want to use. Shorter sounds are more ideal. I personally am using the “Deny Beep 3” sound found on TrekCore.com, but you can use whatever sound you like.
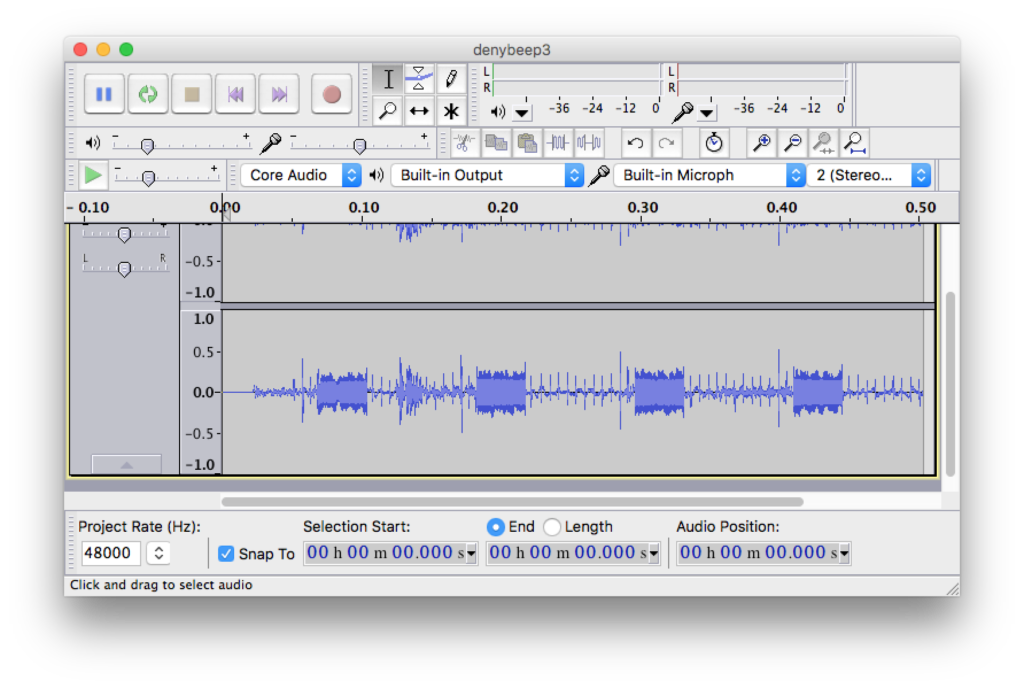
Step 2. In order for the sound to work, it needs to be in an AIFF format. I recommend using the free Audacity application to convert it. You can download it from AudacityTeam.org. Once downloaded, open up your sound file in Audacity.
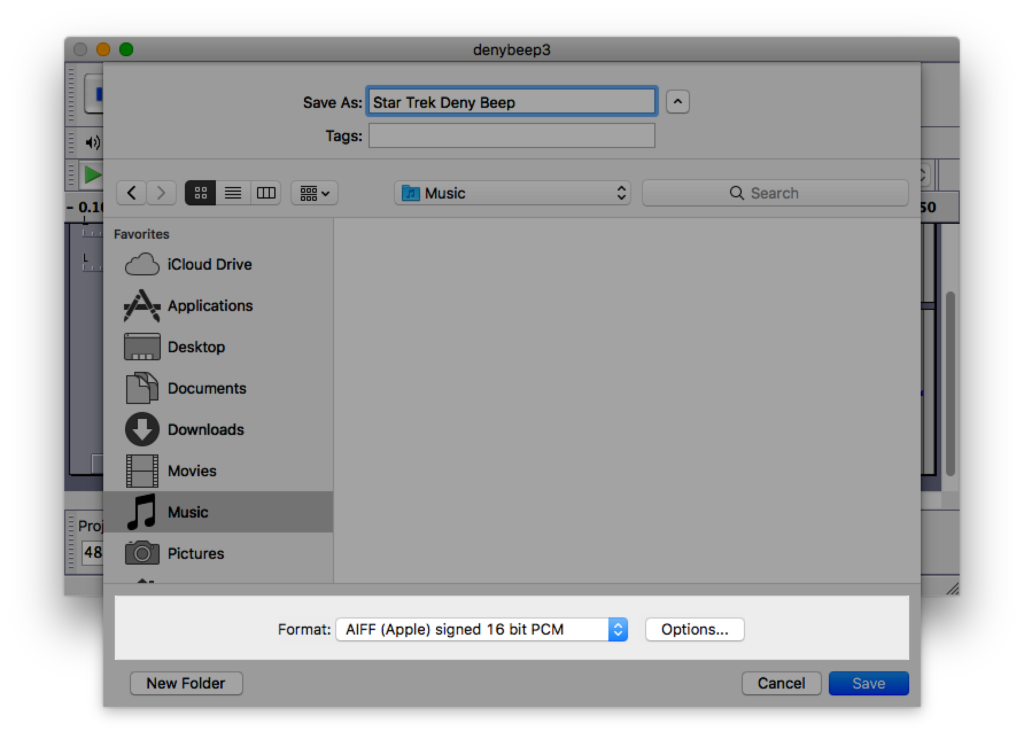
Step 3. Go to the menu bar, then select File > Export… Enter the name you would like it saved as, and make sure at the bottom under Format that “AIFF (Apple) signed 16 bit PCM” is selected. Export the file.
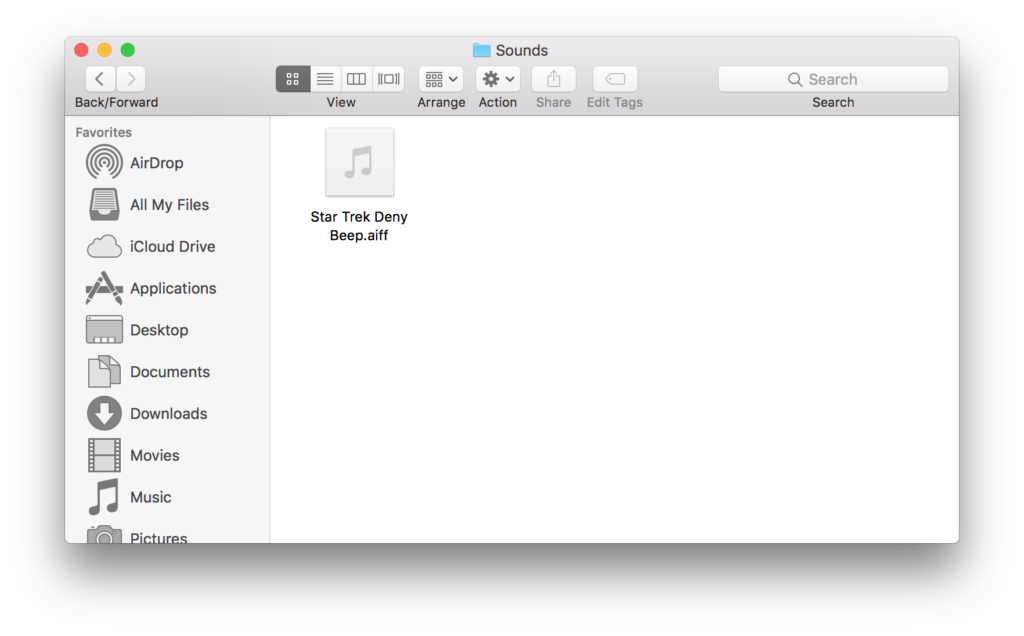
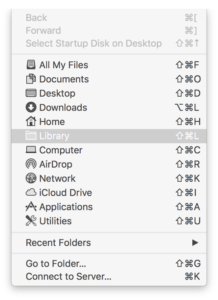
Step 4. Open Finder. Go to the menu bar and select “Go.” Hold the Shift button down and select “Library.” Alternatively, you can simply press “Shift + Command + L” to open the Library folder.
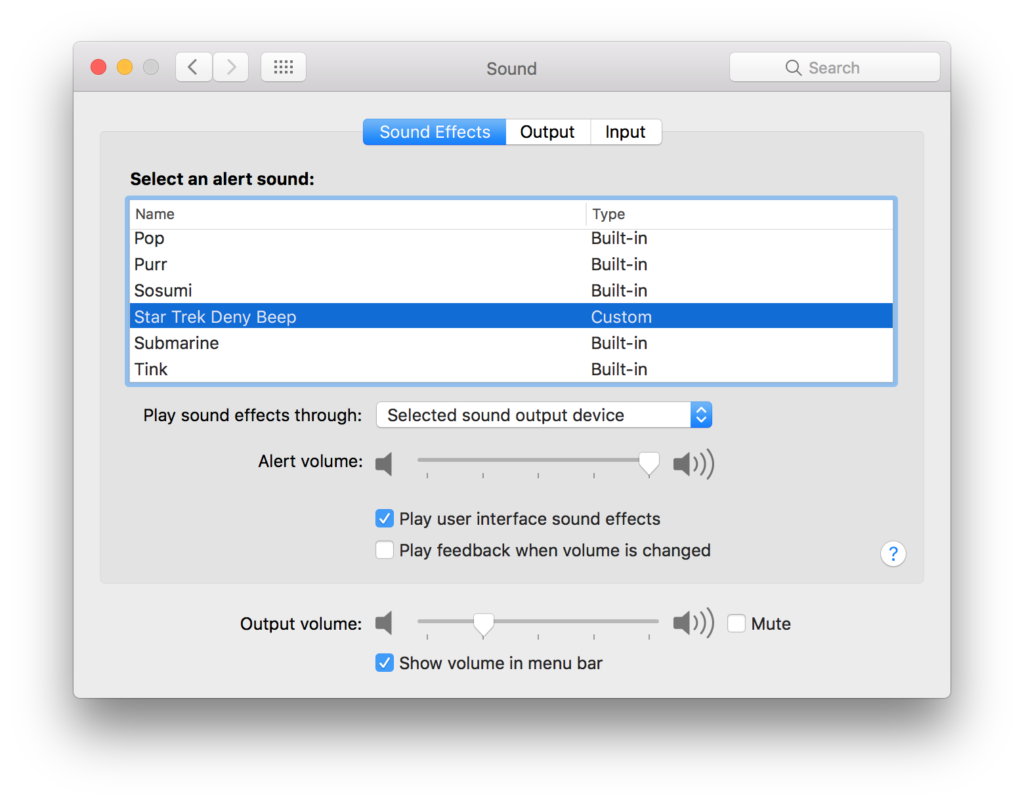
That’s it! Now, if you open up the System Preferences app, then select the Sound category. Your custom sound should now be there under the “Sound Effects” tab. Select it, and the effects will take place immediately.
