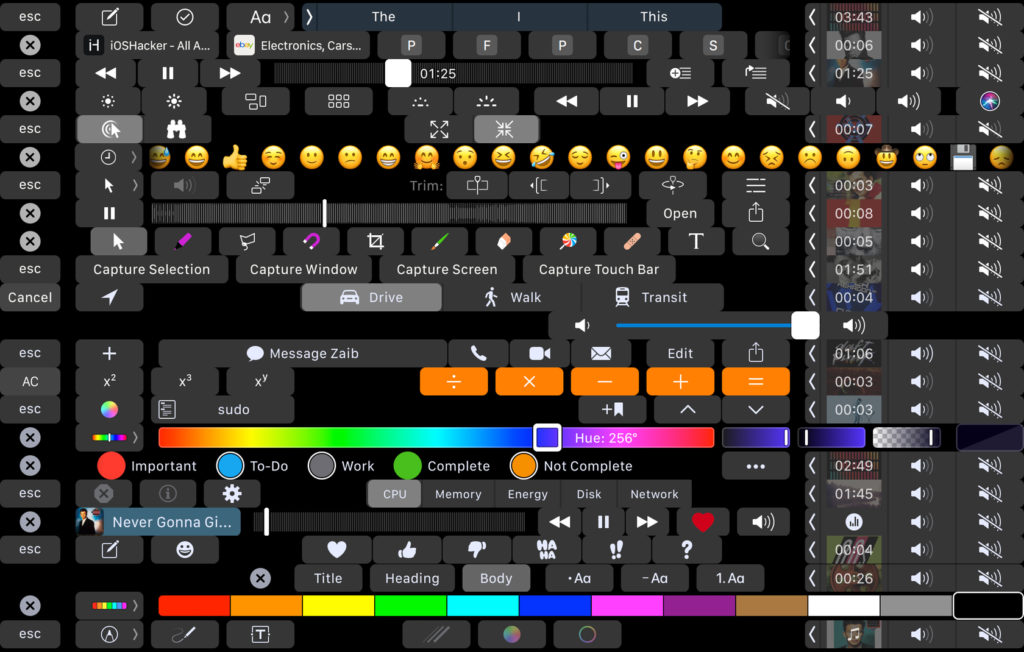
Many of us take screenshots on a regular basis. On our iOS devices, we can take one by pressing the power and home button together, or the power and the volume up buttons on the iPhone X. On the Mac, it can be done by holding down the Command (⌘), Shift, and 3 keys. If you want to select just a portion of your Mac screen, you can do so by pressing Command (⌘), Shift, and 4. But what if you want to take a screenshot of the Touch Bar on your fancy new MacBook Pro? It’s pretty simple actually, and there’s a couple of ways to do it.
How To Take Screenshot For The MacBook Pro Touch Bar
The first is with a keyboard shortcut. By default, the keyboard shortcut to take a screenshot of your Touch Bar is Command (⌘), Shift, 6. If you would prefer to copy the screenshot to your clipboard rather than creating a file on your desktop, hold down the Control button while pressing Command (⌘), Shift, 6. You can then paste the screenshot into an application.
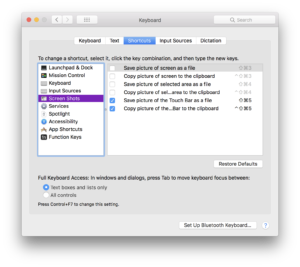
To change the shortcuts from their stock default, open System Preferences and select Keyboard. Then click on the Shortcuts tab, followed by Screen Shots in the left panel. The last two settings are for Touch Bar screenshots. To change the shortcut, double-click the shortcut on the right and then press the keyboard keys you would like to use instead. I switched mine from using the number 6 to 5.
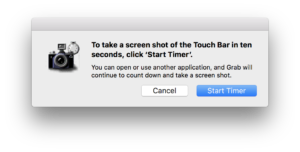
If you’d prefer to use an application instead of a keyboard shortcut, you can use the Grab app found in the Utilities folder in your Applications folder. There, go to the menu bar and then select Captured > Timed Touch Bar. You will then have around 10 seconds to go to the app that you want to have a screenshot of. You can also right-click on the Grab icon on the dock and select “Capture Touch Bar”. The screenshot will then be opened in Preview.
How often would you take a screenshot of the Touch Bar? What do you like most about the Touch Bar? Let us know in the comments!


