


Both Face ID and Touch ID allow users to conveniently secure their iPhone or iPad and prevent unauthorized individuals from accessing their data. Although iPhone’s biometric authentication features are second to none, they can still be vulnerable to forced unlocks. For instance someone can physically force you to unlock your iPhone through Face ID and Touch ID and forcefully access your private data.
Good news is Apple’s security team has thought of such situations and has enhanced iPhone security to keep user’s data secure. Using a simple technique iPhone users can quickly disable Face ID or Touch ID security feature of their device and prevent anyone from forcefully unlocking their devices.
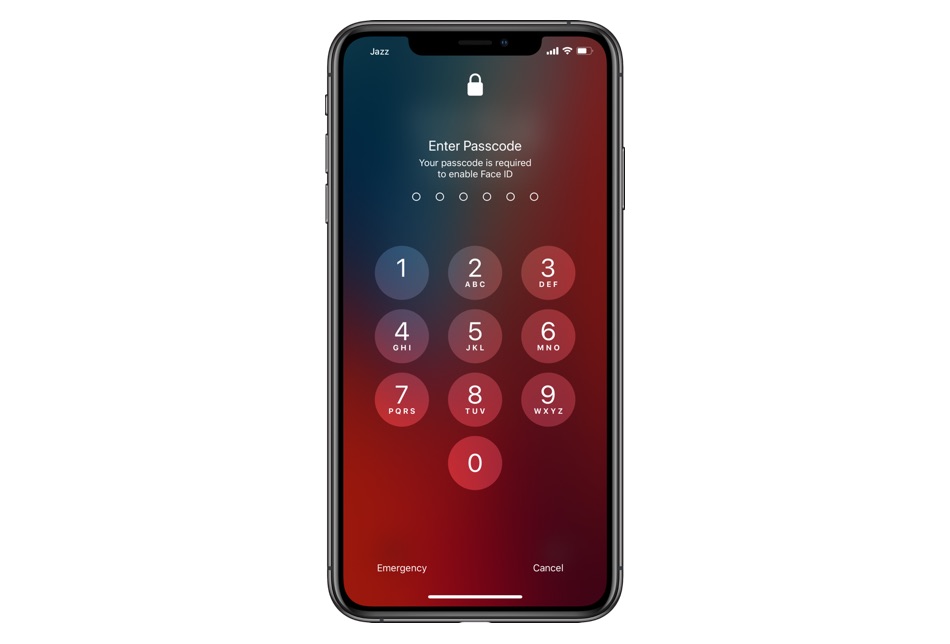
Once you have performed the steps outlined below, your iPhone will only get unlocked after a correct passcode entry, similar to how passcode is required by the iPhone after a reboot.
Face ID or Touch ID will get disabled until the correct passcode has been entered on the device and will not allow entry even with the correct Face ID or Touch ID scans.
Temporarily disable Face ID or Touch ID to prevent forced unlocks
On iPhone X or later: To temporarily disable Face ID on iPhone X or later, including the new iPhone 11 and iPhone 11 Pro, all you have to do is press and hold the power and side buttons simultaneously to access the slide to power off screen. You can do this while your device is both locked or unlocked. As soon as the power off screen appears on your iPhone, Face ID will automatically get disabled until correct passcode is entered.
On iPhone 7 or earlier: Press and hold the power off button until slide to power off screen appears on your iPhone. As soon as it does, Touch ID will get disabled until correct passcode is entered.
There you have it, this is how you can disable Face ID or Touch ID and prevent forced unlocks. Knowing this neat little tip can help you with protecting your data in undesirable situations. If you have any confusion regarding this tip, then feel free to let us know in the comments below.
Also read:
- Forgot iPhone Passcode? Here’s What To Do Next
- Want Secure iPhone? Don’t Use 6-Digit Passcodes
- Replace Side Button Download Confirmation With Passcode On iPhone XS Or XR

