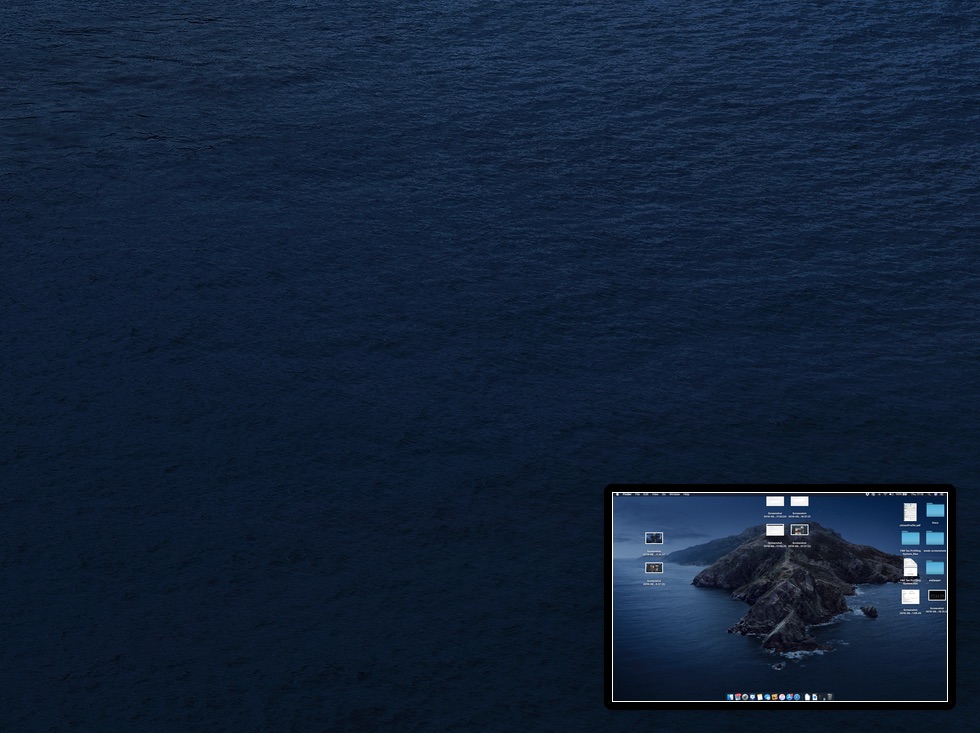
Taking screenshots of your Mac’s is an essential functionality when you’re teaching, working on a team project, or writing a blog post with specific step-by-step instructions. Not just that as sometimes you just want to tell a friend how to do something on their computer, so recording the screen or taking a print screen on Mac comes handy.
As someone who has not taken a screenshot before or has shifted to a Mac recently, you might be wondering how do you do this?
For people who are new to Macs, the lack of a print screen key on the keyboard is confusing. However, there’s no learning curve at all. You just need a few instructions on how to screenshot on Mac, and you’ll be ready to start snapping.
Tips: How to Take a Screenshot on Mac
First, Learn the Old Ways for Taking Screenshots on Mac
Let’s talk about the methods that work on all Macs. Even if you have a pre-Mojave operating system on your computer, these commands will work:
- Command + Shift + 3
- Command + Shift + 4
It’s easy: you press three keys and you take a screenshot on Mac. The command with a 3 will snap a shot of the entire screen. If you need to edit that screenshot in any way, you can do it in a photo editing app.
But if you need a precise area of the screen, you can use the command with a 4 to take a screenshot on Mac. Maybe you’re using one Safari window for research and another one for work, scaled down so you see the research while writing. You’re working with a client and you want them to see the window with your work. Pressing “Command + Shift + 4” allows you to take a more specific screenshot on Mac, so you’ll avoid the need to edit a photo afterwards.
Learn the More Sophisticated Commands
From Mojave on, Apple made it easier for users to print screen on Mac.
- Command + Shift + 5
That’s the command that gives you more opportunities than the previous ones. You can still use the 3 and 4 for simple screenshots, but the 5 is more versatile. If you press these keys, your Mac will give you a menu with these options:
- Capture the entire screen or selected windows (this was possible with the previous two commands as well)
- Take a shot of a selected portion (you’ll get a rectangle that you can adjust, so you’ll get the exact section you need)
- Record the entire screen or a selected portion (now this is something new!)
You’ll see a simple menu with icons on the screen as soon as you hit Command + Shift + 5. Each icon stands for one of the above-listed functions. If you’re using a MacBook Pro with a touch bar, you’ll see the same icons there. Many people think the touch bar is a gimmick, but in this case, you’ll find it particularly useful.
You Don’t Like Keyboard Commands? Try an App or a Browser Extension!
If you only need to take screenshots from web pages you see on Google Chrome, you can use Awesome Screenshot – a simple extension that does the trick. It requires an installation on your browser. You’ll click the icon whenever you want to capture a print screen on Mac. It can take the entire web page, the portion you see on your screen, or a selected section. It’s useful for capturing entire webpages (the only way to do that with keyboard commands is by recording a video).
If you want to try a dedicated app for taking a screenshot on Mac, you can do that, too. An app will give you more options. CleanShot, for example, lets you blur certain parts of the screenshot in an easy way. You’ll avoid complex editing steps after snapping the shot.
If you need advanced screen recording features, you can try Capto. The interface is similar to the iMovie one. You can use it to teach someone how to use particular software. The app enables you to add voiceover, but it also includes a feature for adding captions. It’s really cool.
Don’t Forget to Organize
Are you taking multiple screenshots per day? If that’s something you do as part of your work, you want to organize those shots as soon as possible. They will have lengthy titles and they will all end up cluttered on the desktop or in your Downloads folder. Name them properly and store them in designated folders on the cloud. You don’t want them consuming too much space on your computer.
It’s Easy to Take Screenshots on Mac
The environment of macOS is pretty intuitive. It doesn’t take much time for new users to learn keyboard commands and start using them right away. Taking screenshot is not a complicated process. Your computer has integrated functions that let you record or capture the screen right away.
However, if you need more sophisticated functions, you might want to try an app. This is hardly a disadvantage of the macOS, though. Most people only need basic screenshotting functions and they would never use advanced video editing features. Apple chooses not to complicate things. For those who need more functionality, apps are always an option.
Author Bio:
James Dorian is a technical copywriter. He is a tech geek who knows a lot about modern apps that will make your work more productive. James reads tons of online blogs on technology, business, and ways to become a real pro in our modern world of innovations.


