


![]()
If you own multiple Apple devices, then AirDrop is certainly the best way to share content among them. It is fast and convenient, and allows you to share images, videos, documents and other types of content between Macs, iPhones and iPads.
Normally to share a file through AirDrop you have to right click on the file you want to share or use the shortcut found in Finder sidebar.
You can make accessing AirDrop feature on your Mac a lot easier by adding the AirDrop icon to the Mac dock, so it is always at an easily accessible. Follow the steps below to add AirDrop icon to your Mac dock.
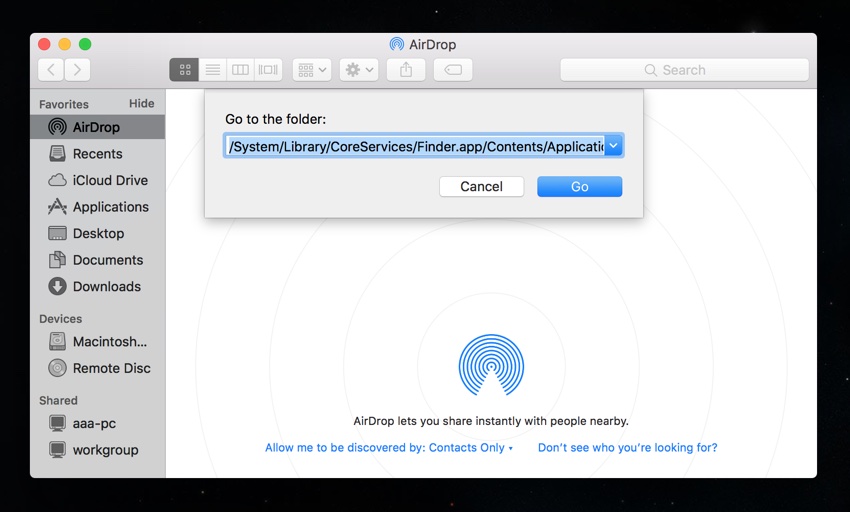
Step 1: Open Finder window and click on Go menu from the menu bar. Then click on Go To Folder.
Step 2: Copy the following folder path and paste it into the dialog box and hit enter.
/System/Library/CoreServices/Finder.app/Contents/Applications/
Step 3: Now that our desired folder has opened click on the AirDrop icon and drag it on the Dock, and let go.
Step 4: Once the AirDrop icon has been added to Dock just click on it to access the AirDrop screen.
Next time you want to share files through AirDrop just click on the dock icon, drag and drop files into the AirDrop window and onto the user you want to share the files with and and you’re golden.
Also read: How to change Mac Dock Color

