


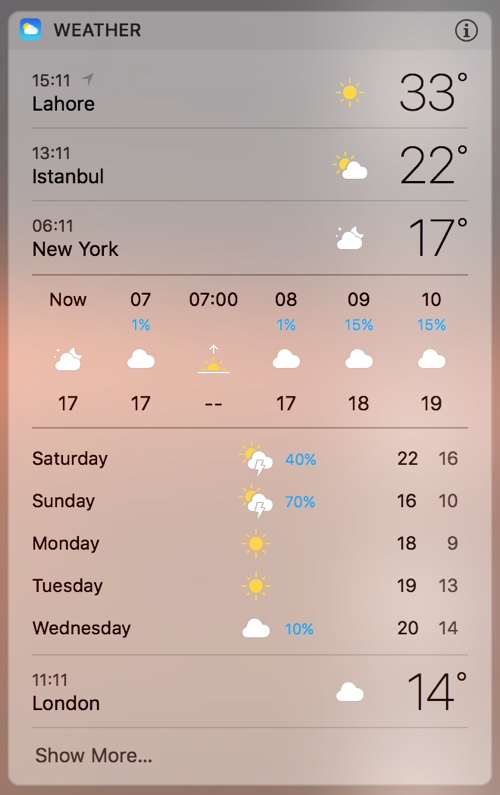
The macOS Notification Center features a special weather widget that allows users to see the weather reports from different cities of the world. It is a powerful widget that is not only capable of showing weather reports for multiple cities at the same time but can also show a detailed forecast for each of them. If you have it enabled in your Notification Center and want to add, remove or rearrange cities in it then we have got you covered. Follow the simple instructions below to find out how to do it.
Adding a new City in the widget
First of all make sure the Weather widget is enabled in your Notification Center. If it is not, then click on the ‘Edit’ button from the bottom and add it.

Now click on the ‘i’ button located on the top right side of the widget. This will enable the widget editing mode.
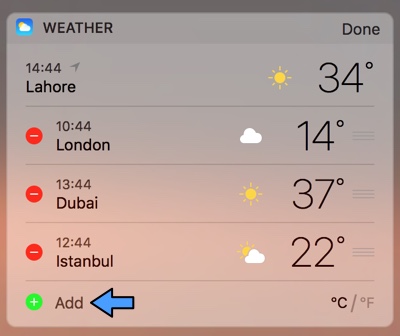
Simply click on the ‘Add’ button and type the name of the city you want to add to the widget.
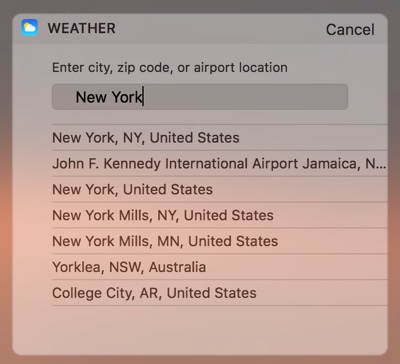
Once it appears in the search results click on it. It will then be added to your list of cities.
Removing a City from the widget
If you want to remove a widget then simply click on the ‘i’ button from the top right.
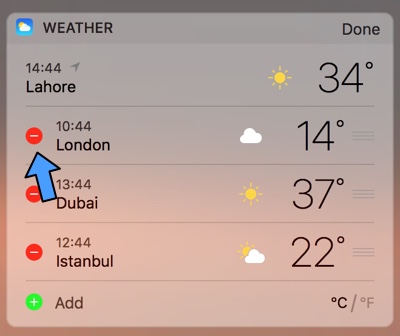
When in editing mode just click on the red ‘-‘ button next to that particular city.
Rearranging Cities in the Weather widget
You can also rearrange the cities that are already added in the weather widget. To do so, click on the ‘i’ button to enter the edit mode.
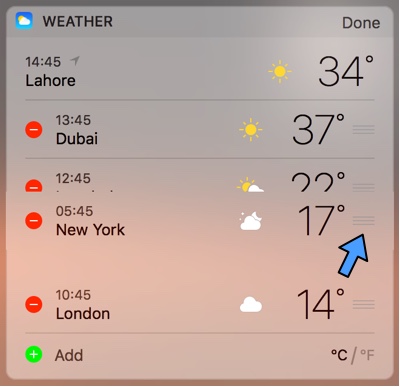
Once the hamburger button appears on the right side of the city cell, click on it and drag it up or down.
