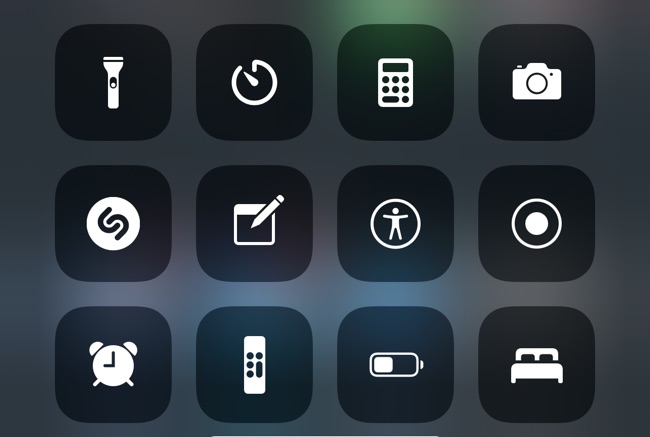
In this guide we will show you how to add the Shazam button to Control Center on iPhone or iPad and use it to recognize songs that are playing around you.
On iOS 14.2 or later you get a really cool feature that makes it super easy for you to find out the title of the song that is currently playing in your surrounding. You can do so with the built-in Shazam feature of iOS that enables you to find out the title and artist name of the song that is playing around you.
While previously you had to have the Shazam app installed on your device or use Siri to find out details of a song with Shazam, the Shazam Control Center button makes finding out details of the song much quicker and easier.
How to add Shazam button to Control Center on iPhone or iPad
You can easily add Shazam button to Control Center by following the simple steps below. Please note Shazam button is available on iOS 14.2 or later.
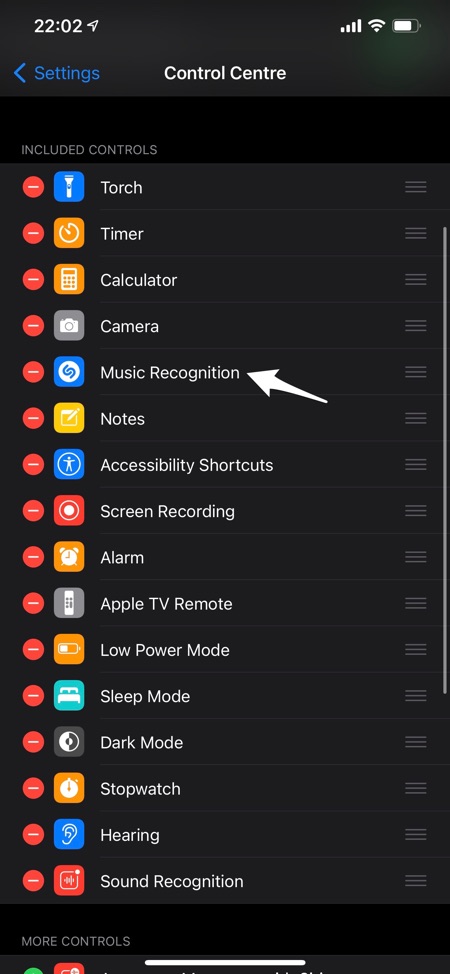
Step 1: On your iPhone or iPad open Settings and go to Control Center.
Step 2: Once you are on the Control Center screen scroll down and look for the ‘Music Recognition‘ option.
Step 3: Tap on the ‘+‘ button located next to the Music Recognition option in order to add it to Control Center.
Step 4: After it appears under Included Controls, drag on the hamburger button located on the right side of the Music Recognition and move it up or down in your desired location.
How to use Shazam button on Control Center
After you have succesfully added the Shazam Music Recognition button to iPhone or iPad’s Control Center you can start using it to conveniently Shazam songs.
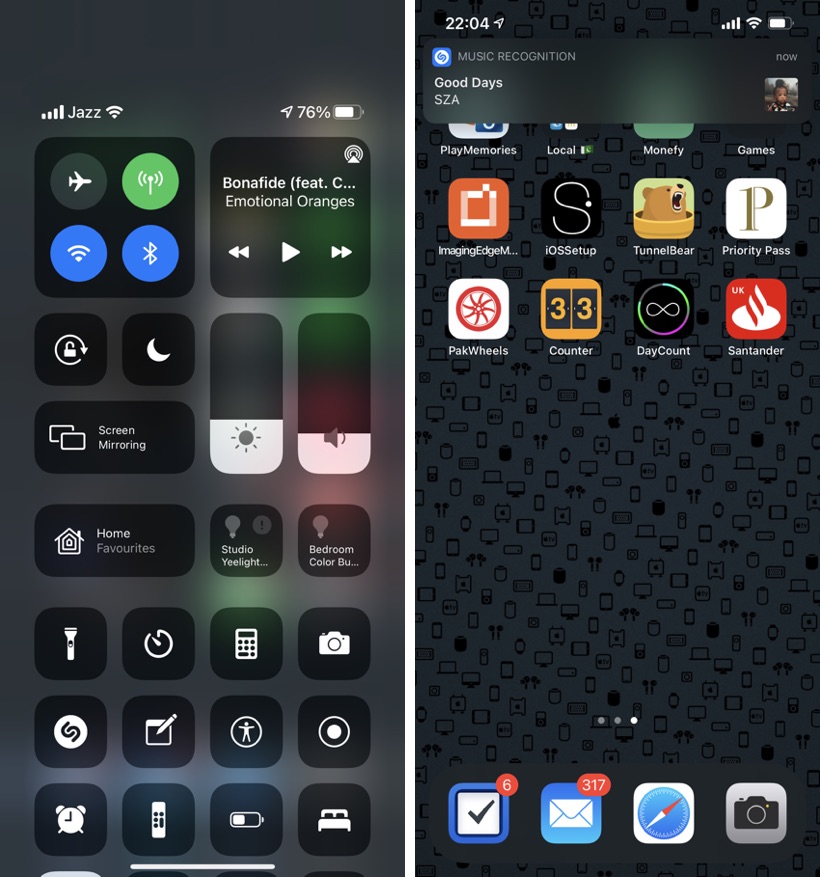
To do so simply access the Control Center by swiping down from top right corner of the screen (or swiping up from the bottom of the screen on older iPhones).
Then tap on the Music Recognition button while making sure your iPhone is able to listen to the song that is playing around you.
After the song has been recognized you will receive a notification banner with the song and artist name.
There you have it, this is how you can add and use the Shazam Music Recognition button on your iOS device. If you have any questions related to this guide, then let us know in the comments below.


