


Everyone likes to customize their Mac to give it a personal touch. There are a lot of things that you can do to make your Mac personal and to tell everyone that it belongs to you and only you. One interesting personalization option that we came across and that is fairly easy to implement is having your name in the Mac menu bar.
The menu bar is one of the central parts of macOS and is omnipresent, so having your name showing in it can make using the computer even more fun.
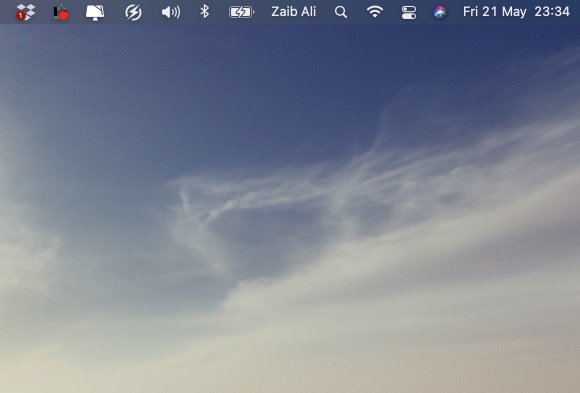
Read on to learn how you can add your name to Mac menu bar and give it a personal touch. Once added your full name or account name will appear in the top menu bar.
Adding your name to Mac menu bar
Here are step by step instructions on how you can add your name to Mac menu bar and make it more personal.
- On your Mac open System Preferences and then look for ‘Users & Groups’ option.
- Here you might have to click on the unlock button located at bottom left side of the screen, if so click on it and enter your admin password.
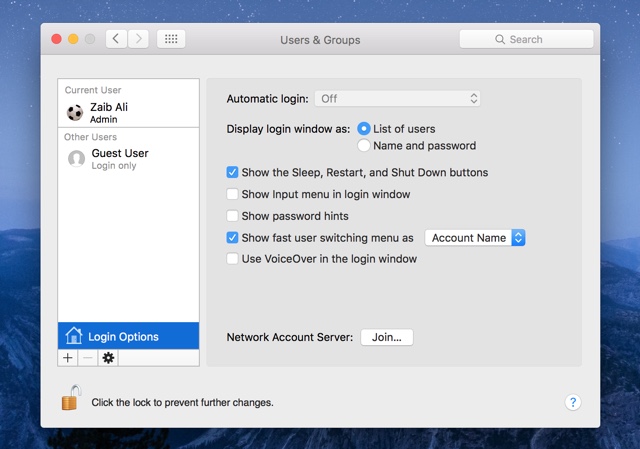
- There look for the ‘Login Options‘ button, which you will find on the left side pane. Click on it.
- Now from the menu tick mark the ‘Show Fast User Switching menu as’ option and from the drop down menu select either ‘Account Name’ or ‘Full Name’ options depending on your preference.
Doing so will instantly put your name in the menu bar. This will also make it easier for you to switch between multiple accounts if you have more than one users on your Mac, as that is the main purpose of this feature.
Also read: How to add your country flag in Mac menu bar

