


Table of Contents
- How To Fix iPhone Wi-Fi Not Working
- 1. Make sure Wi-Fi toggle is On
- 2. Wi-Fi network won’t show up in the Wi-Fi section?
- 3. Wi-Fi Password won’t work
- 4. iPhone Showing ‘No Internet Connection’
- 5. Check if Internet is working
- 6. Connect to a different Wi-Fi network
- 7. iPhone won’t connect to Wi-Fi automatically
- 8. Restart everything
- 9. Reset Network Settings
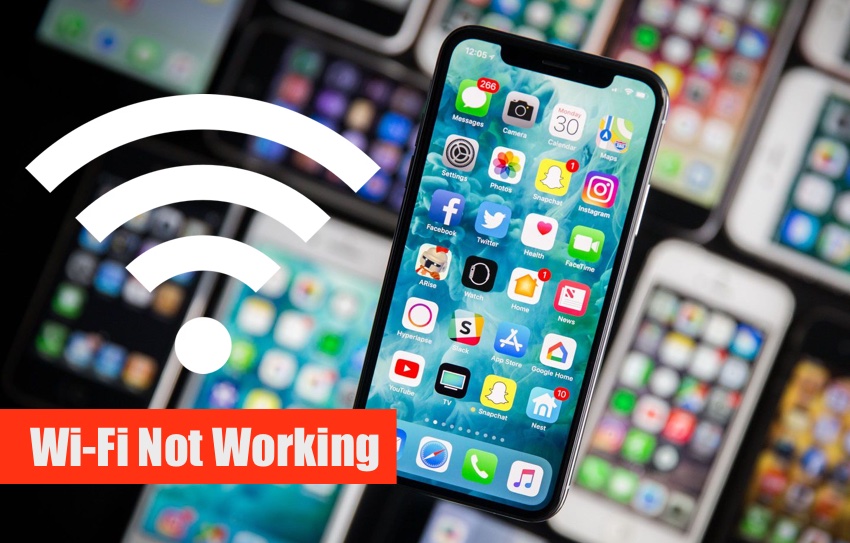
Nothing’s more annoying than having an iPad or iPhone unable to connect to Wi-Fi and has no Internet connection. With no Wi-Fi the iOS device can become nearly useless, however good news is in most of the cases it is easy to fix iPhone Wi-Fi not working issue and have your device connected to Wi-Fi again.
In this troubleshooting article we have shared a number of working solutions that can fix the issue of an iPhone or iPad that can’t connect to Wi-Fi. After following steps you should also be able to fix the issue where your iPhone does not connect to Wi-Fi automatically.
Read on to learn how to fix iPhone Wi-Fi not working. By the end up fo this tutorial you will be able to fix any Wi-Fi connectivity issues that you are facing with your iPhone, iPad or iPod touch.
Cellular Internet not working on your iPhone? Then read our guide here.
How To Fix iPhone Wi-Fi Not Working
Here are the steps that you can perform to fix iPhone Wi-Fi not working. These steps have been proven to be extremely helpful in fixing problems with Wi-Fi feature on iOS devices.
1. Make sure Wi-Fi toggle is On
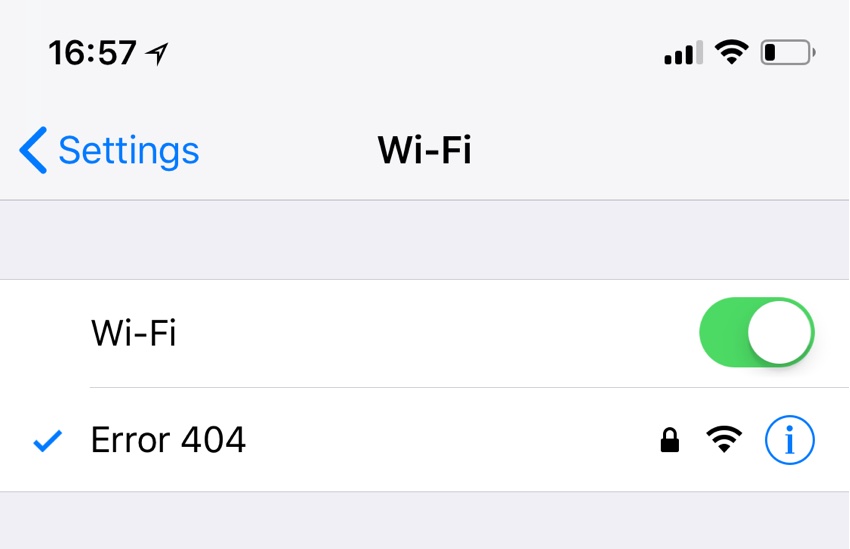
The first thing that you should do when you are trying to fix iPhone Wi-Fi not working is to make sure Wi-Fi is enabled. Open Settings > Wi-Fi and make sure the Wi-Fi toggle is turned on. When you are on the Wi-Fi screen tap on the Wi-Fi network you want to connect to and enter its password. Once you are connected you will see a blue tick next to the Wi-Fi’s name. You will also see the Wi-Fi icon in the status bar.
2. Wi-Fi network won’t show up in the Wi-Fi section?
If you don’t see your home or office Wi-Fi network in the Wi-Fi section of the Settings app, then you have to make sure that your router is turned on and your iOS device is in range of its signal. Sometimes iPhone can’t find Wi-Fi simply because you are out of its range. Try getting as closer to the router as possible. A lot of times signals are unable to reach certain parts of the house, so moving around can help. More often then now iPhone Wi-Fi issues can be solved by simply getting into Wi-Fi networks limited range. You can also consider installing a Wi-Fi range extender in your house.
3. Wi-Fi Password won’t work
If you are entering the right password to your Wi-Fi network and your iPhone or iPad still won’t connect, then try restarting the router and your iPhone. Then try again. It is also a good idea to double check you are entering the right password.
4. iPhone Showing ‘No Internet Connection’
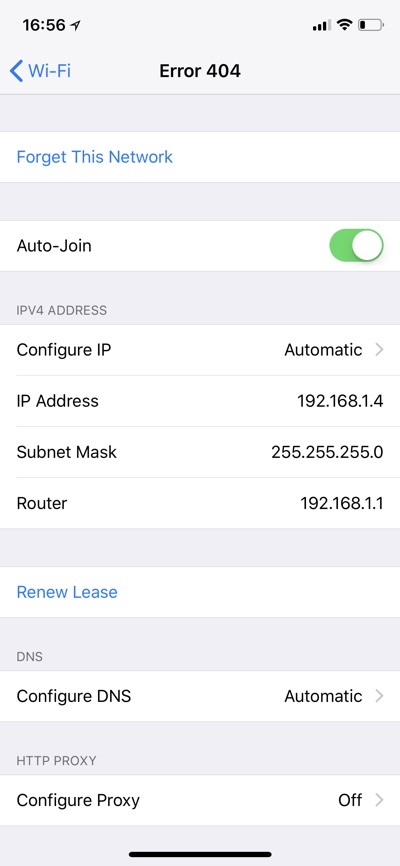
If you are seeing No Internet Connection recommendation on iPhone under the Wi-Fi’s name even though the Wi-Fi network works on other devices, then try removing the Wi-Fi network from your iPhone and connecting to it again. You can do so by opening Settings > Wi-Fi > Wi-Fi Name > i > Forget This Network. Once the Wi-Fi is removed connect to it again. This step can prove to be very helpful in solving iPhone Wi-Fi Not working problem.
5. Check if Internet is working
If you are connected to a Wi-Fi network but Internet won’t work on iPhone, make sure you have an active Internet connection. You can check on other devices to see if Internet is working on them or not. Also check your router to see if Internet lights are on. If problem Internet is not working, then try contacting your service provider.
6. Connect to a different Wi-Fi network
You can check if the issue is with your iPhone or the Wi-Fi network by connecting your device to a different network. If you are can connect to a different network and the Internet works then the problem is with your network and not your device.
7. iPhone won’t connect to Wi-Fi automatically
If you are facing an issue where you iPad or iPhone won’t connect to Wi-Fi automatically, then there is a simply fix to this solution. To make sure iPhoen connects to your Wi-Fi network as soon as you get into its range, simply follow these steps.
- Go to Settings and tap on ‘Wi-Fi’ option.
- From the next screen look at the list of available Wi-Fi networks and find your own Wi-Fi. Now tap on ‘i’ option.
- Finally from the next screen turn on the toggle for ‘Auto-Join’.
This should solve the Wi-Fi not connecting automatically issue for your iPhone and iPad.
8. Restart everything
Try restarting your iPhone, router and modem and then try connecting again. By doing this your should be able to fix iPhone Wi-Fi not working problem.
9. Reset Network Settings
Last but certainly not the least way to fix iPhone Wi-Fi not working is by resetting network settings. You can try resetting your device’s Network Settings. To do so, go to Settings > General > Reset > Reset Network Settings. Doing so will also reset cellular settings, VPN and APN settings, Wi-Fi networks and passwords. After doing so connect to Wi-Fi again.
These are some of the tips that can be helpful in solving the issue when iPhone or iPad won’t connect to Wi-Fi. We hope these steps helped you and you were able to fix iPhone Wi-Fi not working. If you have any questions, then let us know in the comments section below.

