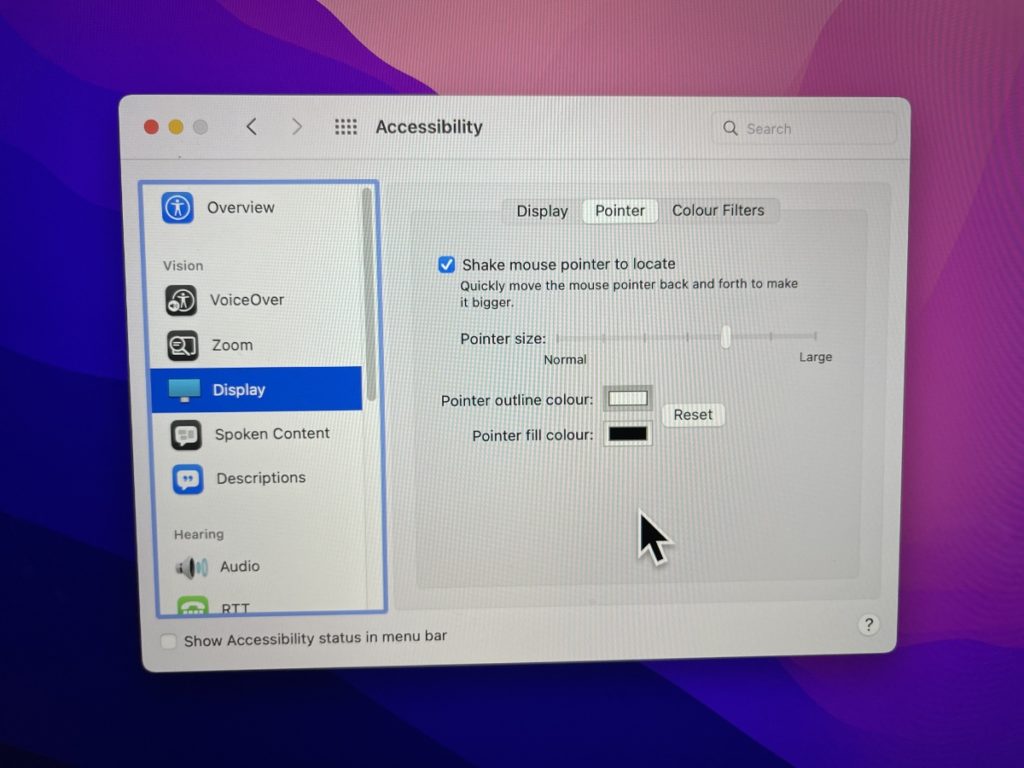
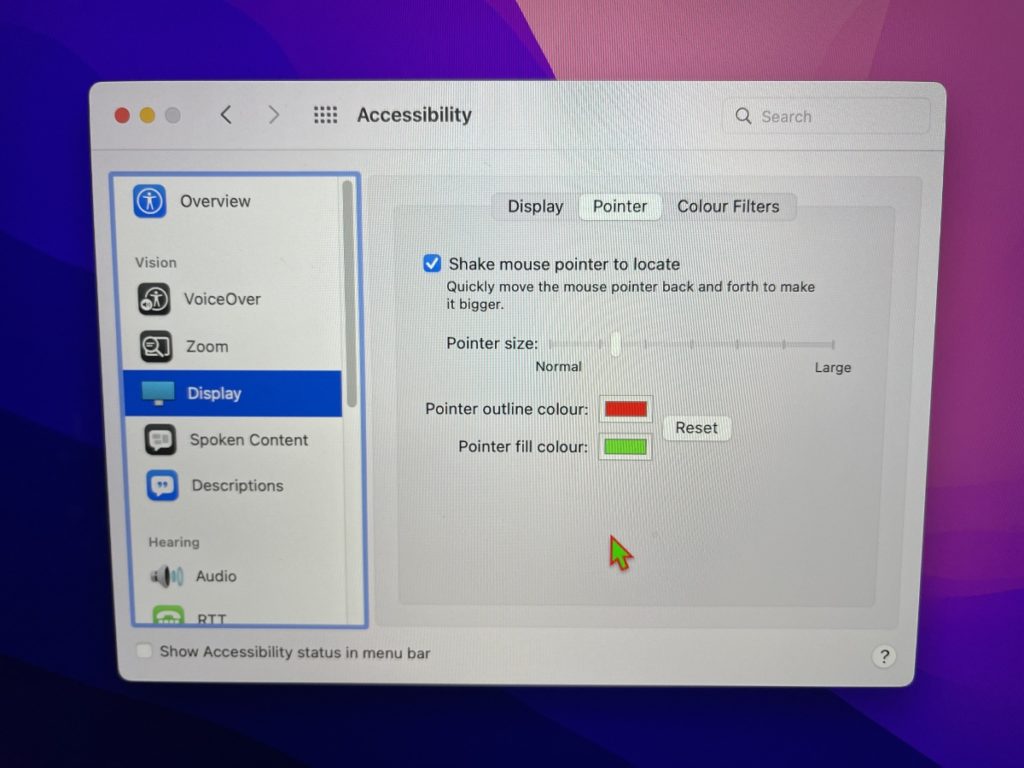
If your Mac is running macOS Monterey or later, then you can change Pointer color and size based on your personal liking.
With new Pointer settings found under Accessibility users get the ability to change the Pointer’s size, outline color and fill color. These settings allow users to significantly change the look and feel of their device’s mouse pointer.
In this guide we will show you step by step how you can change mouse pointer color and size in macOS.
How to change pointer color and size in macOS
Changing Pointer color and size in macOS Monterey or later is very easy, and you can do it in a few simple steps. Just follow the instructions below and customize macOS mouse pointer.
Step 1. Open System Preferences and go to Accessibility option.
Step 2. On Accessibility settings page select Display from the side pane.
Step 3. Now click on the Pointer tab from the top.
Step 4. Move the Pointer Size slider to increase or decrease the size of macOS Pointer.

Step 5. To change the Pointer outline color click on the white color button and from the color palette select the outline color of your choice.
Step 6. Now change the pointer fill color to the color of your choice.
If you are happy with the results, then close the System Preferences window. If you are unhappy and want to get the default look back, then simply click on the Reset button.
There you have it, this is how you can use Pointer Accessibility settings to change the look and feel of your Mac’s pointer.
Caution: A small number of Mac users have reported that changing pointer settings may cause Memory leak issues on the Mac. If you are facing similar issues, then check out this guide on how to fix memory leak issues on macOS Monterey.


