


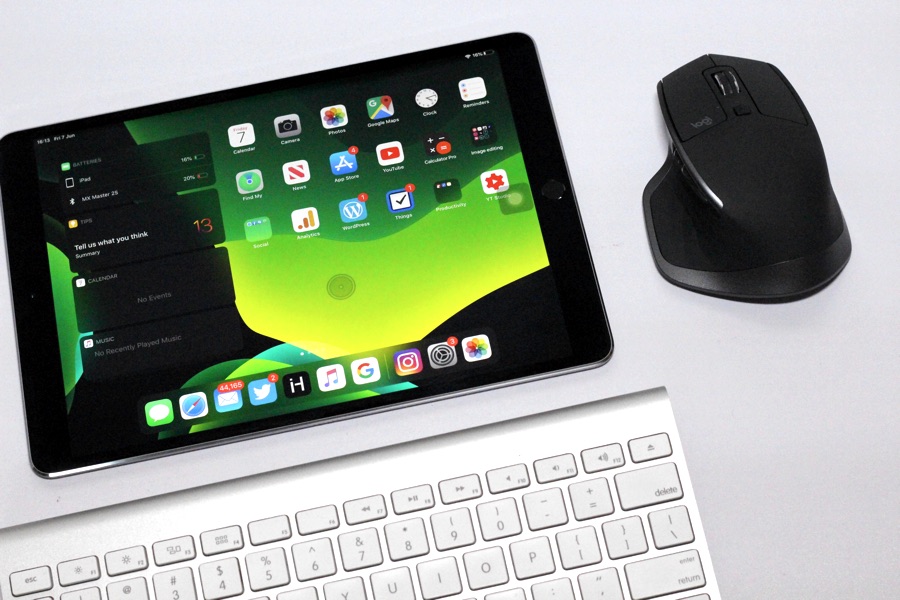
With iPadOS 13 Apple has finally brought full-fledge mouse support to the iPad. After updating to iPadOS 13 users have the ability to connect a Bluetooth mouse with their iPad and use it to navigate around its user-interface. Users can open and close apps, scroll up and down, perform certain actions with mouse shortcuts and much more. With the new OS users get a mouse experience that is comparable to a desktop computer.
The mouse feature on the iPad is also very customizable, as it allows users to change the size of the mouse cursor, change cursor’s color, increase or decrease cursor’s tracking speed and change the time after which the cursor auto hides.
In this detailed and step by step guide we will show you how to change all these important pointer settings on your iPad.
Before you start customizing the mouse pointer on your iPad, here’s a short tutorial on how you can enable the Mouse feature in the first place.
1. On your iPadOS 13 or later device launch Settings and go to Accessibility -> Touch -> AssistiveTouch.
2. Next turn on the toggle for AssistiveTouch.
3. Now go to Bluetooth settings and put your Mouse in discovery mode.
4. Once the mouse has been paired with your iPad proceed with the next steps.
Change Mouse Pointer Speed On The iPad
You can follow these steps to change Mouse Pointer speed on your iPad running iPadOS 13 or later.

- Launch Settings and go to Accessibility -> Touch -> AssistiveTouch.
- Scroll down and look for a slider under ‘Tracking Speed’.
- Move the slider left (towards turtle) to make reduce pointer’s speed or move the slider right (towards rabbit) to increase the speed.
Change Mouse Pointer Size In iPadOS 13
Now that your iPad and Bluetooth mouse are connected with each other you should see a rounded cursor on your screen. The pointer might seem large or small based on your personal preference, and here we are going to change its size to more to your liking. In order to change the size of Mouse Pointer on iPad follow the simple instructions below.
- Open Settings app and tap on Accessibility.
- Now tap on Touch and then go to AssistiveTouch option.
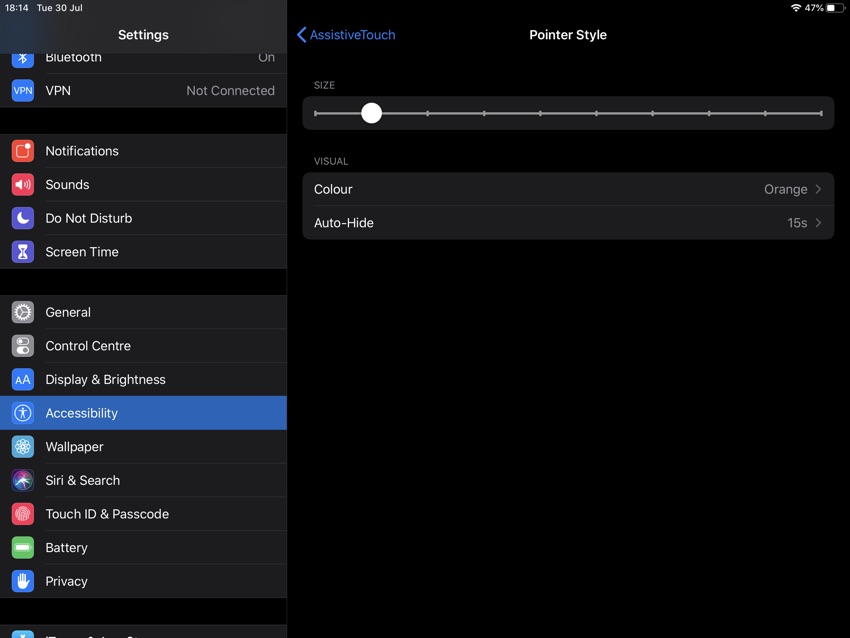
- Once you are on the AssistiveTouch screen scroll down and tap on ‘Pointer Style’ option.
- On the next screen you will get access to a slider. Move the slider towards left to make the pointer smaller or move it to right to make it larger.
- Once you have selected your desired setting exit the Settings app.
Change Mouse Pointer Color In iPadOS 13
As we said earlier the mouse feature on the iPad is very customizable. Not only can you change the size of the mouse cursor but you also have the ability to change its color to whatever you like. You can change the mouse pointer color in iPadOS 13 by following the steps below.

- Open Settings app and tap on Accessibility.
- Now tap on Touch and then go to AssistiveTouch option.
- Once you are on the AssistiveTouch screen scroll down and tap on ‘Pointer Style’ option.
- Now tap on ‘Color’ and choose your desired color option.
Change Auto-Hide time settings for iPad’s Mouse Pointer
Users have the ability to change the time after which the mouse cursor auto-hides on the iPad. The pointer is hidden after being idle for user-specified time.

- Open Settings app and tap on Accessibility.
- Now tap on Touch and then go to AssistiveTouch option.
- Once you are on the AssistiveTouch screen scroll down and tap on ‘Pointer Style’ option.
- Next tap on ‘Auto-Hide’ option and increase or decrease the Auto-Hide duration by tapping on + or – buttons.
- You also have the ability to disable the Auto-Hide setting by turning off its toggle.
There you go folks, this is how you can connect a mouse to your iPad, change its pointer size, color, speed and customize its auto-hide settings. If you have any questions regarding this tutorial, then feel free to let us know in the comments section below.

