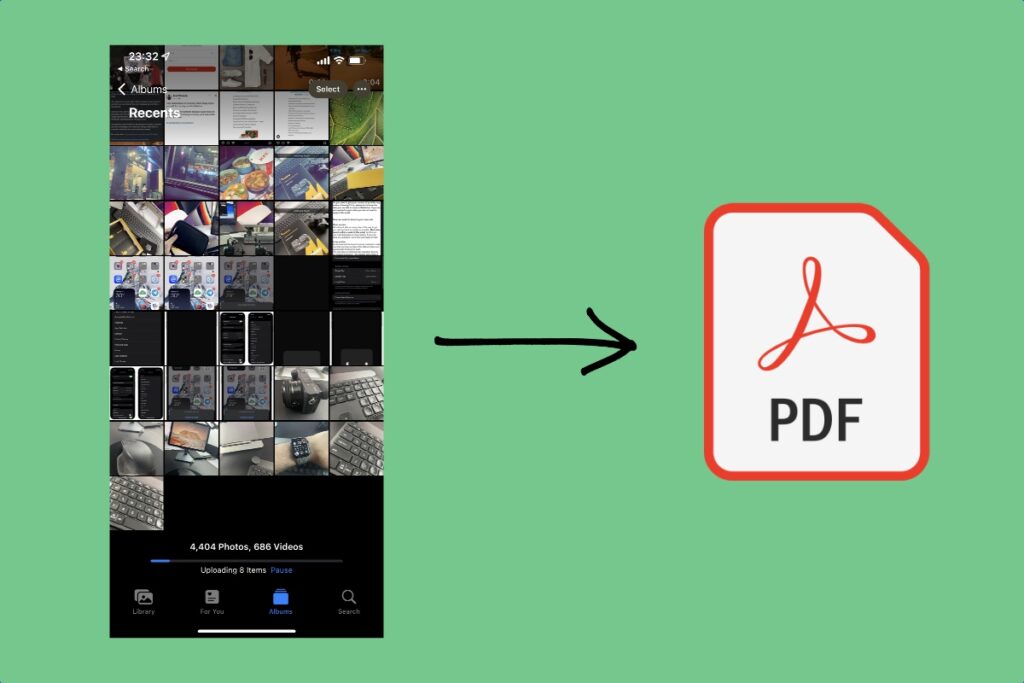
Here you will learn three different ways to convert a photo to PDF format on iPhone using the default Files and Books apps. We will also share a way to convert photos into PDF on iPhone or iPad using the built-in Printer features of iOS.
By default, iPhone photos are stored in HEIC and JPEG formats, which is not a problem as most devices out there support these image formats. However, there are times when you need the PDF version of an image stored on your iPhone.
The good news is multiple ways allow users to convert photos to PDF for free on iPhone. Needless to say, these steps also work on iPads. All of these steps work on iOS 17.
You do not need any third-party app to convert images to PDF as you can do it by using the default apps and features as we will show you in this post.
So without any further ado let’s take a look at how to convert pictures to PDF on iPhone and iPad in 2024.
Convert Photo to PDF with the Files app
In method number one we will be using the stock Files app for converting an image into PDF file. Here’s how you can do this.
Step 1. Open the Photos app on your iPhone or iPad and select the images that you want to save as PDF.
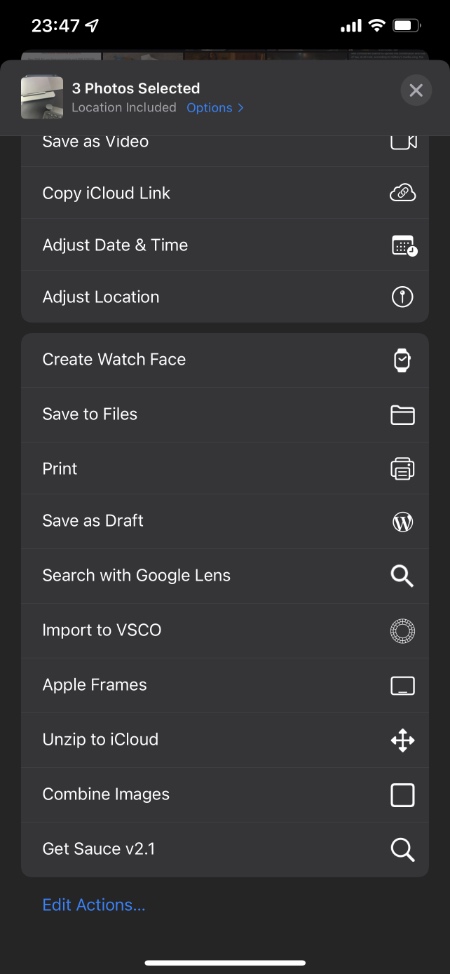
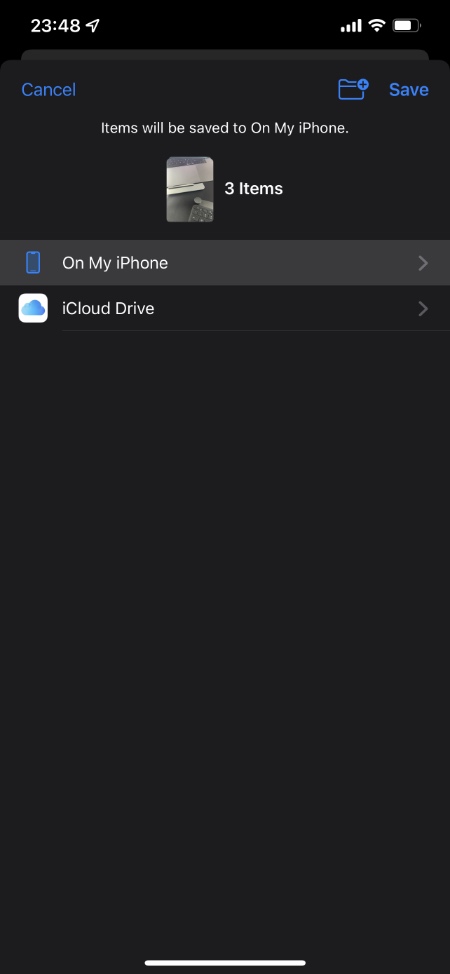
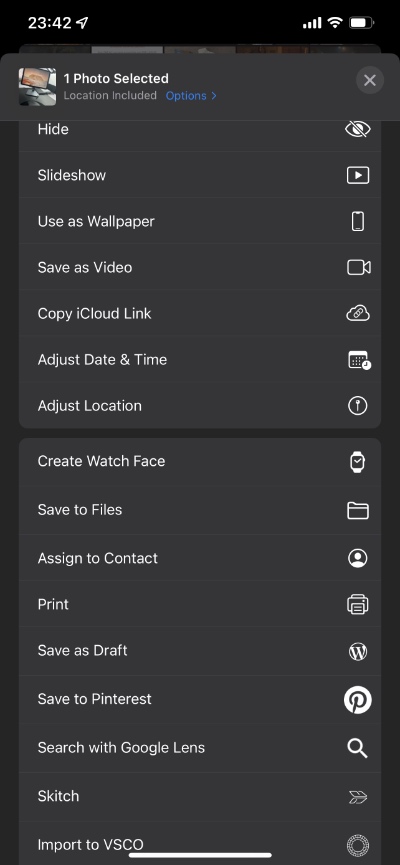
Step 2. Now tap on the Share button and then tap on the Save to Files option. Choose the location where you want to save the photos in the Files app.
Step 3. Next, open the Files app and find the images you have just saved to the Files app.
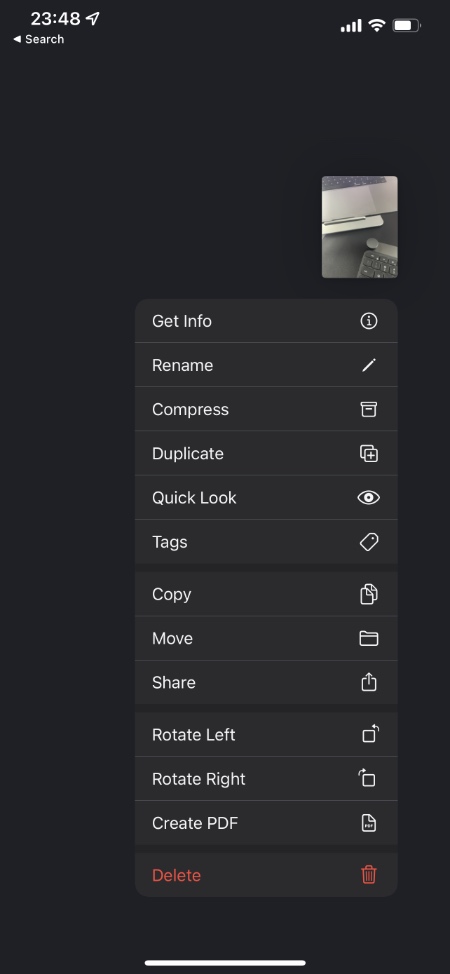
Step 4. Long press on the image that you want to convert and from the popup menu tap on Create PDF.
Step 5. You can also add multiple photos into a single PDF file by tapping on the ‘…‘ from the top right corner and tapping on Select. Then tap on all of the images you want to add to PDF and tap on More. Finally, tap on the ‘Create PDF‘ option.
Convert Picture to PDF with Books app
In the second method, we will convert the image to a PDF file on an iPhone or iPad with the help of stock Books app.
Step 1. Launch the Photos app and select the images that you want to convert to PDF on your iPhone.
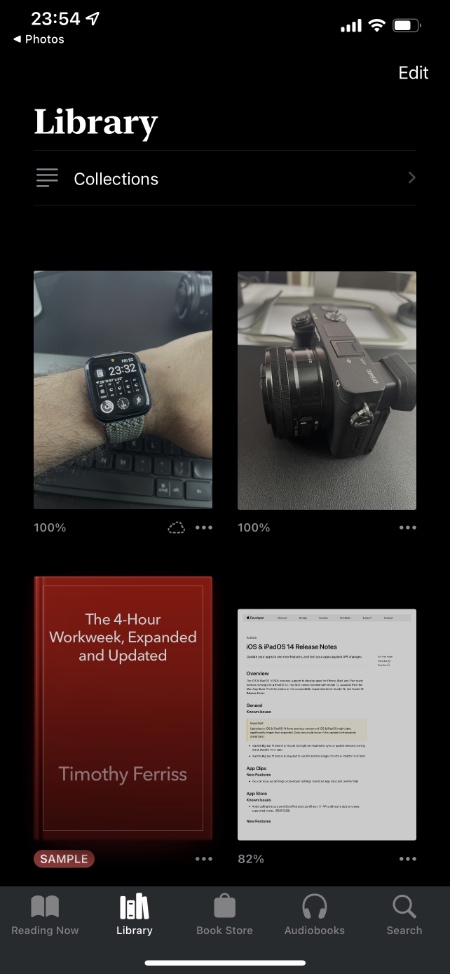
Step 2. Tap on the Share button and then tap on the ‘Books’ app icon. If you don’t find the icon scroll left on the icon list and tap on the ‘More‘ button and choose Books from there.
Step 3. As soon as you tap on the Books icon the photos will be converted into PDF format and exported to the Books app.
Step 4. Open the Books app to access the PDF file and share it via email, message, etc.
Convert Picture into PDF using Print feature
In the third and final method, we will be using the Print feature of iOS and iPadOS to convert pictures into PDF on iPhone.
Step 1. Open the Photos app and select the photos that you want to add to your PDF files.
Step 2. Now tap on the ‘Share‘ button and then on ‘Print‘.
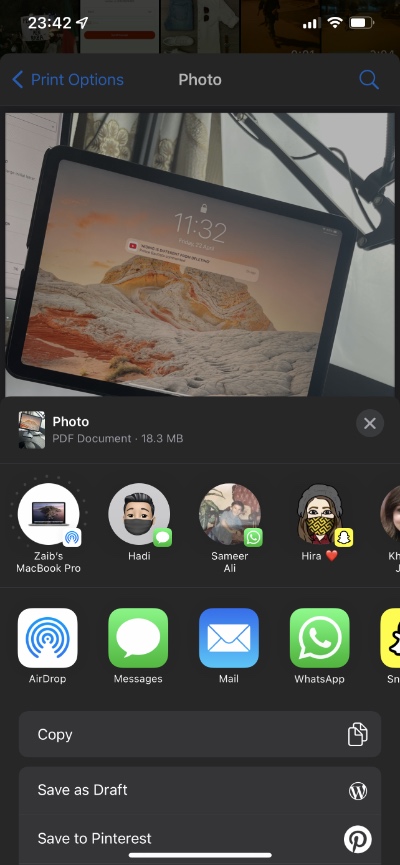
Step 3. Tap on an image with two fingers and perform a pinch-out gesture.
Step 4. Now tap on the ‘Share’ button located on the bottom left side of the screen.
Step 5. Finally, choose the option you want to export PDF file in. This includes options like AirDrop, Mail, Message, Notes, etc.
So here’s how to convert pictures to PDF on iPhone or iPad. The best thing about these picture-to-PDF methods is that they are free to use and work on all models of iPhone and iPad.
If you have found this tutorial to be helpful then don’t forget to share it with family or friends.


