


If you use Apple Maps navigation for driving around, then you should start taking advantage of the multi-stop routing feature, which allows users to add multiple stops to their driving route.
Gone are the days when you had to enter your new destination again and again while you were on a multi-stop route and had to stop at multiple places.
Now you can easily add all of your stops at once before starting your journey and keep going without having to worry about adding your next stop.
What makes multi-stop routing feature even more convenient to use is that users can plan a route and add multiple stops on their Mac and sync the route to their iPhone. This makes the whole process a lot easier for Mac users, as they can use the desktop Maps app to plan their route more effectively.
This is an iOS 16 feature and is available on devices running iOS 16 or later.
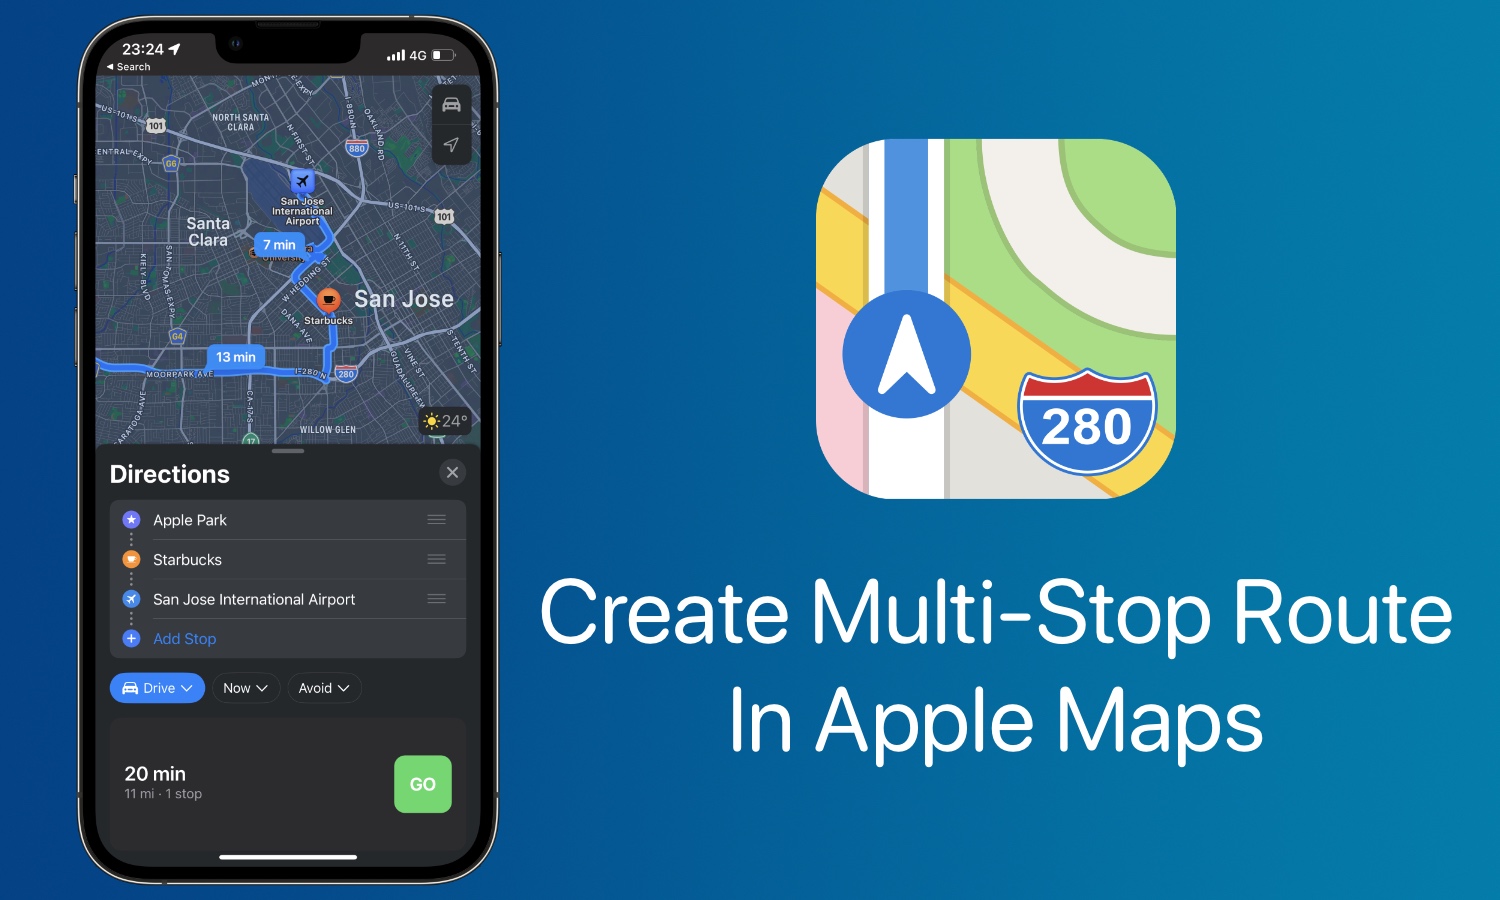
Create Multi-Stop Route In Apple Maps
Follow these instructions to create a multi-stop route in Apple Maps.
Step 1. Launch Apple Maps app and tap on the search field.
Step 2. Enter the first location for which you want to start navigation for.
Step 3. After searching for it tap on the ‘Directions‘ button to start navigation for it.
Step 4. On the Directions menu tap on ‘Add Stop‘ button and search for the place where you want to make your first stop at. Tap on ‘Add‘ button next to it in order to add it to your route.

Step 5. Repeat the same step for any additional places that you want to stop during your journey.
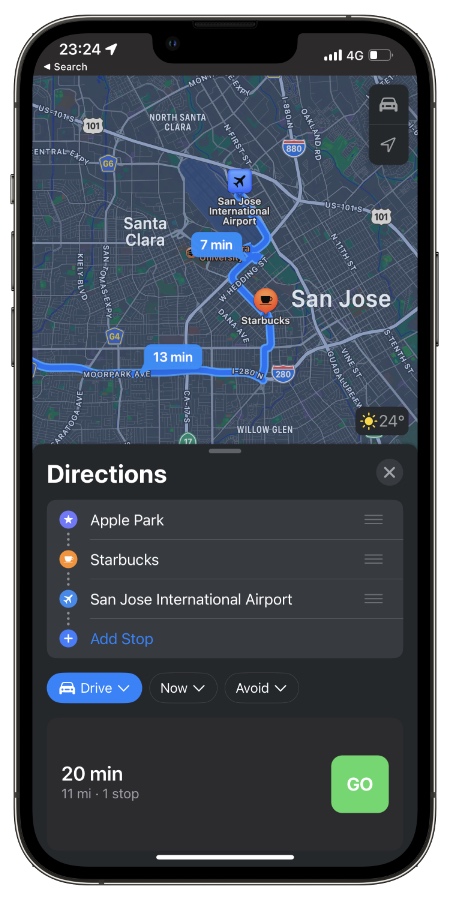
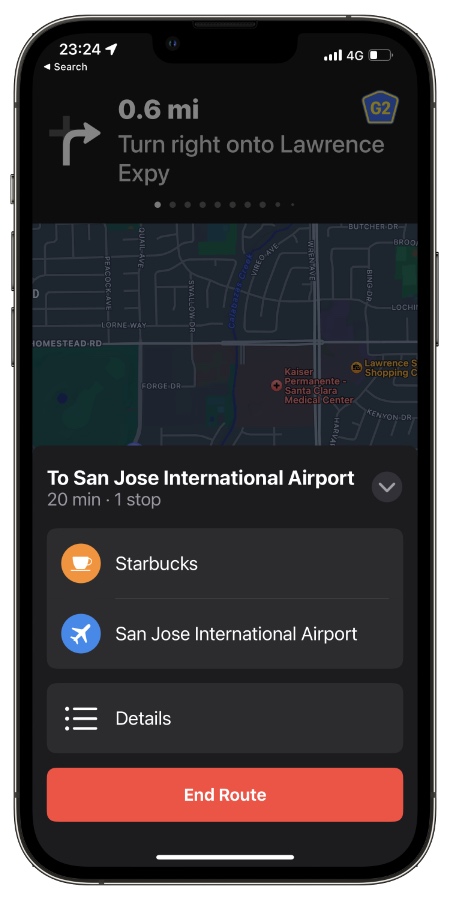
Step 6. After you are done adding stops tap on the ‘Go‘ button to start the navigation.
How to create a multi-stop route on Mac and send it to iPhone
Here you will find instructions on how you can create multi-stop route on Mac and then sync it with iPhone. Make sure your iPhone and Mac are using the same iCloud account.
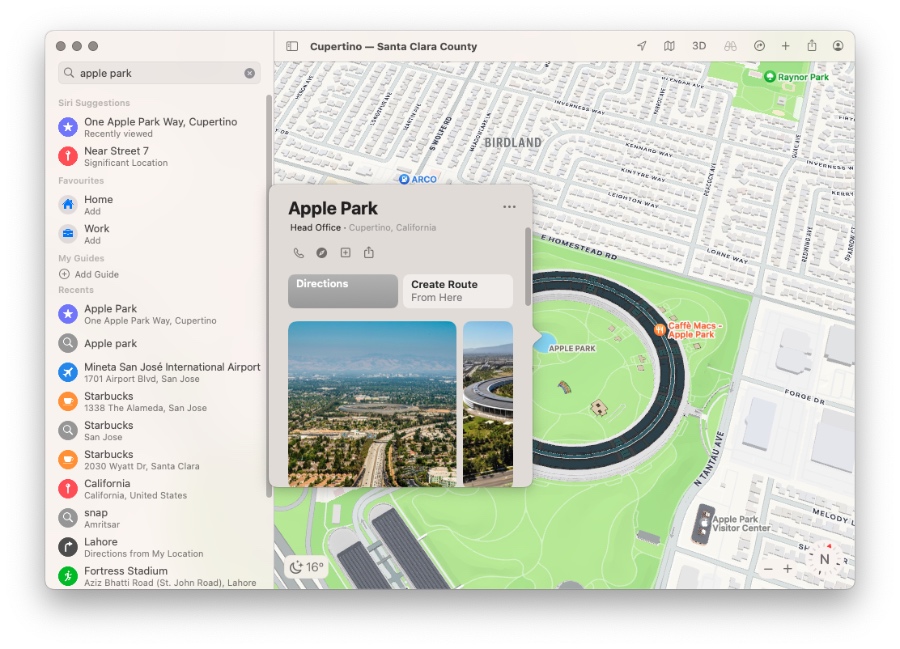
Step 1. Launch Apple Maps app on your iPhone and search for your last destination for the route.
Step 2. Once you have found the place in search results click on ‘Directions‘ or the ‘Create Route‘ button.
Step 3. Next click on ‘Add Stop‘ and search for the stop that you want to add. Do this again for any other stops that you want to add to your journey.
Step 4. Once you are done adding stops click on Now or click on Plan if you want to create it for a later time.

Step 5. After creating the route you can share it with others as well as your iPhone by click on the share button located on top right side of the screen. Click on the Share button and then click on Send to iPhone.
Frequently Asked Questions
Question: Can I create a multi-stop route on Apple Maps?
Answer: Yes creating a multi-stop route is possible on Apple Maps. You need to be running iOS 16 and macOS Ventura or later to use this feature.
Questions: How many stops can I add to multi-stop route feature on Apple Maps?
Answer: You can add as many stops as you like. Just click on Add Stop button and search for the stop that you want to add.
Question: Can I create multi-stop route on Mac and share with my iPhone?
Answer: Yes, you can create your multi-stop route on your Mac and then use the Share button to send the route you have created to your iPhone. You can also share it with other people using AirDrop, Messages etc.
There you go folks, this is how you can easily create a multi-stop route on Apple Maps and make your life easy.

