


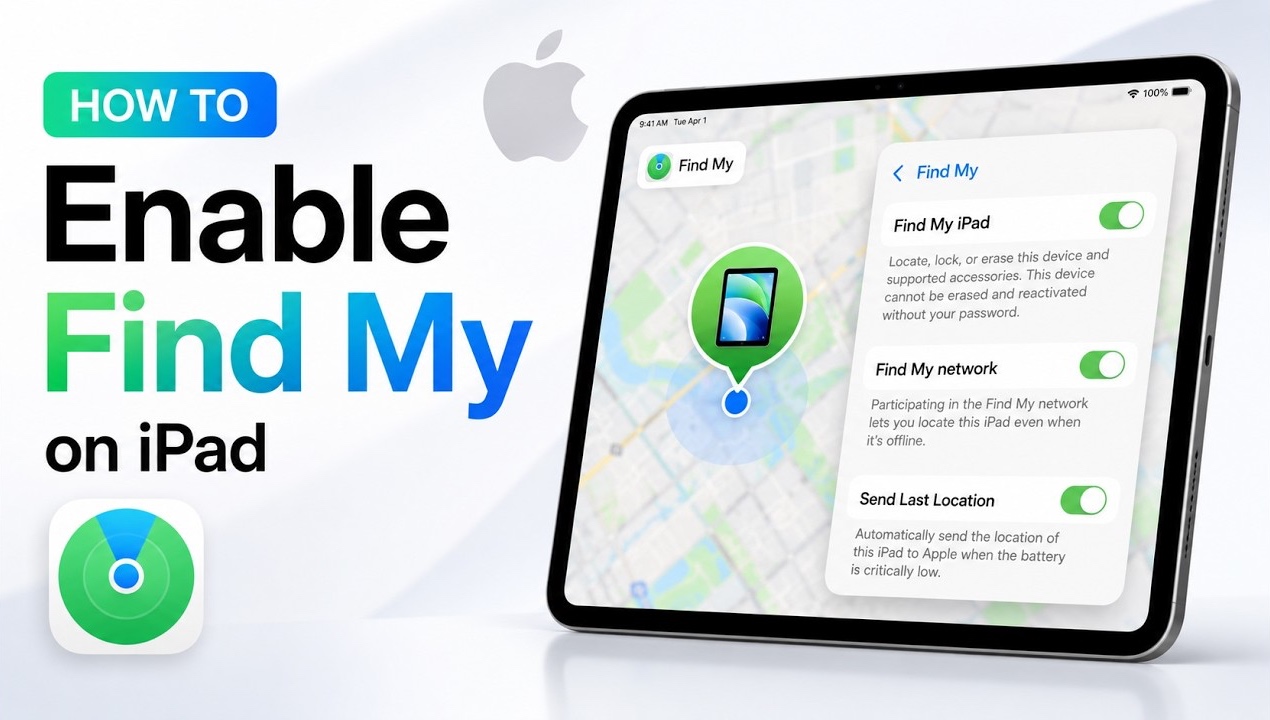
Find My iPad is one of the most useful features of iPad that can help you locate your iPad in case it gets stolen or you end up losing it. It is very important that you keep Find My iPad turned on at all times so you don’t have to regret later.
In this tutorial, we have shared easy steps on how to enable Find My iPad. This works on all versions of iOS including iOS 27, iOS 26, iOS 18, and older versions.
You can follow these steps on all models of iPad including iPad Pro, iPad Air, iPad mini, and iPad.
Turn on Find My iPad
- Unlock your iPad and open Settings.
- Tap on your Apple Account from the top of the side pane.
- Make sure you are signed into your Apple account.
- Here tap on Find My.
- On the next page, tap on Find My iPad and turn on the toggle for Find My iPad.
- Also, turn on the toggles for Find My network and Send Last Location.
After enabling Find My iPad feature, you can use the Find My app on any iPhone, Mac or go to iCloud and log in to your Apple account to track your iPad’s location.
In addition to tracking iPad on a map, you can also perform actions like remotely wipe iPad, play sound on iPad, and more.


