This step by step guide will show you how to put M1 Apple Silicon Mac to Recovery mode. After you are in Recovery mode you can perform a number of actions and fix issues with your Mac.
Mac’s Recovery mode is an essential system tool that allows users to perform a number of actions. This includes reinstalling operating system, accessing disk utility tools, performing tasks such as disabling system integrity protection (SIP) and more. You can even restore from Time Machine in macOS Recovery.
Accessing Mac Recovery mode is different on Apple Silicon M1 powered Macs than the Intel Macs. In this guide we have shared steps to access Mac Recovery on M1, M1 Pro and M1 Max chips.
Got an Intel Mac? Follow these steps to enter Recovery mode on Intel Macs.
Put M1 Apple Silicon Mac To Recovery Mode
Here are the instructions that will help you to put M1 Mac to Recovery mode.
1. First of all shutdown your Mac.
2. Now press and hold the power button until you see the Apple logo and below it text that reads ‘Continue holding for startup options’.

3. Release the power button as soon as you see ‘Loading startup options’ underneath the Apple logo.
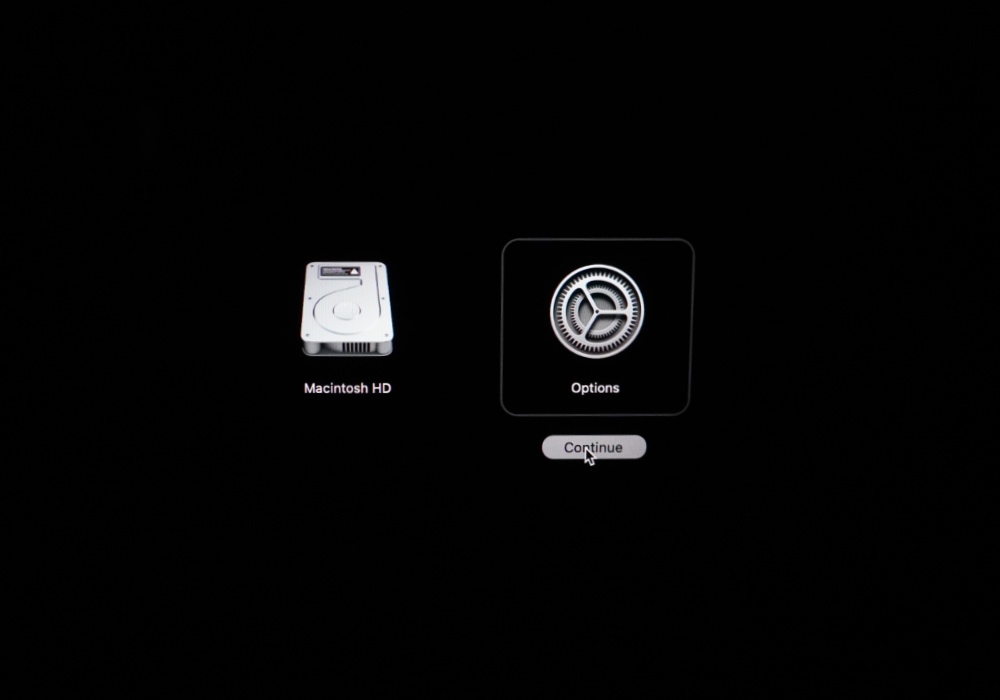
4. On the next screen Mac will display two options that will include your Mac’s hard drive and Options. Click on Options and then on ‘Continue’.
5. Now you will enter the Recovery mode. Choose your administrator account and click on Next. When prompted enter the admin password.
6. Finally you will be given recovery options for your Mac.
From the Recovery options you can perform actions such as the following:
- Restore from Time Machine
- Reinstall macOS
- Safari
- Disk Utility
How to exit Recovery mode on Apple Silicon Macs
You can easily exit Recovery mode on Apple Silicon Macs by clicking on the Apple logo from the top menu bar.
After clicking on the Apple logo simply click on Restart option. After restarting your Mac will boot up to your hard drive.
There you go folks, this is how you can put your Apple Silicon Mac in macOS Recovery.


