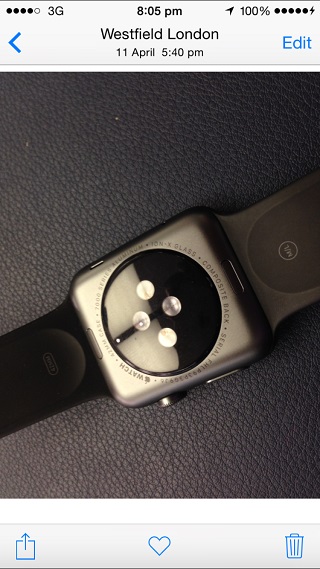
The stock Photos app of iOS is quite powerful. In addition to providing users an easy way to access their photos library this application packs a number of useful editing features that can really help you on the go. While you may want to consider downloading more advanced third-party photo editing applications for complex edits, for the basic ones the stock iOS has got you covered. One of the editing features of Photos application allows users to instantly rotate any image stored in their library. In this post we will show you how you can rotate an image on your iPhone, iPad or iPod touch in a few steps.
How to rotate image on an iPhone, iPad or iPod touch
Although the rotation feature of Photos is very simple to use finding it can be a bit complicated, especially if you don’t know where to look. Follow the steps below to make the process easier.
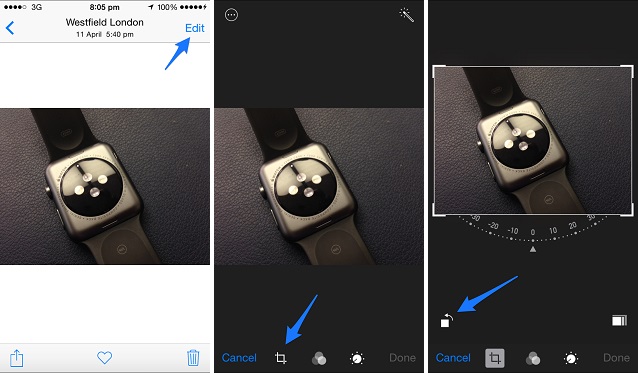
- Open the Photos app and find the picture you want to rotate.
- Once you have found the picture tap on the ‘Edit’ button.
- On the next screen you have to tap on the crop button as pointed in the second screenshot above.
- Lastly, tap on the rotation button located right above the ‘Cancel’ button. As you tap on the rotate button the image will rotate towards left side. Tap the button repeatedly until you get the desired result and then hit the ‘Done’ button.
- That’s it!
Read more articles about Photos app tips below:
- Quickly reach the bottom or top of Photos app with a single tap
- See original image while using Photos app’s editing feature (tip)
- How to use third-party photo editing tools in Photos app
- How to use third-party photo editing tools in Photos app
- How to Recover or Permanently Delete Photos in iOS 8


