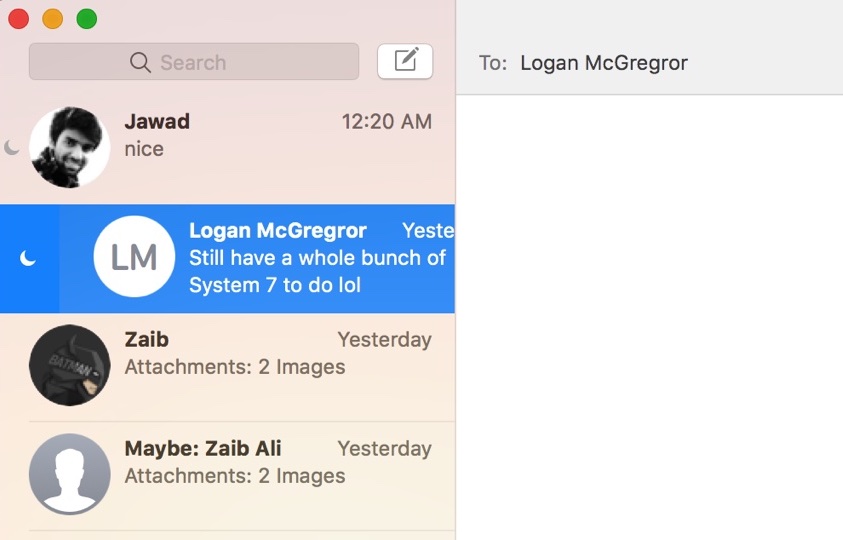
Do you know you can put individual iMessage conversations on Do Not Disturb? We have previously showed you how to do this on an iPhone or iPad, however in this tutorial we have got the same guide for Mac users.
Read on to learn how you can put individual conversations on Do Not Disturb and stop getting notifications. Having the ability to mute individual chats is super useful since you do not have to delete chats or leave groups in order to mute them. You also don’t have to put your whole Mac on Do Not Disturb just because of one of two disturbing conversations.
Here’s how you can activate the mode. Simply open the Messages app and place your cursor on the conversation you want to mute. Then swipe right on the chat and click on the blue Do Not Disturb button that appears on the left side. If you don’t have a trackpad or Magic Mouse, then you can also right click on the chat and then click on the ‘Do Not Disturb’ option.
Messages app will show a moon icon on the chat that has been muted, so you don’t forget that you muted it. Once the chat has been muted you will not get notifications for it until you turn the mode off.


