


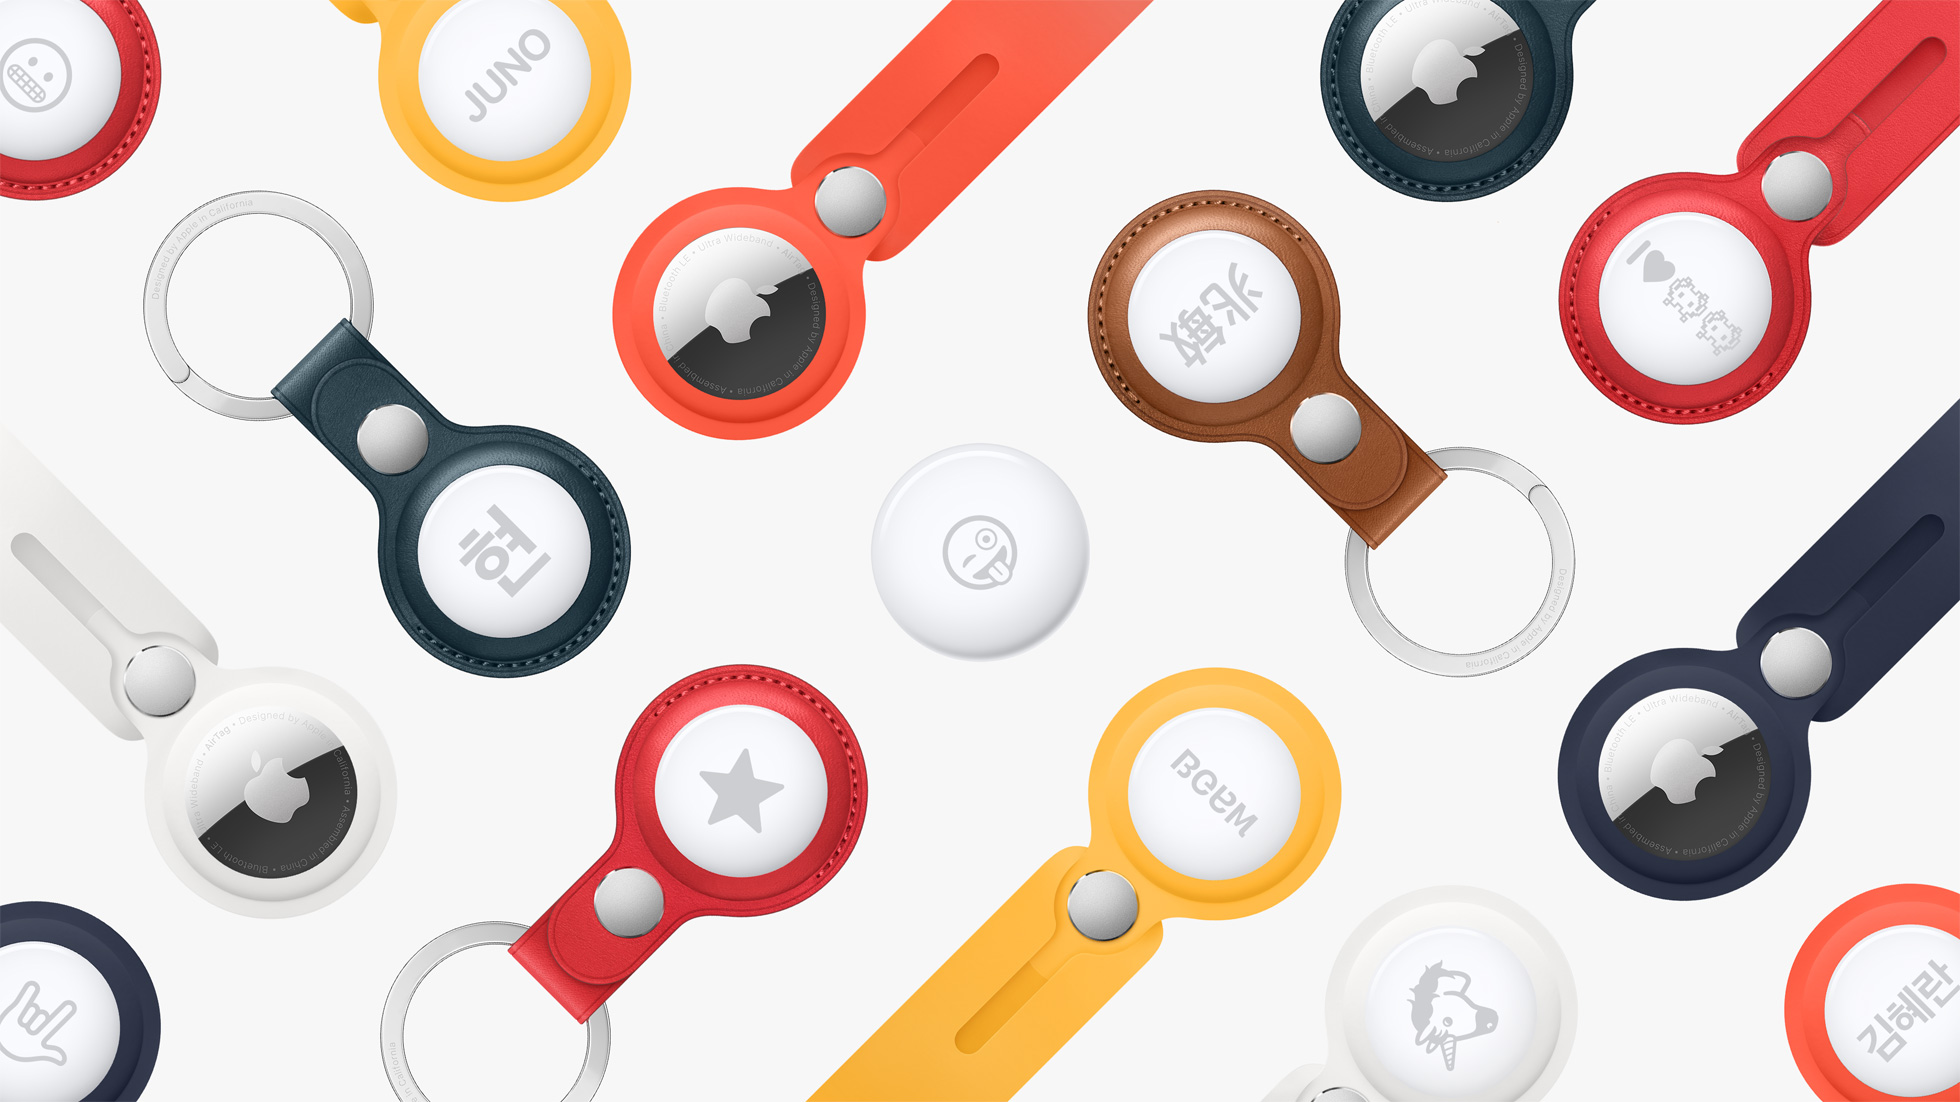
AirTag and other third-party items that can be tracked with Apple’s Find My network have a safety feature called Pairing Lock. The Pairing Lock prevents anyone other than you from pairing your AirTag or a third-party device with their own devices. It essentially stops people who might have stolen or found your AirTag from pairing it with their iPhone.
Pairing Lock is great in case you end up losing your AirTag or other Find My device but what if you’re giving away or selling AirTag that was previously paired with your Find My account.
Good news is you can easily disable Pairing Lock on AirTag and other Find My compatible items and also reset AirTag so that it can be used by other users.
Related: How To Mark AirTag As Lost And Turn Off Lost Mode
Before you begin:
There are two sections of this guide. The first section is for users who still have their AirTag in their possession.
In the second section we have shared instructions for users who have already given away their AirTag and want to reset AirTag so it can be used by someone else. Users in this situation have to follow both section 1 and section 2.
Section 1: How to disable Pairing Lock and Remove AirTag from your account
You can disable AirTag or any other Find My compatible device’s Pairing Lock by following these steps.
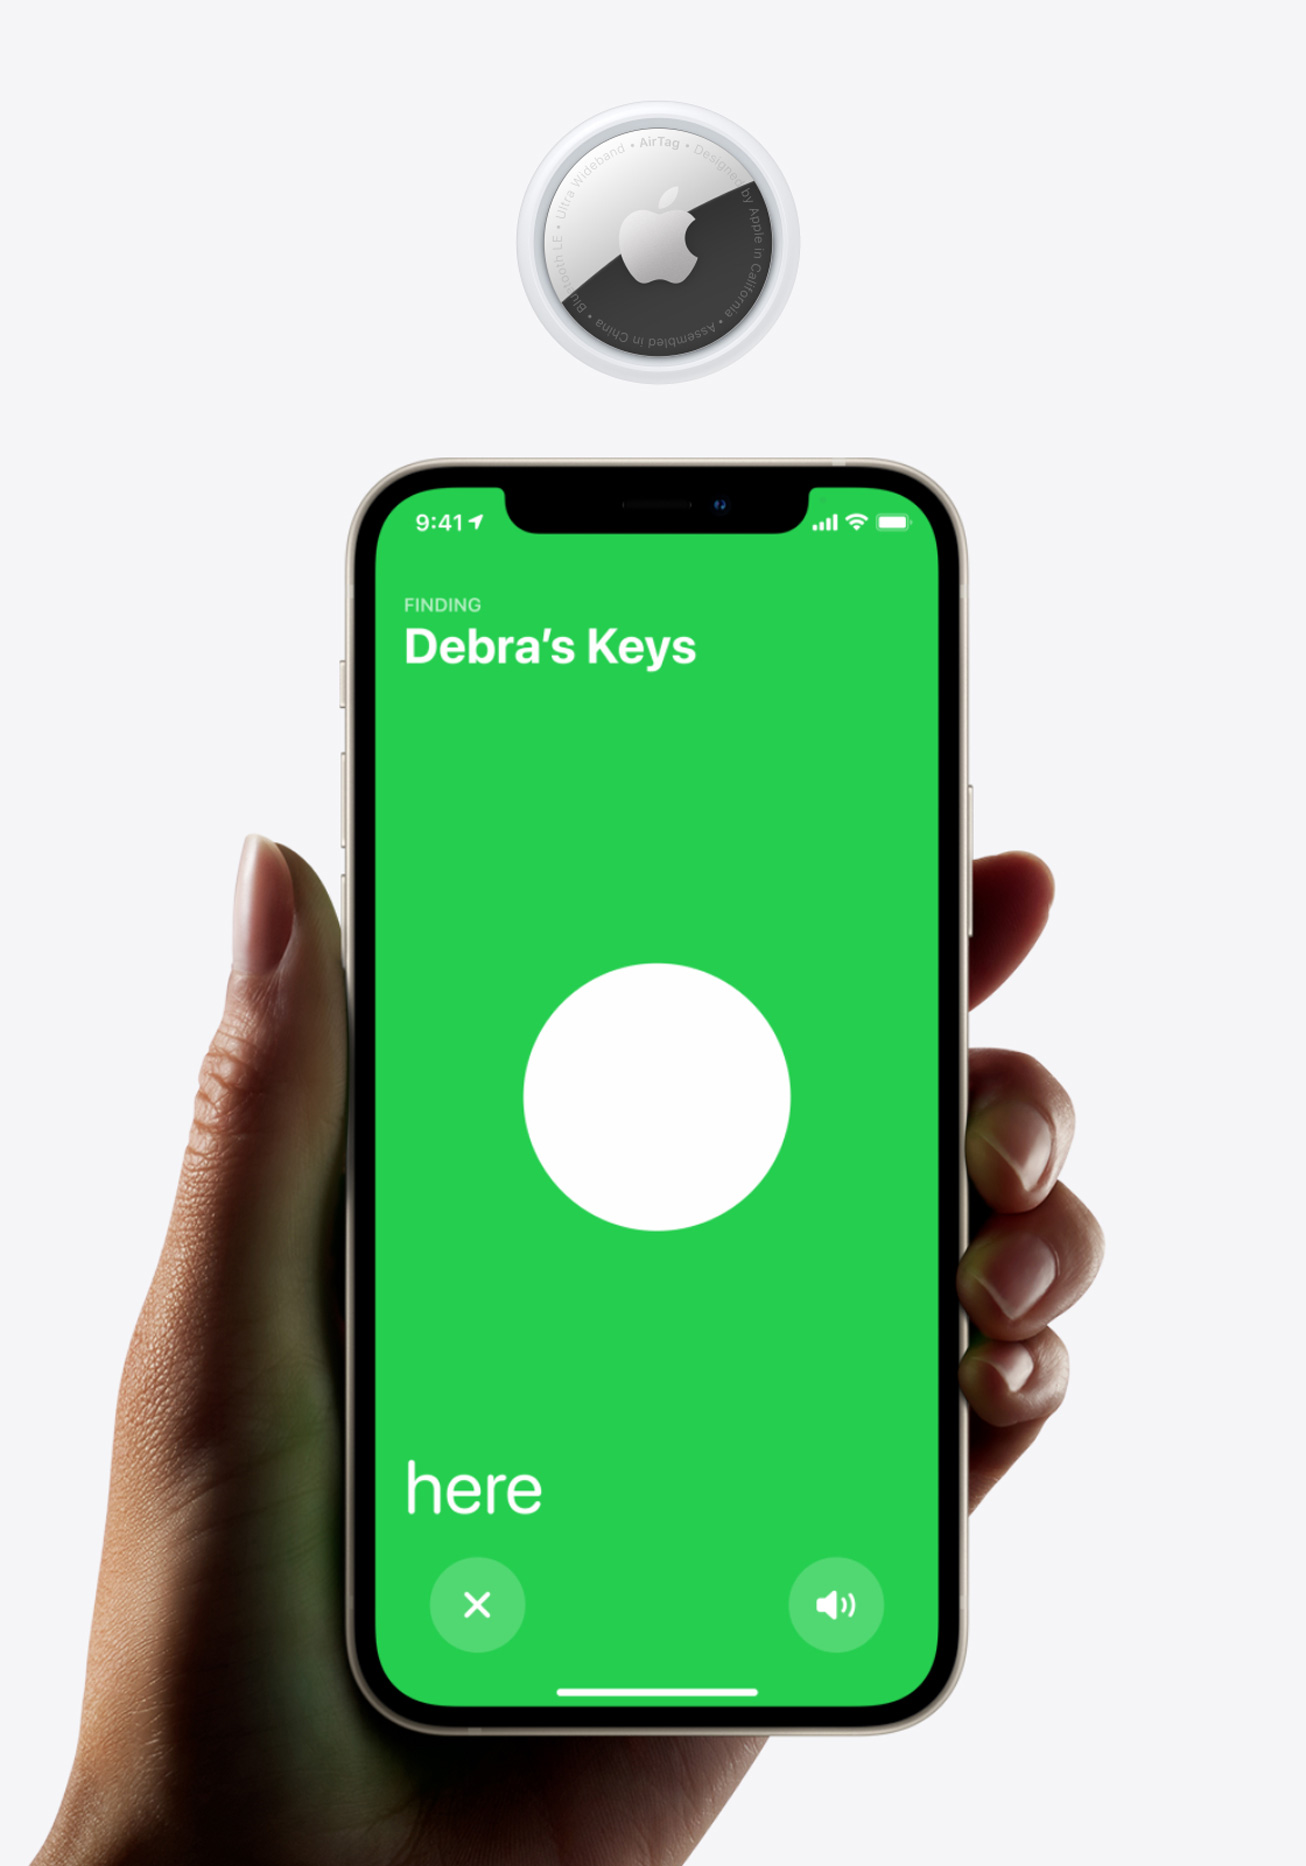
Once you have disabled Pairing Lock for AirTag while it was in the Bluetooth range on your iPhone, iPad or iPod touch it will be removed from your Apple ID and Find My account. Other users will be able to pair them with their device as if it is a brand new AirTag.
- On your iOS device open the Find My app.
- Tap on Items tab from the bottom bar.
- Find the AirTag or the device from the list of available devices and tap on it.
- Scroll down to the bottom of the screen and tap on the Remove Item option.
- Confirm that you want to remove the item.
That’s it, now Pairing Lock will be disabled from your AirTag or other device and you can give it to someone else for use.
Section 2: How to reset AirTag when it is away from paired iPhone
If the AirTag you are trying to add to your account is not near to the Bluetooth range of the iPhone or iPad it was originally paired to, then you also have to follow these steps to reset an AirTag.
Please note that these steps will not allow anyone to pair a stolen AirTag. AirTag or any other device will need to have pairing lock disabled (see section 1) before it can be paired with a new Find My account and iPhone.
- Grab the AirTag you want to reset and remove the battery cover from its back by pressing down and twisting it anticlockwise.
- Now remove the battery from the device and place it back. Press down until you hear a chirp sound indicating the AirTag has turned on.
- After hearing the chirp sound remove the battery again and repeat step 2.
- Repeat step 2 and 3 for 2-4 times for at least 5 seconds.
- Finally place the battery in and put AirTag’s back cover on.
After the AirTag has been reset you can start pairing it with your iOS device just like you could with a brand new AirTag.
While you are pairing your AirTag it will communicate with Apple’s Find My network to see if the Pairing Lock has been disabled for it (see how to do it in section 1). Once it has verified it will get paired with your account and you can start using it.
There you go folks this is how you can easily disable Pairing lock on AirTag and reset AirTag. After this guide an AirTag or any other Find My compatible accessory will become ready to be paired with another user’s iPhone or iPad.

