


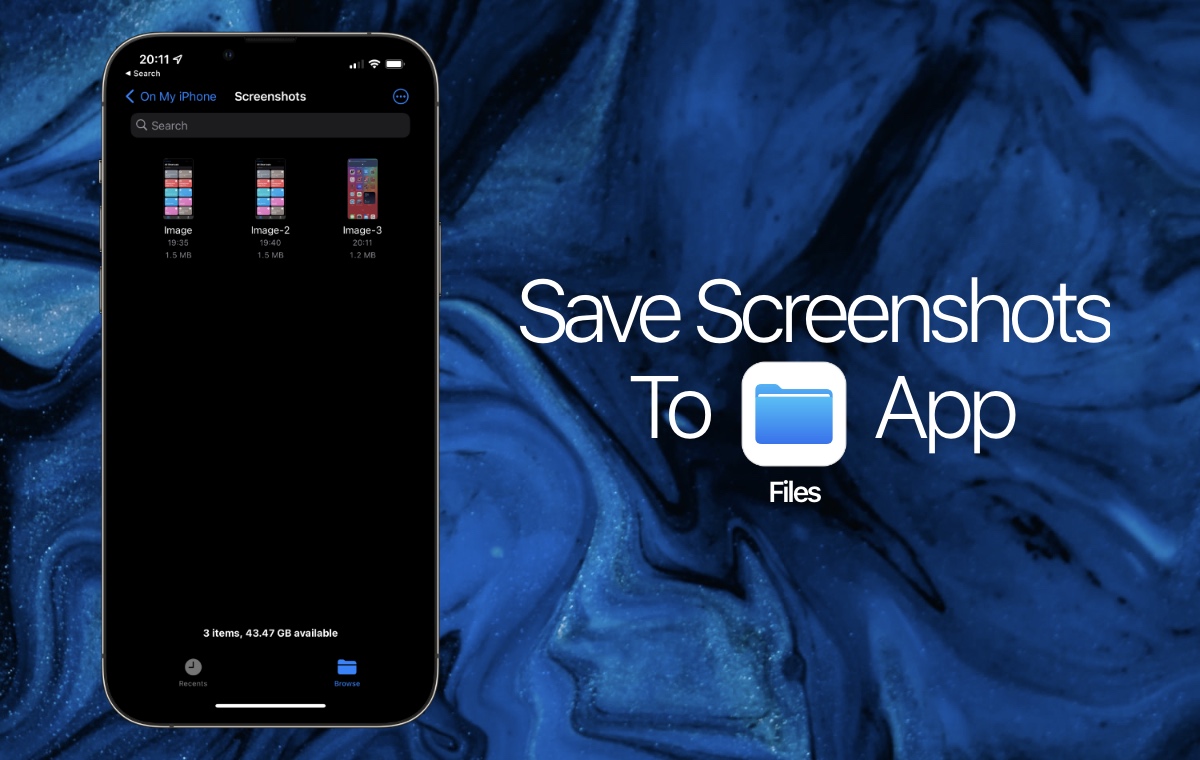
Every iPhone user knows that iPhone screenshots are saved to the Camera roll of their device. But in this detailed guide we will share a trick involving the Shortcuts app, which will let you automatically save iPhone screenshots in Files app instead of Photos.
Having the ability to directly save all screenshots to a dedicated Files app Shortcut has many benefits. The biggest benefit is that your iPhone’s Photos app won’t be littered with screenshots, as screenshots taken with this method are only saved in the dedicated Screenshots folder located inside the Files app. So with this method your Photos app will remain clutter free and only contain your precious photos.
Second benefit of saving iPhone screenshots in Files app is that when you do this you can easily find all of your screenshots and go through them with ease since you no longer have to go through your entire photos library just to find that one important screenshot you took months ago.
Save iPhone Screenshots In Files App
So without any further ado, lets take a look at how you can save iPhone screenshots to Files app.
Part 1: Creating the Folder
1. On your iPhone open Files app and tap on the Browse tab from the bottom bar.
2. Now tap on On My iPhone location and on the next screen create a new folder by tapping on the ‘…‘ button from the top right corner.
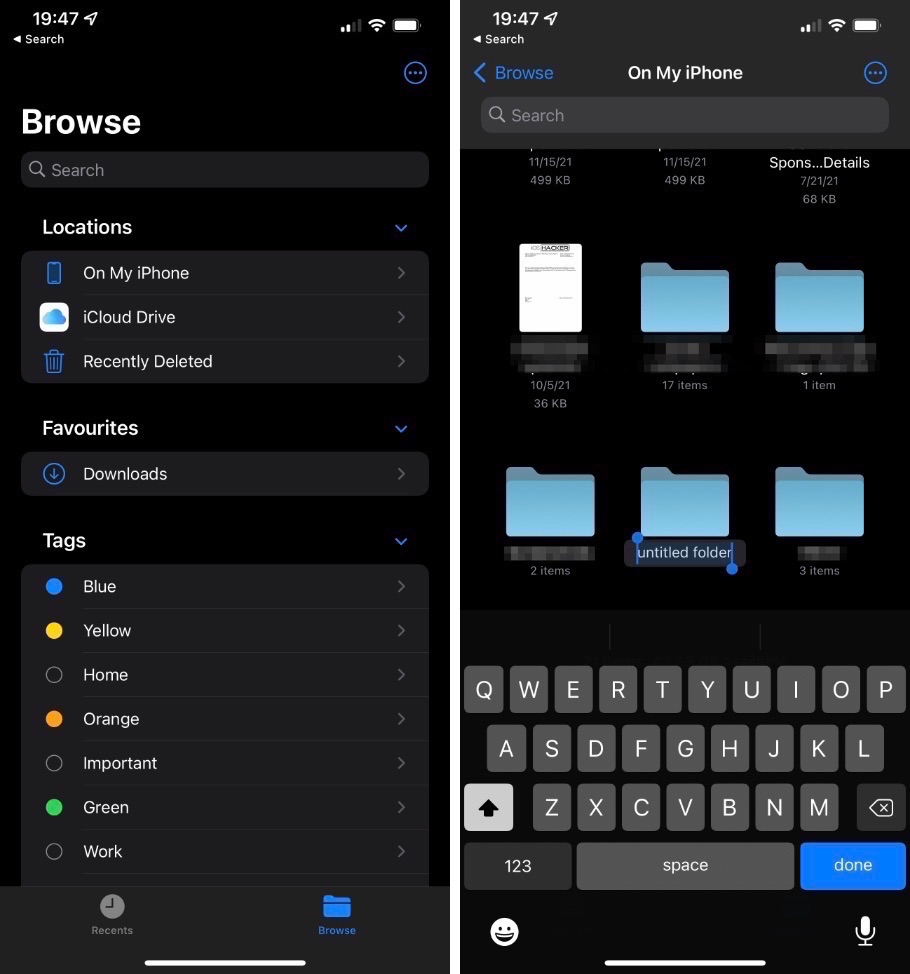
3. Name your folder as ‘Screenshots‘.
Part 2: Create the Shortcut
4. Now open the Shortcuts app and tap on the ‘+‘ button to create a new shortcut.
5. On Shortcut Name enter something like ‘Save Screenshots In Files App‘ and then tap on Add Action button.
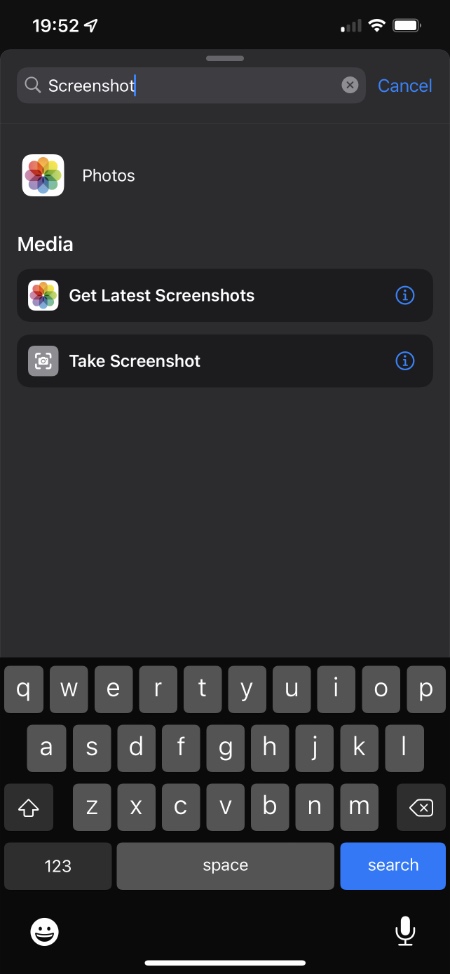
6. Search for screenshot and choose the ‘Take Screenshot‘ action.
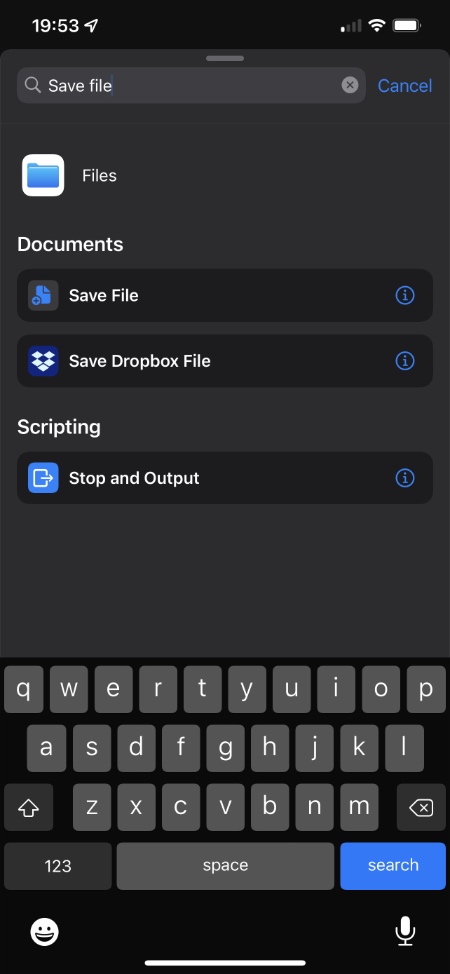
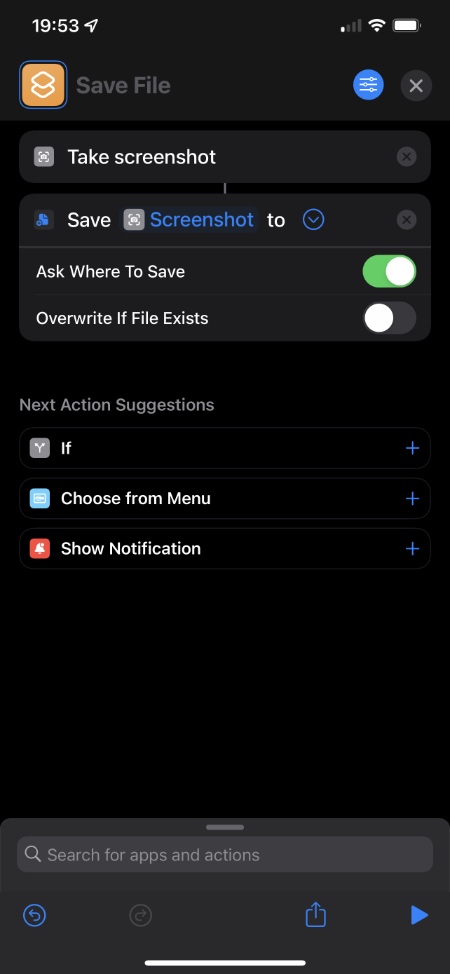
7. Next perform a search once again by tapping on the search bar from bottom and this time type ‘Save‘ and then choose the Save File action.
8. Now as the save action appears and says ‘Save Screenshot to >’ tap on the ‘>‘ and turn off the toggle for ‘Ask Where To Save‘.
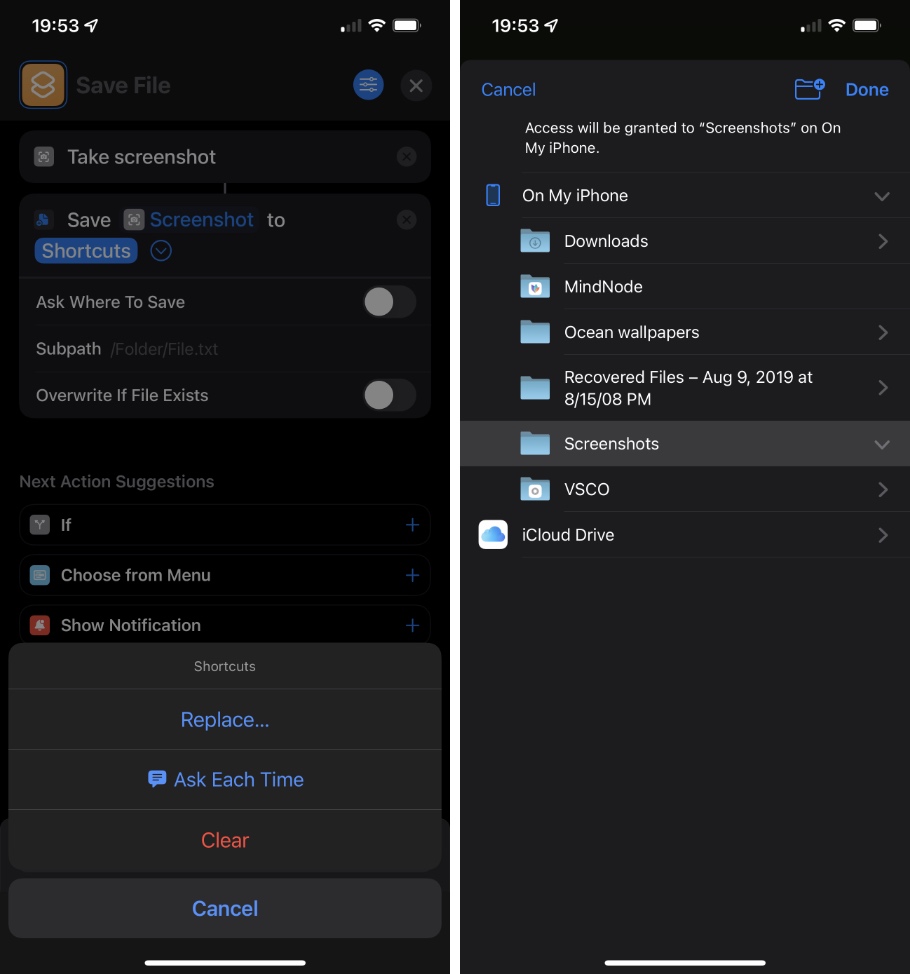
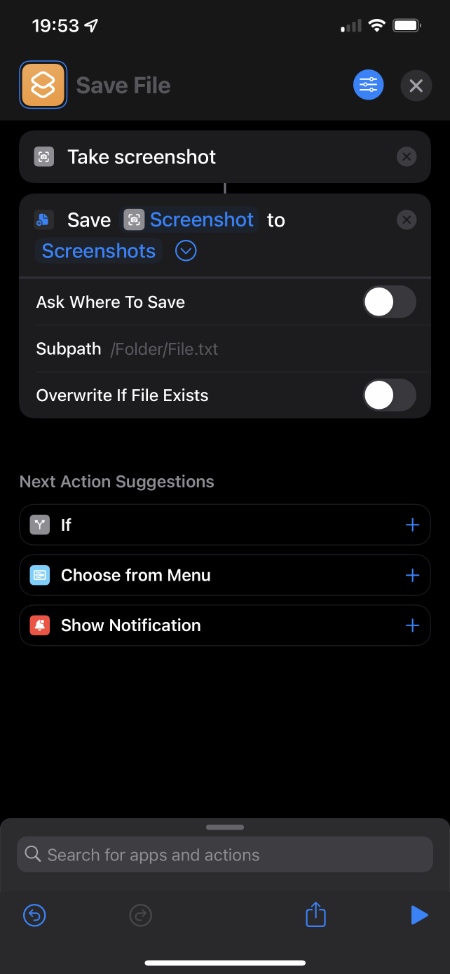
9. Now tap on ‘Shortcuts‘ that appears on the Save action and then tap on Replace option. Next expand the On My iPhone and choose ‘Screenshots‘ folder that you created in part 1 above.
10. After the shortcut has been created tap on the ‘x‘ button and then run it from the Shortcuts app.
11. Tap on Always Allow to avoid getting the confirmation prompt every time you run the shortcut.
Part 3: Assign Shortcut to Back Tap feature
Back Tap feature allows users to quick perform an action by double tapping or triple tapping on the back of their iPhone. Users can also trigger a shortcut with the Back Tap action, which we are going to show you in the next steps.
12. Open Settings -> Accessibility -> Touch -> Back Tap.
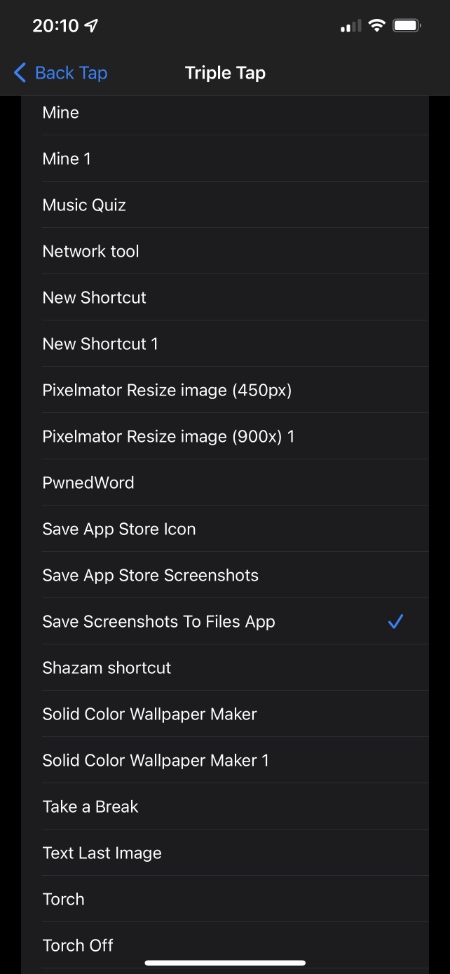
13. Now tap on either Double Tap or Triple Tap options.
14. On the next screen scroll down to the list of available shortcuts and select the Save Screenshots to Files App shortcut that you have created in previous steps.
15. Now Double tap or Triple tap the back of your device in order to take a screenshot with our shortcut and save it to Files app.
That’s it! Now every time you perform your chosen back tap action, your iPhone will save screenshots in Files app without saving them to Photos app.
So this is how you can save iPhone screenshots to Files app. Did you like this trick? Let us know in the comments below.


This was perfect! Exactly what I’ve been wanting for years! Thank you!!