


If your device is running iOS 16 or later, then you have access to a very useful feature in the Mail app that allows users to schedule an email on their iPhone or iPad.
When you use the Send Later feature of the Mail app, you can set an email to be sent at a future time of your choosing. Scheduling an email on iPhone is quite simple once you know where to find the right options.
In this article, we will show you how to schedule an email on iPhone or iPad running iOS 16 or later. We have also shared steps for iPadOS 16 or later.
In the second half of this article, you will learn how to view your scheduled emails in the Mail app and stop scheduled emails from getting sent.
Schedule an email on iPhone or iPad
Step 1. Launch the Mail app.
Step 2. Reply to an email or tap on the Compose button to write a new email.
Step 3. Once you have finished writing your message, tap and hold on the Send button to reveal the scheduling menu.
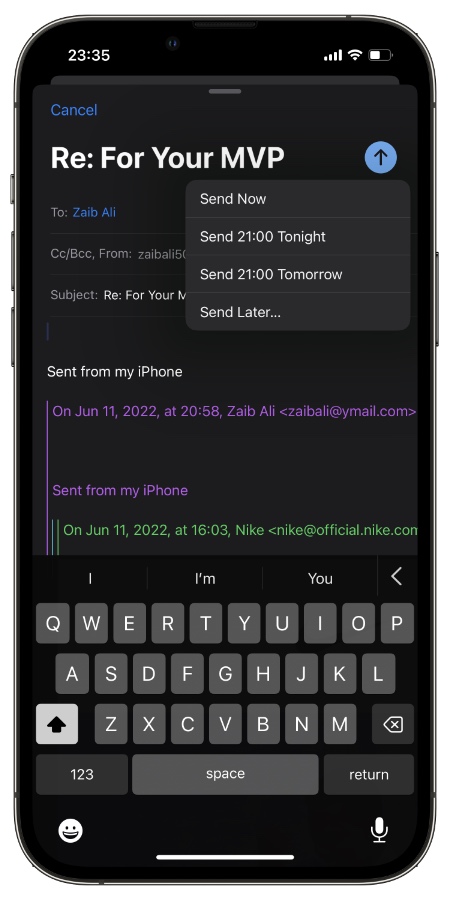
Step 4. From the menu for on ‘Send Later…‘ option.
Step 5. From the calendar, choose the date you want to email to go. Then tap on the time (located next to the date on the Send field) to reveal the clock.
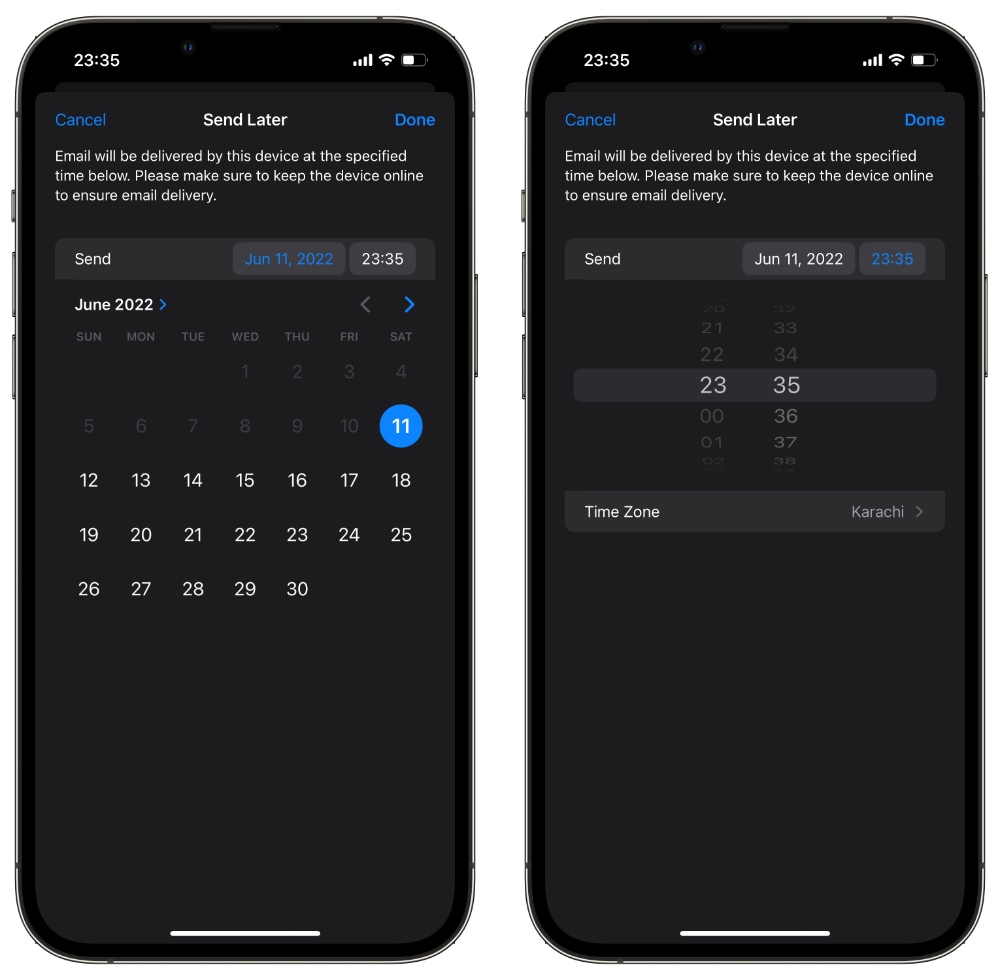
Step 6. From the clock menu choose the time you want to email to be sent at.
Step 7. After choosing the time and date for the email tap on the ‘Done‘ button.
Where to find Scheduled Emails in Mail app and stop them
If you want to read, edit, or delete a scheduled email in the Mail app, then you can follow the steps below.
These steps will also show you how you can stop scheduled emails from getting sent in the Mail app.
Step 1. Open the Mail app and access the main Mailboxes page.
Step 2. Scroll down and tap on the ‘Send Later‘ option.
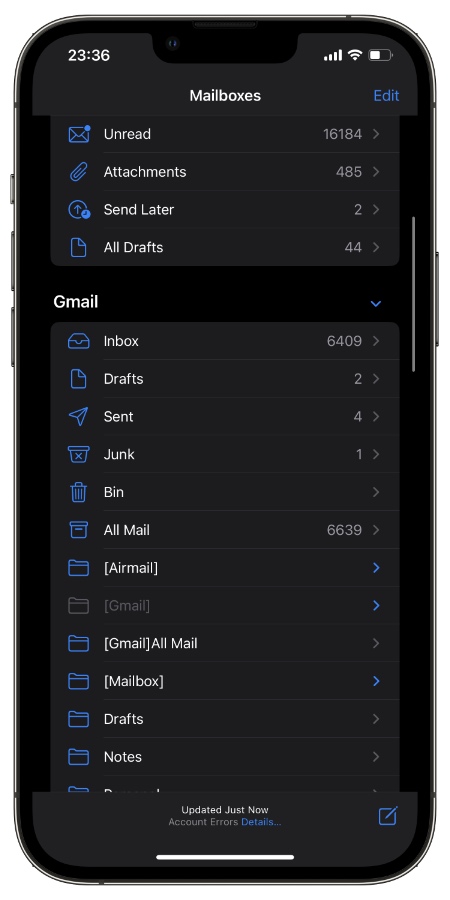
Step 3. On the Send Later page, you will find all the emails that you have scheduled but haven’t been sent yet. Tap on the email you want to edit or swipe left on it to delete.
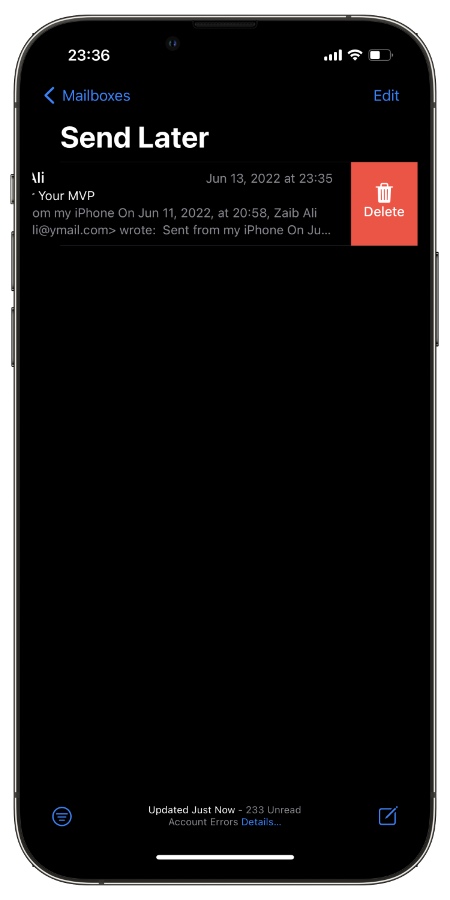
Note: To edit, open the email from the Send Later screen and then tap on the ‘Edit’ button that appears in the upper section of the screen.
There you have it, folks, this is how you can schedule emails in the Mail app and stop scheduled emails from getting sent.
If you have any questions regarding this article, then share them with us in the comments below.


Holding down the send button isn’t working for myself or my colleagues. It doesn’t bring up any options and just sends it normally once released. Any suggestions?
You have to tap and hold the send button located on top right corner of your iPhone’s screen. Are you running iOS 16?