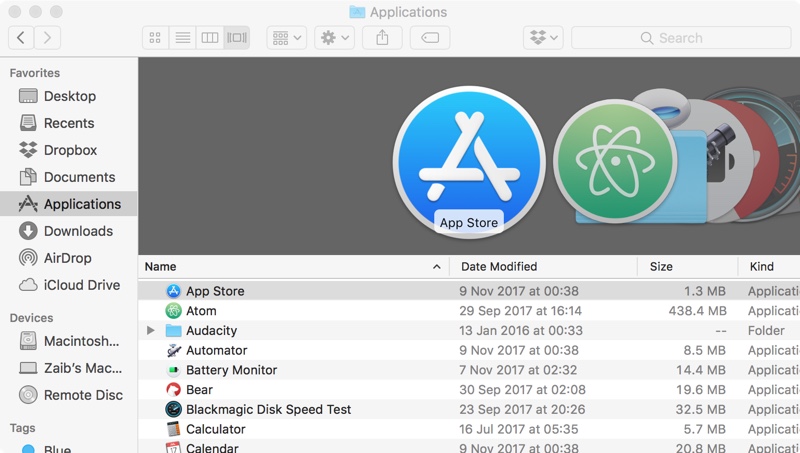
In our detailed how to screenshot on the Mac we showed you several different ways you can take a shot of what’s on your Mac’s screen. Often times when taking a screenshot you simply want to take screenshot of a particular window, instead of the whole screen.
Sure you can use Command + Shift + 4 combination, which allows you to manually select part of the screen you want to screenshot, however this can lead to mistakes and unnecessarily take time. If you were unable to capture the window perfectly you can end up spending time cropping and perfecting it later.
There’s an easier way. You can use a special key combination, which allows you to only take screenshot of a particular app or window that is running on the screen.
Here’s how you can do it. First load up the app/window you want to take screenshot of. Then press ‘Command + Shift + 4’ keys. You will see a ‘+’ cursor that normally lets you select part of the screen by clicking and dragging. However instead of dragging, press the ‘Space’ key from the keyboard.
The ‘+’ cursor will turn into a camera. Finally just move this camera over the window you want to screenshot and click. A shot of that particular window will be taken and saved on your Mac’s desktop.
This way you no longer have to crop screenshots to only include a specific app. The window screenshot taken with this method look nice and professional.


