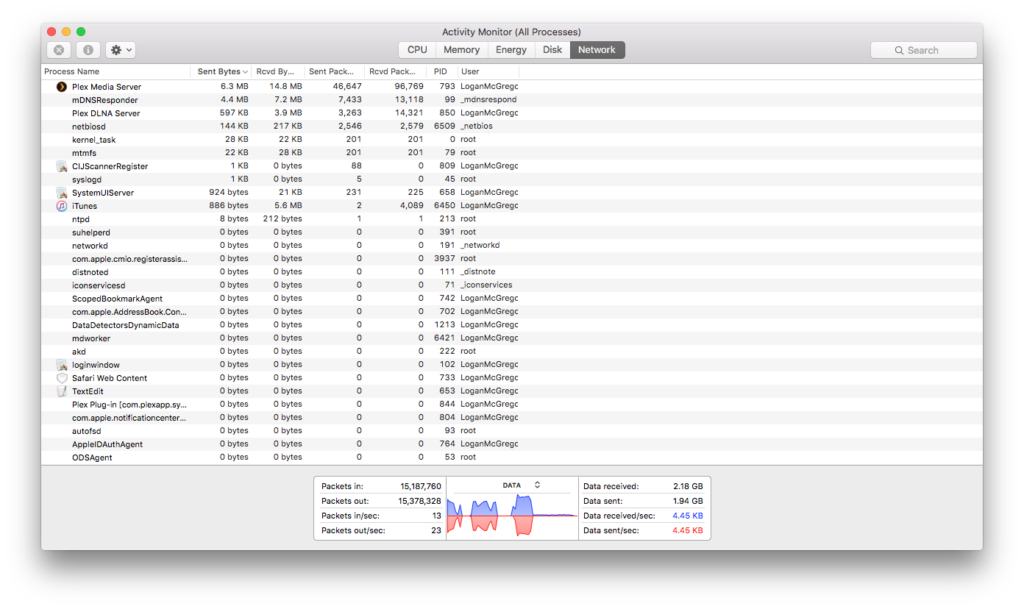
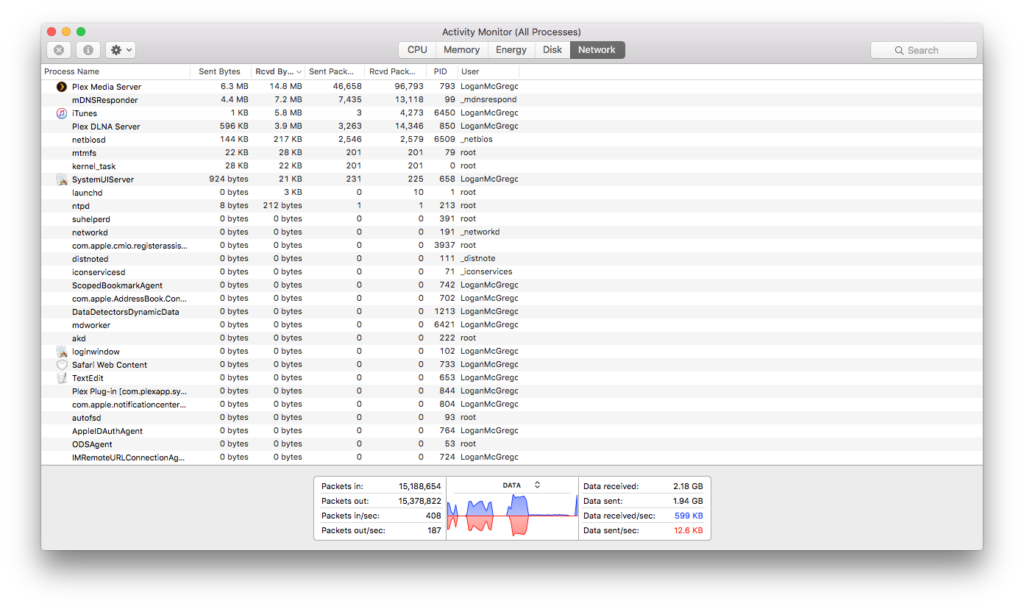
There are many Internet usage trackers available. Most people want them to help find what is using up their Internet in order to increase speed, or perhaps limit it if their internet service provider has an internet usage cap. But did you know that macOS already has a built in internet tracking feature with Activity Monitor?
Activity Monitor is found under “Utilities” in your Applications folder (Or “Other” in Launchpad). Once you open it, if you look at the top of the window, you will find five tabs: CPU, Memory, Energy, Disk, and Network. Select the last one, “Network”. Here, you can see every process on your computer and how much data each process is sending and receiving. If you select a process and press the “X” in the top left corner, you can quit the process. Be aware that the process might start up again automatically.
Now that you know what is using up your data, it’s now time to stop it. If it’s an application that was using it, try checking it’s settings and see if there is anything that you can disable to prevent it from using so much data, such as automatically checking for things, such as updates. Sadly, some apps just require lots of internet for it to work. You’ll need to decide if you want to keep it or delete it. If the process is not an application, try doing an internet search on the process name. For example, I had a process called “nsurlsessiond” that was using a significant amount of data. After a quick search, I found out that that process was communicating with Apple’s servers. Turning off iCloud Photo Library immediately solved the problem.
Did you know Activity Monitor had this feature built in? Did this help you find any data hogs? Let us know in the comments below!


