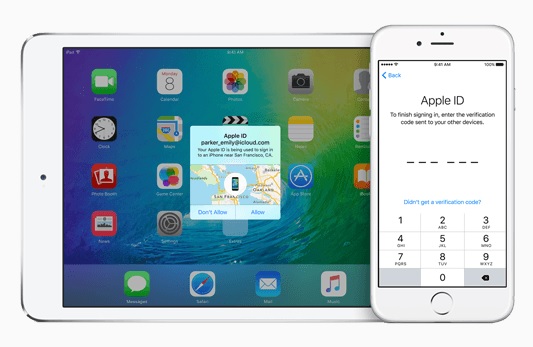
Enabling Two-Factor Authentication is the security 101 in today’s digital world. If you want to prevent others with malicious intents from getting into your account and invading your privacy, then two-factor authentication is a must. You can enable Two-factor authentication on your Apple ID and protect your iCloud account from getting hacked. In this article we will share step by step guide on how to enable two-factor authentication on your iCloud account.
To be able to enable this security feature you need at least one Apple device that is running iOS 9+ or OS X El Capitan or later. Once you have made sure you have the right software version installed follow the steps below.
On iOS Device
If you are using the iPhone, iPad or iPod touch to enable two-factor authentication on iCloud, then do the following.
- Open Settings app and tap on the iCloud option.
- Now tap on your Apple ID (hint: tap on the button with your image and name).
- Next tap on ‘Password & Security‘ option.
- Finally tap on ‘Turn on Two-Factor Authentication’.
On Mac
You can also use your Mac to turn on Two-Factor Authentication on your account.
- Open System Preferences and click on iCloud.
- Go to Account Details and click on Security.
- Finally turn on Two-Factor Authentication.
Now you have enabled two-factor authentication on your Apple ID every time you or someone else tries to sign into your account a popup will appear on your trusted devices or phone number asking if you want to allow the login or not. If you choose to allow, then a code will be displayed that needs to be entered on the first device or iCloud website in order to authenticate the login attempt. This feature provides an effective way of preventing hackers from getting access to your device and use it to hurt your privacy and security.


