


With iOS 13 Apple has made the Files app much more powerful, giving users access to data stored on external hard drives and flash drives directly from the Files app. But that’s not it as with iOS 13 and iPadOS 13 the new Files app has also gained a very useful feature that will help users in getting access to their Mac’s data right on their iOS device.
iOS 13 adds support for File servers on iPhone and iPad, which means users can now connect to a file server on their office or home Mac via SMB directly from the Files app. Once you have configured the SMB feature on your iOS device, you will get access to all the files and folders on your Mac. With this feature you can access, modify and preview Mac files from your iPhone or iPad.
Before you can use the SMB feature on your iPhone or iPad you will have to configure it first. In this step by step tutorial we will show you how you can enable SMB on your devices and use your iPhone or iPad’s Files app to access the files stored on your Mac’s hard drive.
The great thing about the new SMB feature is that you can not only access files stored on your Mac but you can also use this feature to copy new files to your Mac directly from your iOS device.
Before you begin make sure your Mac and iOS device are on the same Wi-Fi network. Windows users can find details on how to enable SMB on their Windows PC here. Once you have enabled SMB you can continue with the second part of this tutorial.
Setting Up SMB on the Mac
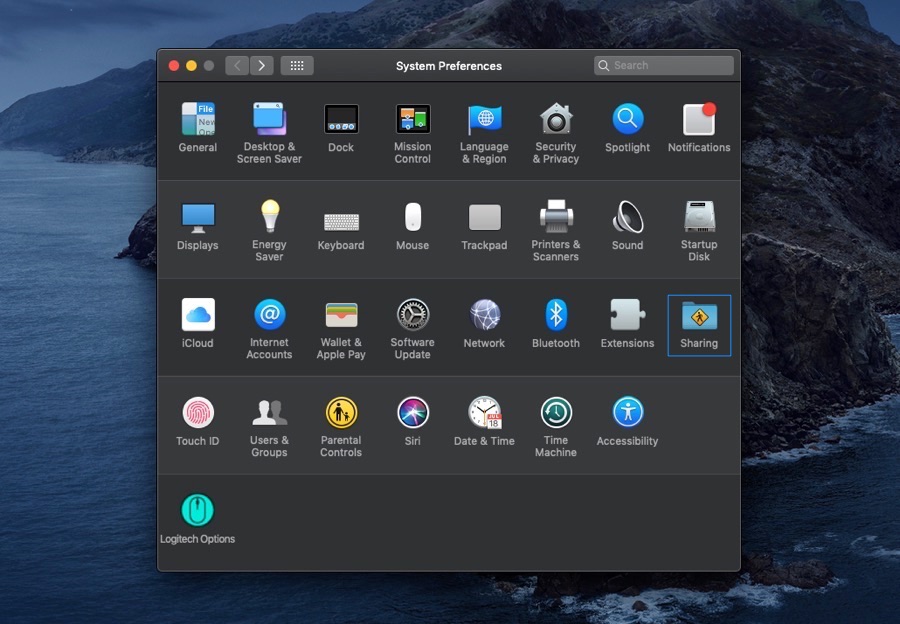
1. First of all open System Preferences on your Mac and go to ‘Sharing’ options.
2. Once on the Sharing options page enable the ‘File Sharing’ option and click on it to access more options.
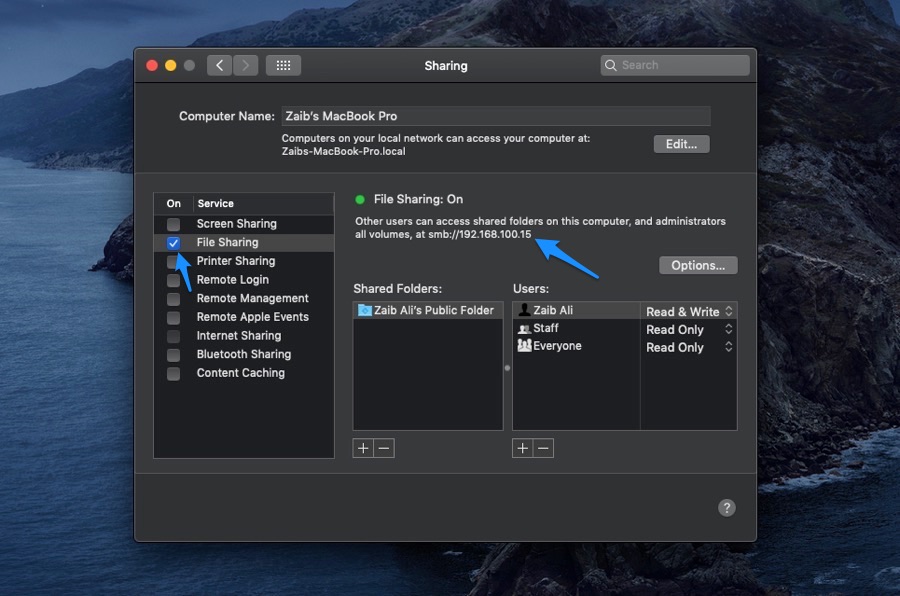
3. Now you will see the green signal indicating File Sharing is On, followed by the following text:
“Other users can access shared folders on this computer, and administrators all volumes, at smb://192.168.100.15” (this is your Mac’s server address).
How to Set up SMB on iPhone or iPad
Now that SMB feature is up and running on the Mac, launch the Files app on your iPhone or iPad and follow the simple steps below.
1. Tap on the Browse tab from the bottom bar.
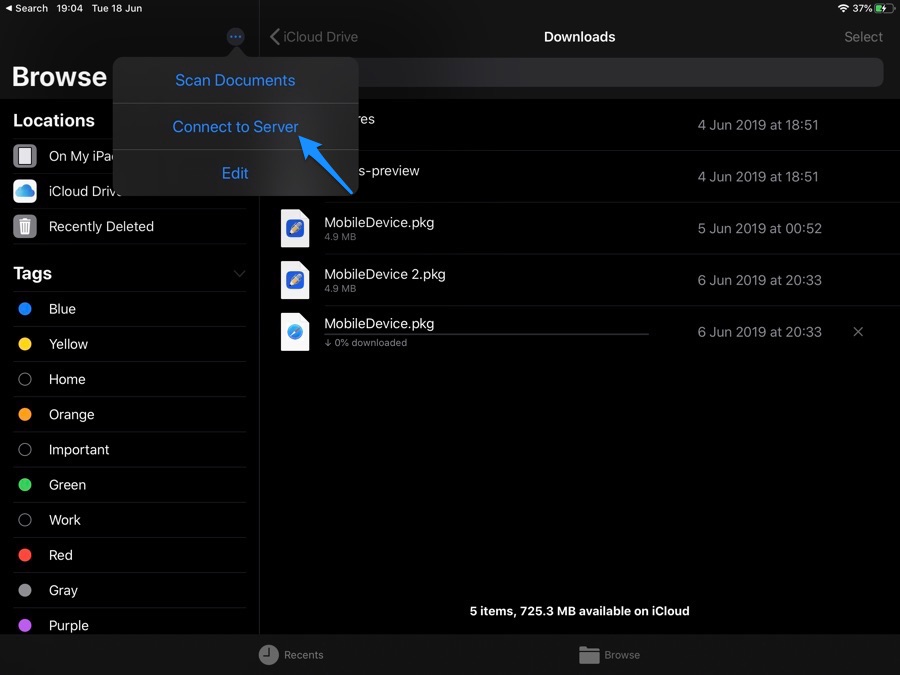
2. Once you are on the Browse screen tap on the menu button from top right side of the screen.
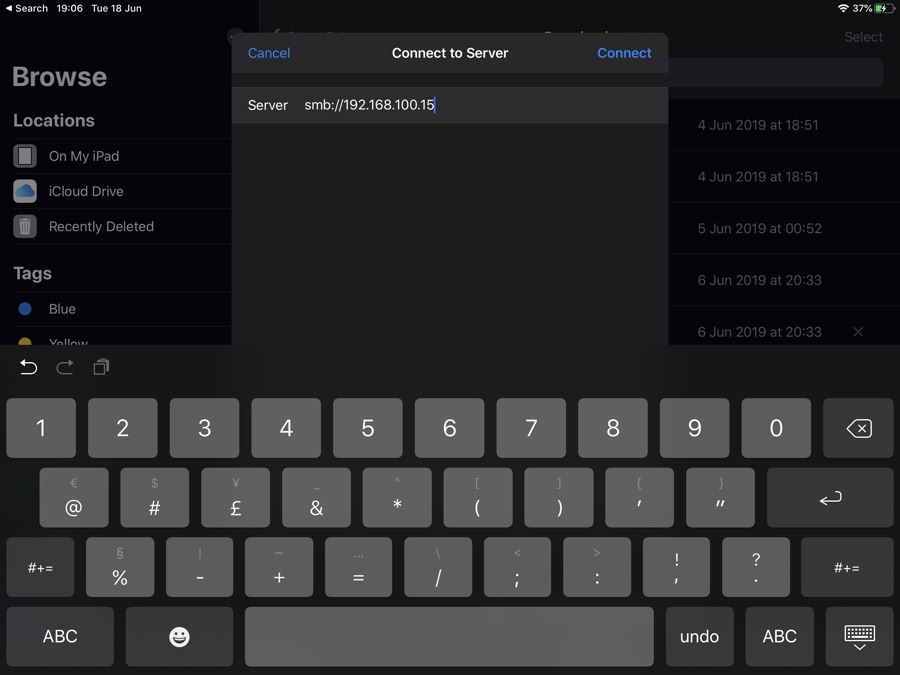
3. From the menu tap on ‘Connect to Server’ option.
4. Now enter the Server address for your Mac, it should look something like this: smb://192.168.100.15
5. On the next screen tap on ‘Registered User’ and enter your Mac’s username and password.
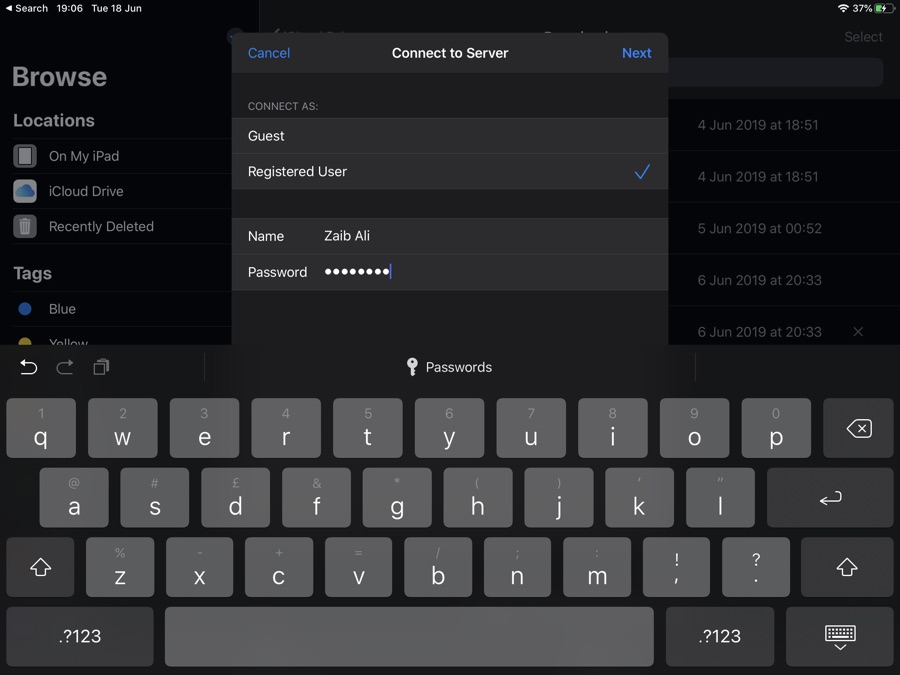
6. Once you have entered the information tap on the Next button to proceed.
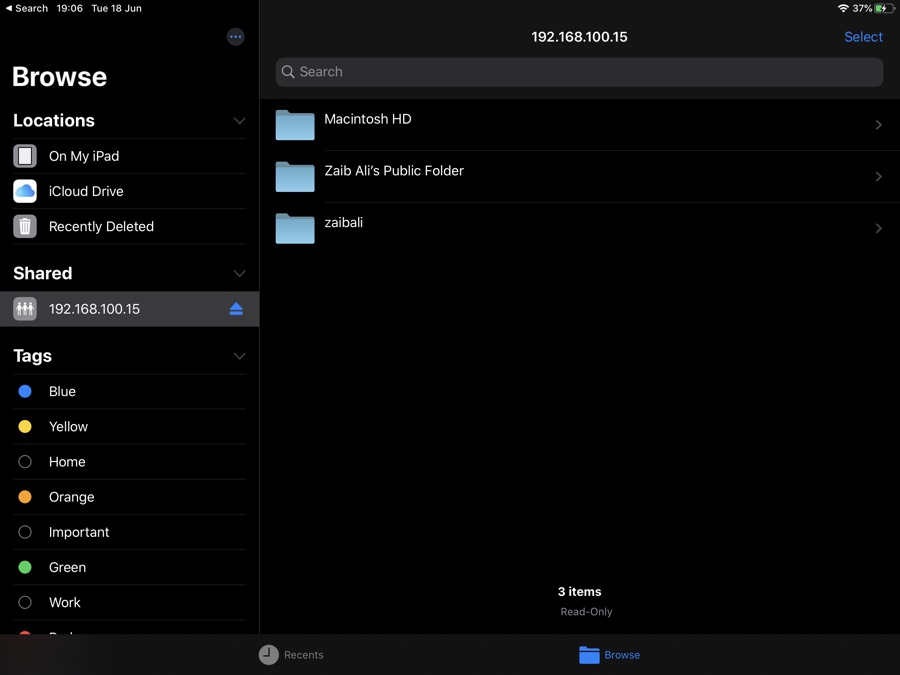
7. Now your Mac’s server will appear in Shared section of the Browse screen. Simply tap on it to access the files stored on your Mac.
Remove your Mac’s server from your iOS device

If you want to remove your Mac’s server from your iOS device, then you can do so by launching the Files app and access its Browse page. Once you are on the browse page simply tap on the eject button located next to your SMB listing.


I connect to a usb disk, plugged into my broadband cable modem/router, using FileBrowserGO on my iPhone (IOS 15) and that works well, even though the router doesn’t support version 2 of SMB protocol.
Is there a way to force Files to connect over this protocol?